
Swords
Back when I was… to be honest, I can’t remember… but I’ll say “12”, my dad built me a wooden replica of the sword of “Johan De Rode Ridder”, a comic strip by the Belgian author Willy Vandersteen. I remember him using a plane and a rickety old workbench. It was awesome. It made me feel awesome. So awesome in fact that I’ve carried that sword in my heart to this day. And even back then, I knew I wanted to build a sword myself at some point. So… a while back, I started doing just that.
Swords have the name of the original recipient engraved inside the handle. If you want a sword I’ve already made, I’ll have to ask the original owner and it won’t be engraved. The general rule is: no remakes.
Below are some of the swords I’ve made. Of course, should you want one of your own, by all means contact me.
I can’t put a fixed price on these, too many factors involved, but general ballpark: 550€ - 1250€… so you know what you’re getting into :P
The Meren Vermeersch

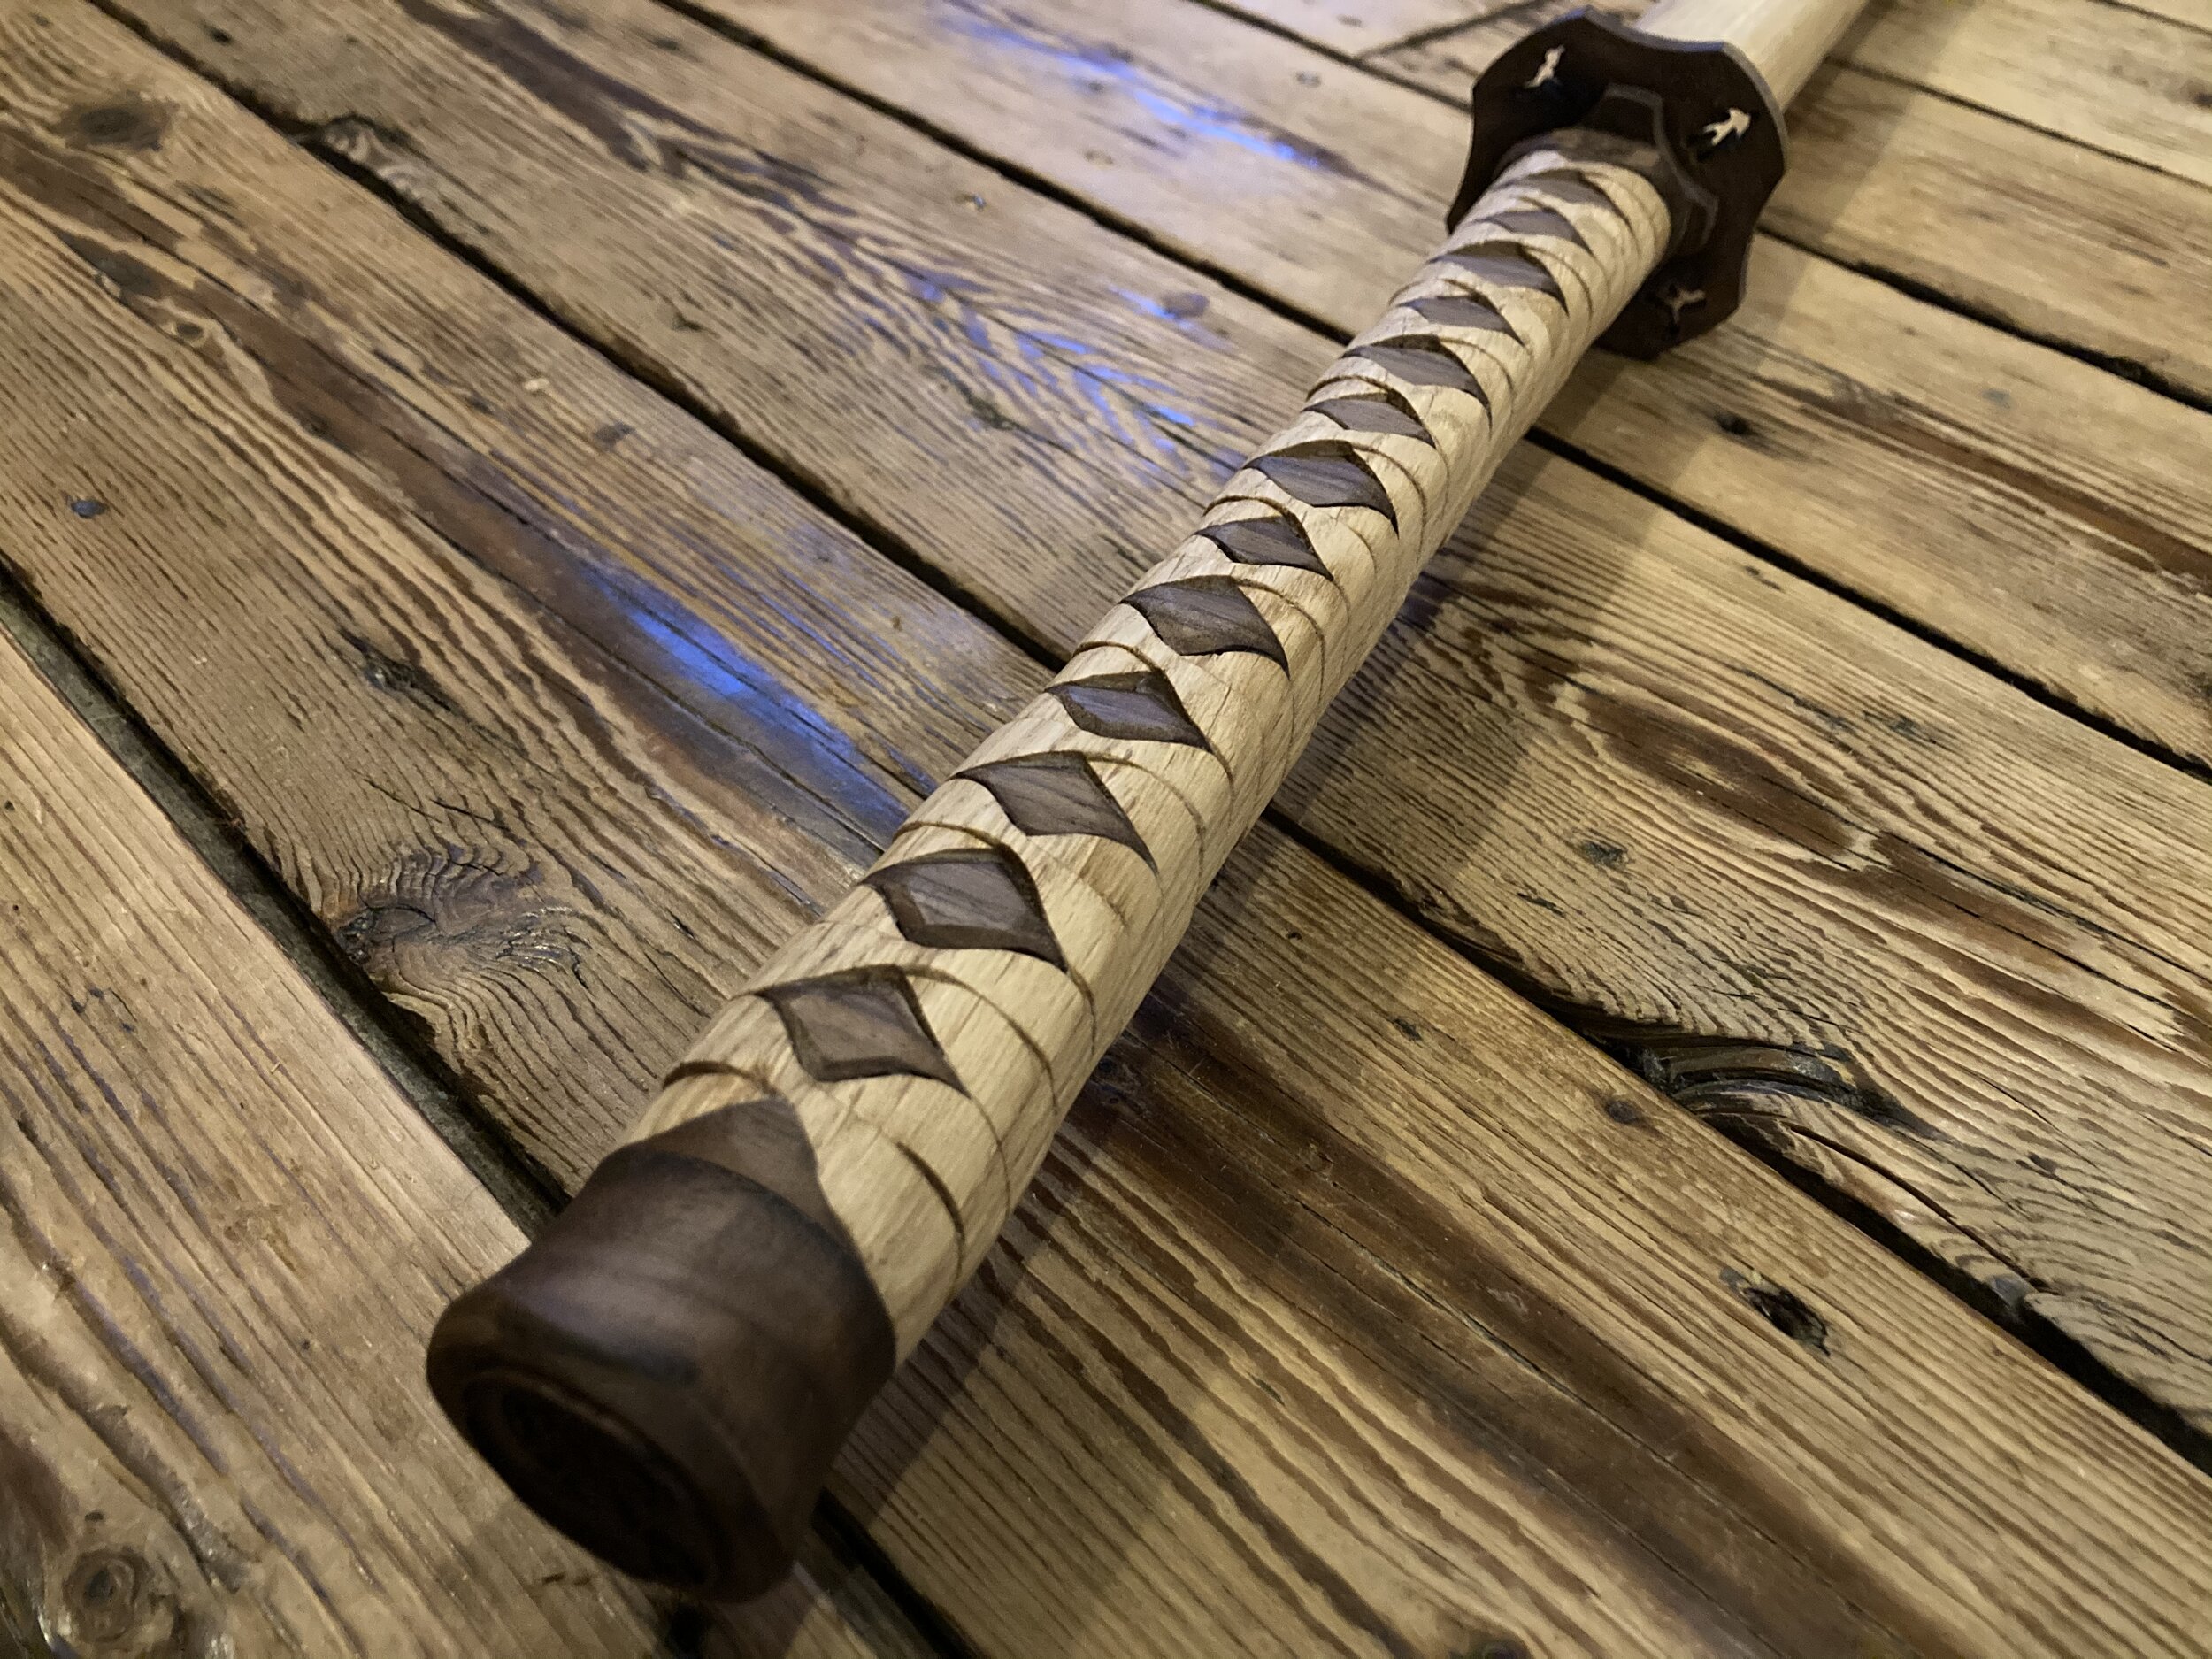
A boy and his sword. This sword was built as a birthday gift from his parents. (Obviously these people have great taste). I was told he was all about Karate, so... I themed this katana around that.

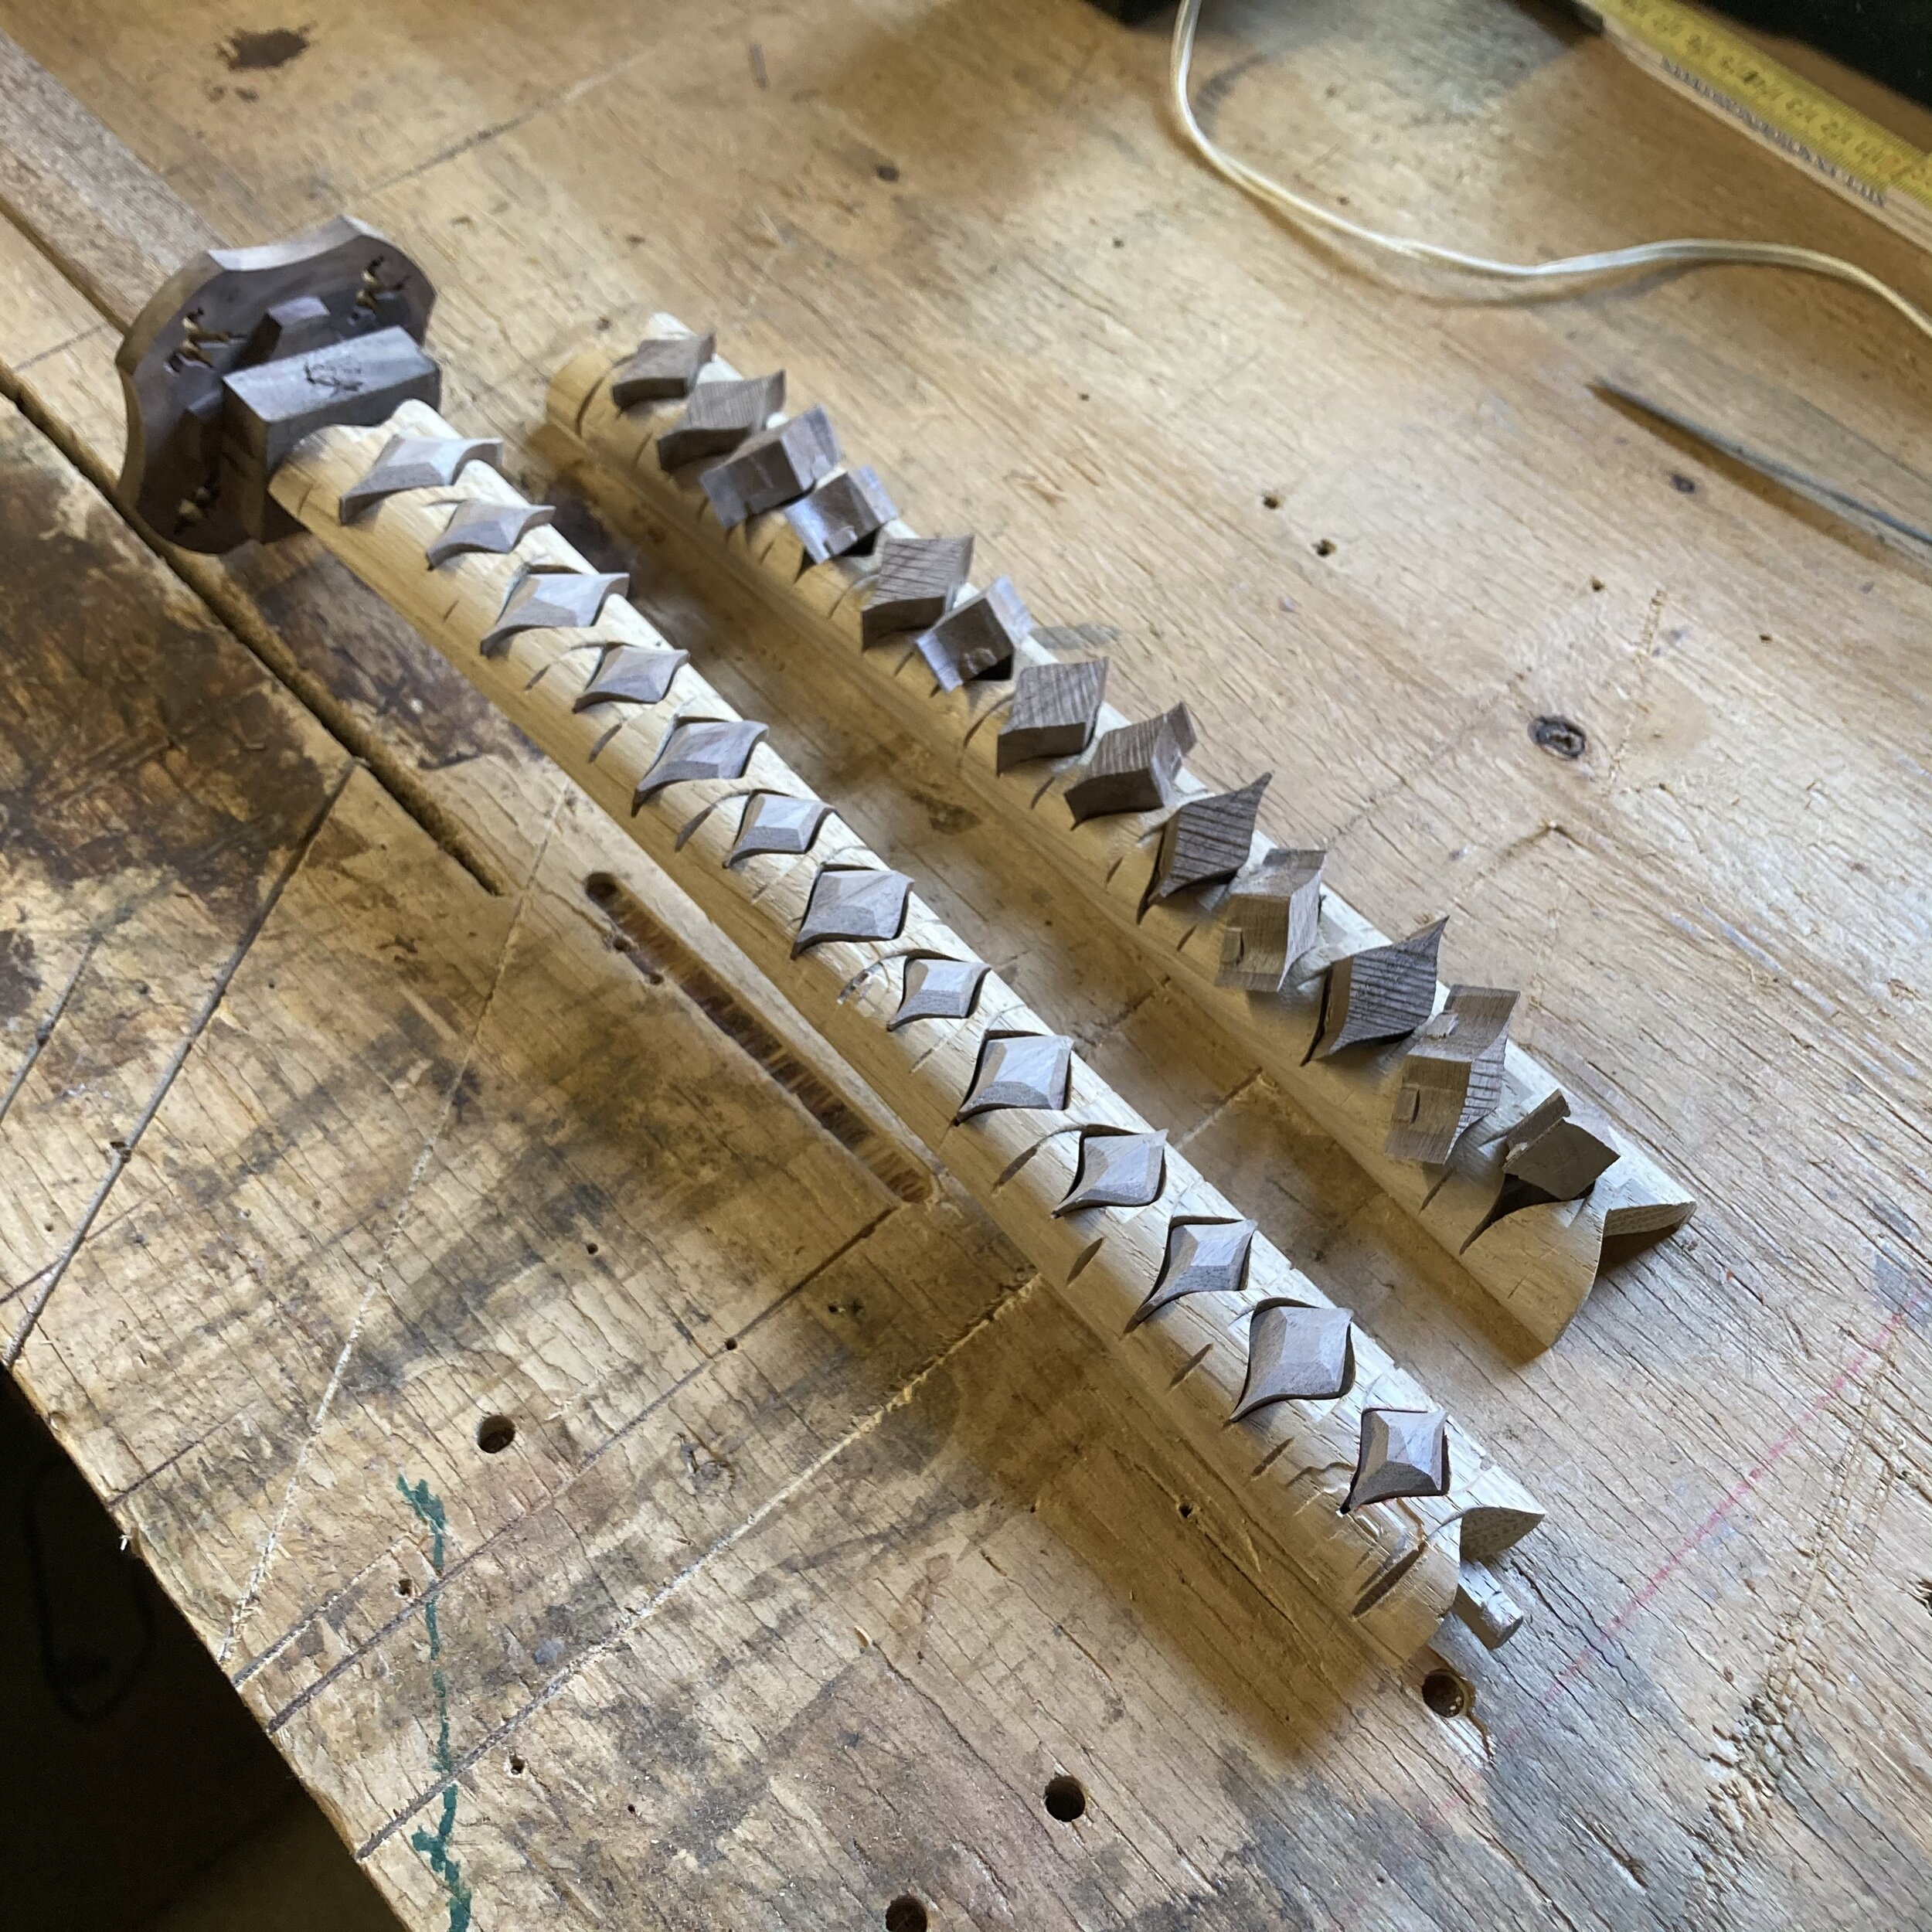
A closeup of the handle. It was my first attempt at trying to make the wood look and feel like an actual weave. I'd say it was a good first attempt. The Tsuba has 4 different karate-poses cut out. The Fuchigane has the bonsai logo of the Karate-kid Miyagi-Do engraved on it.
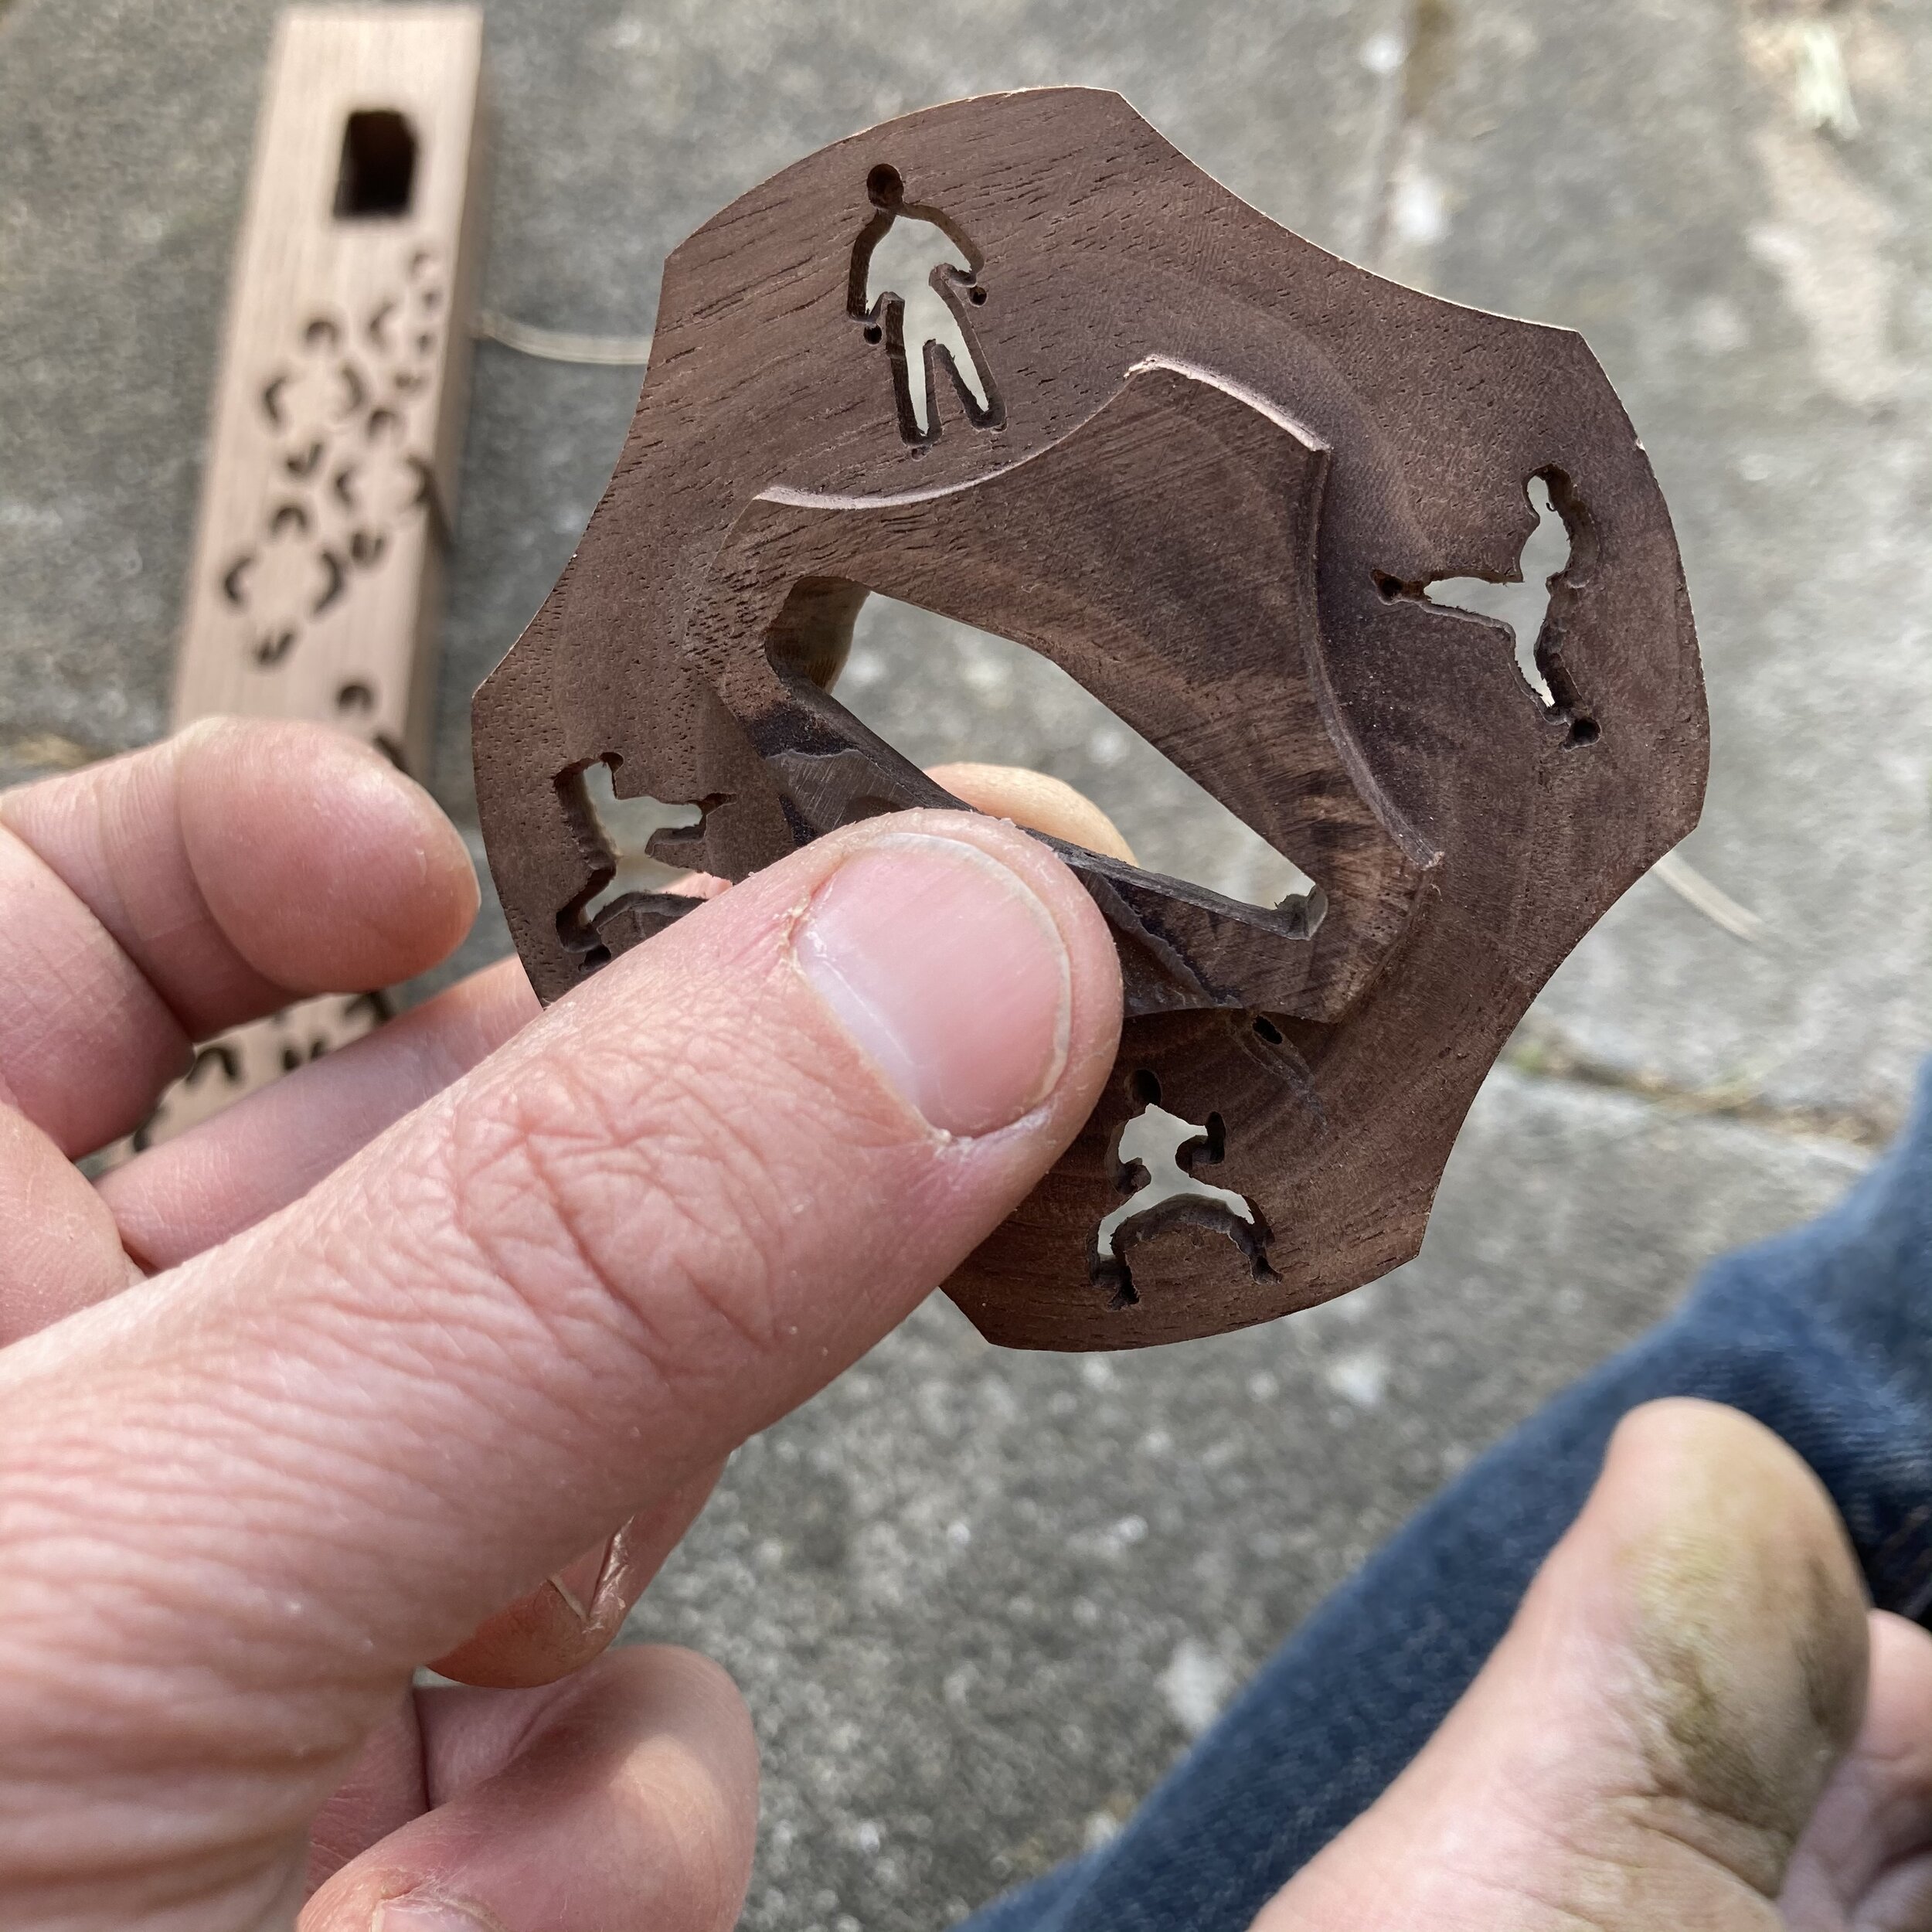
A better look at the Tsuba so you can see the little karate-dudes doing their thing. And yes, that is a very big and fairly dirty big toe there... I need to take better pictures.
Building the handle. Oak.
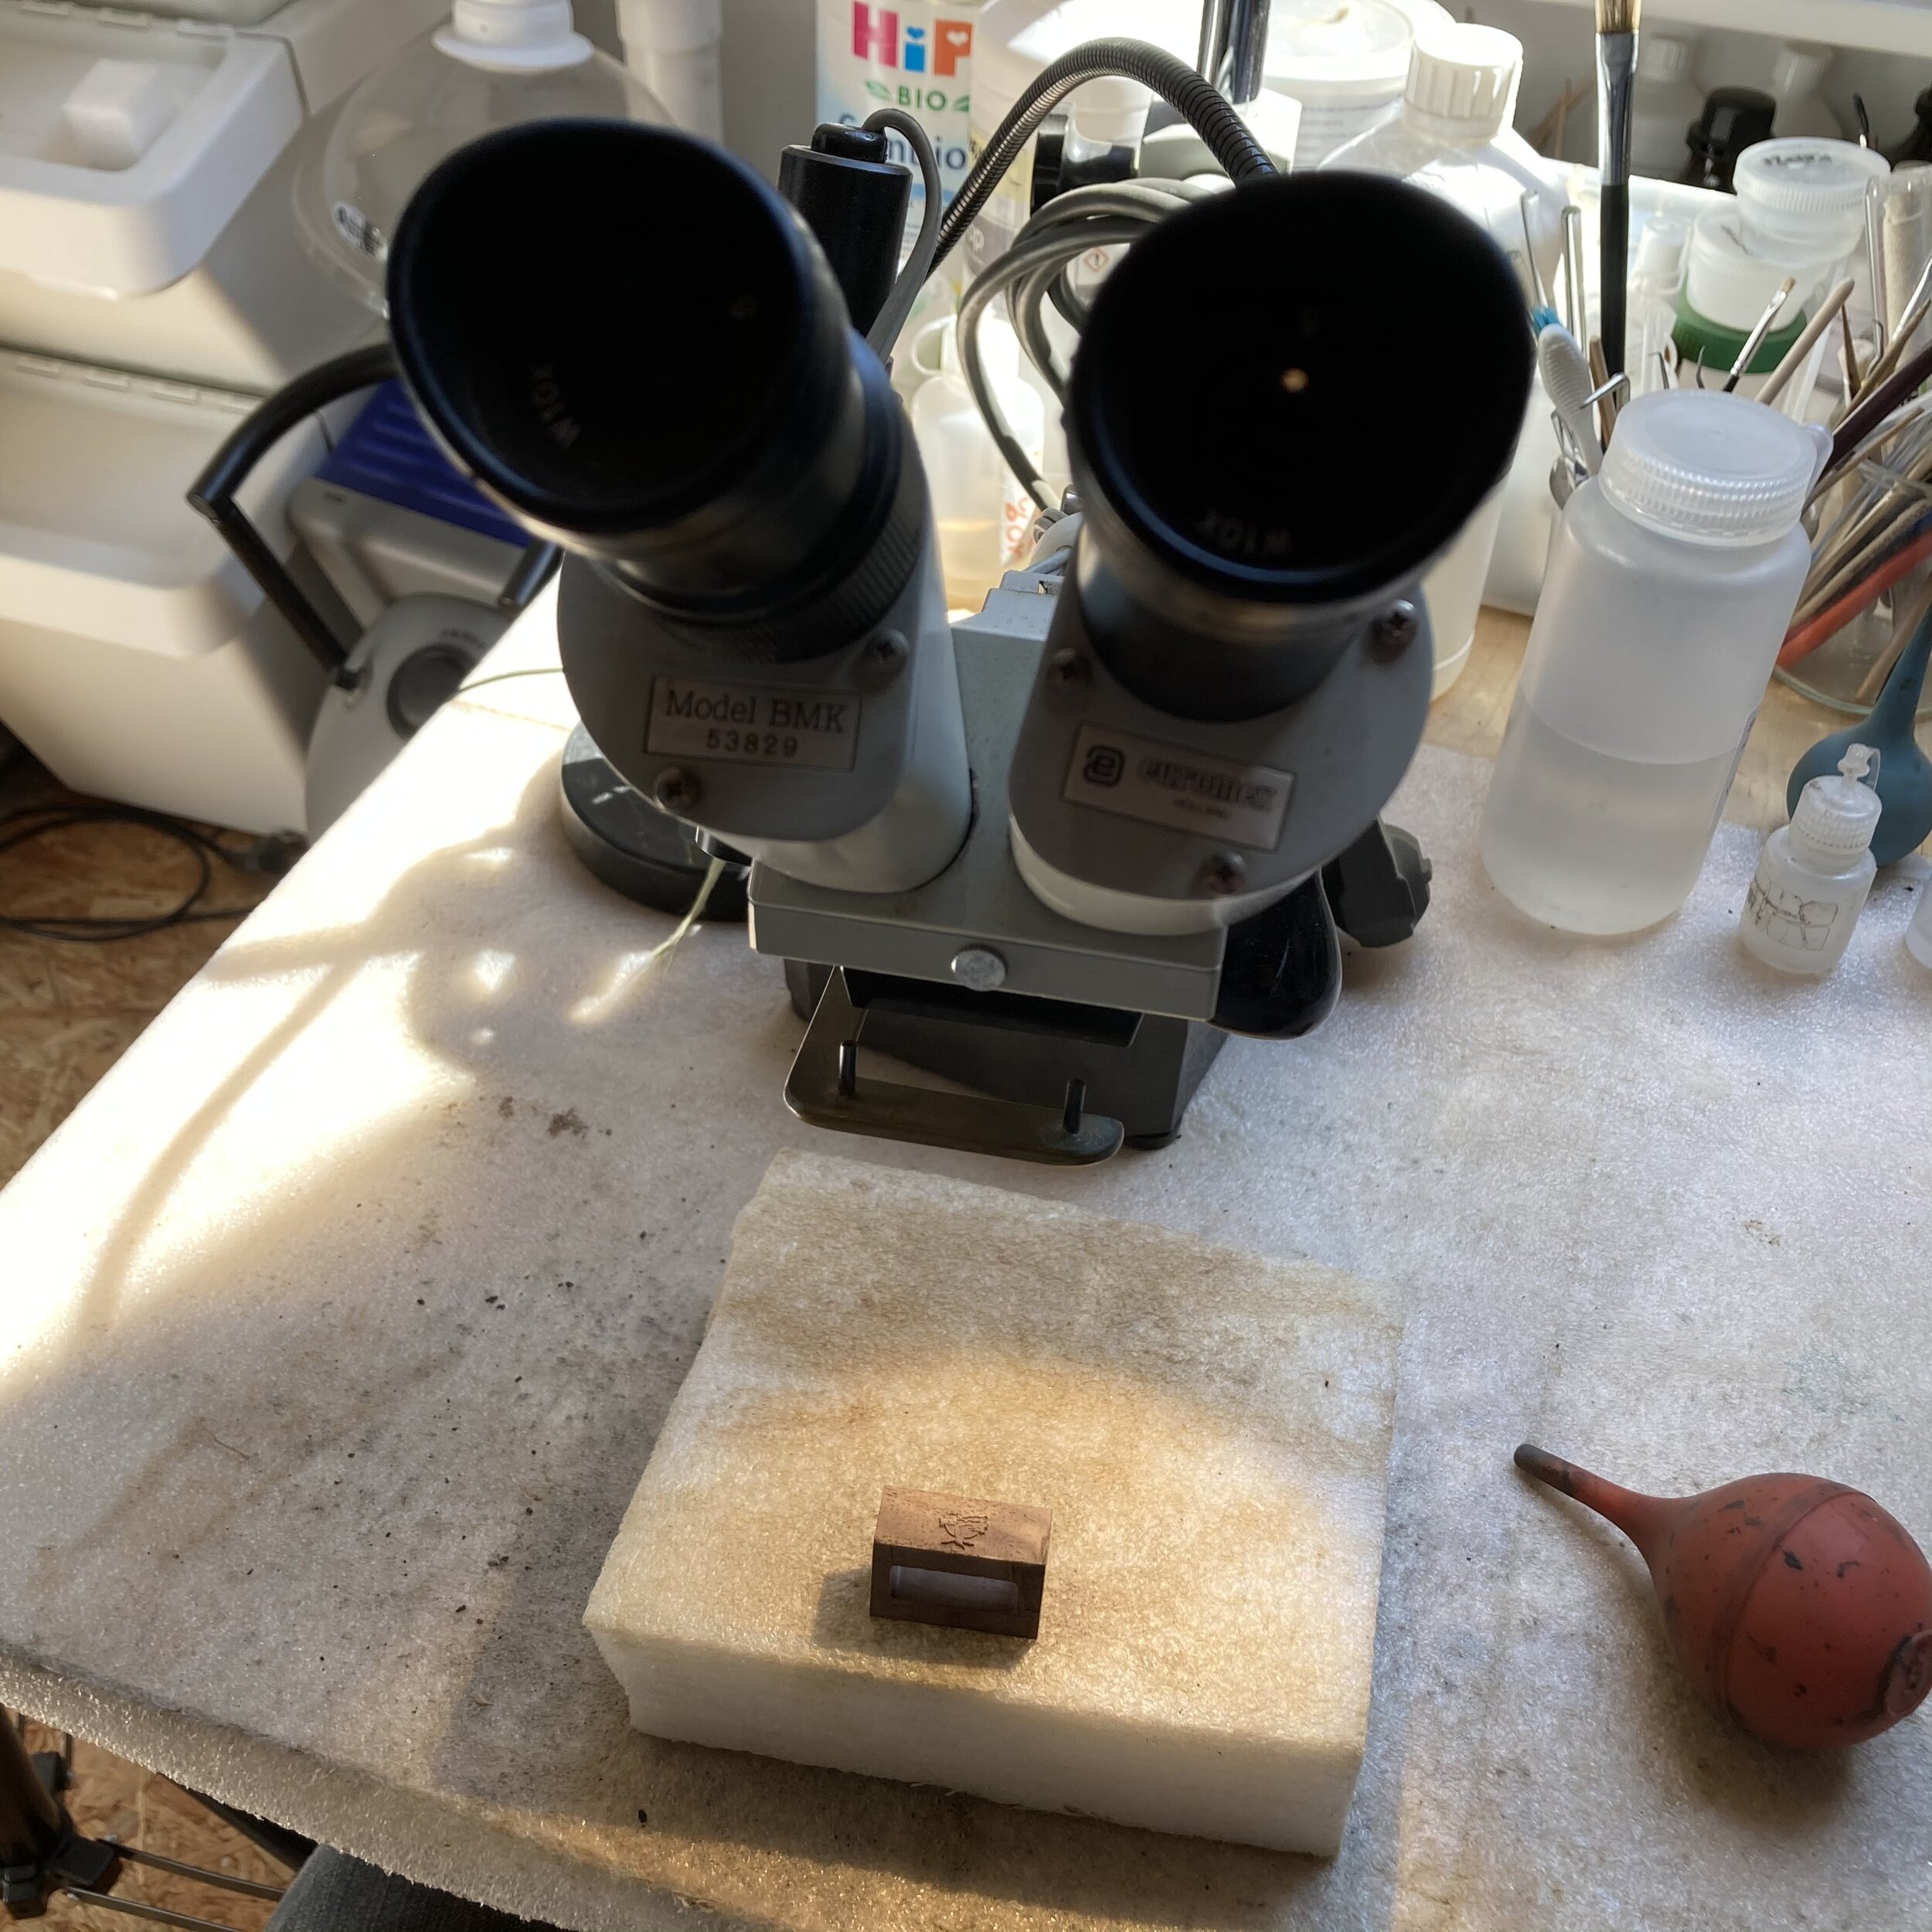
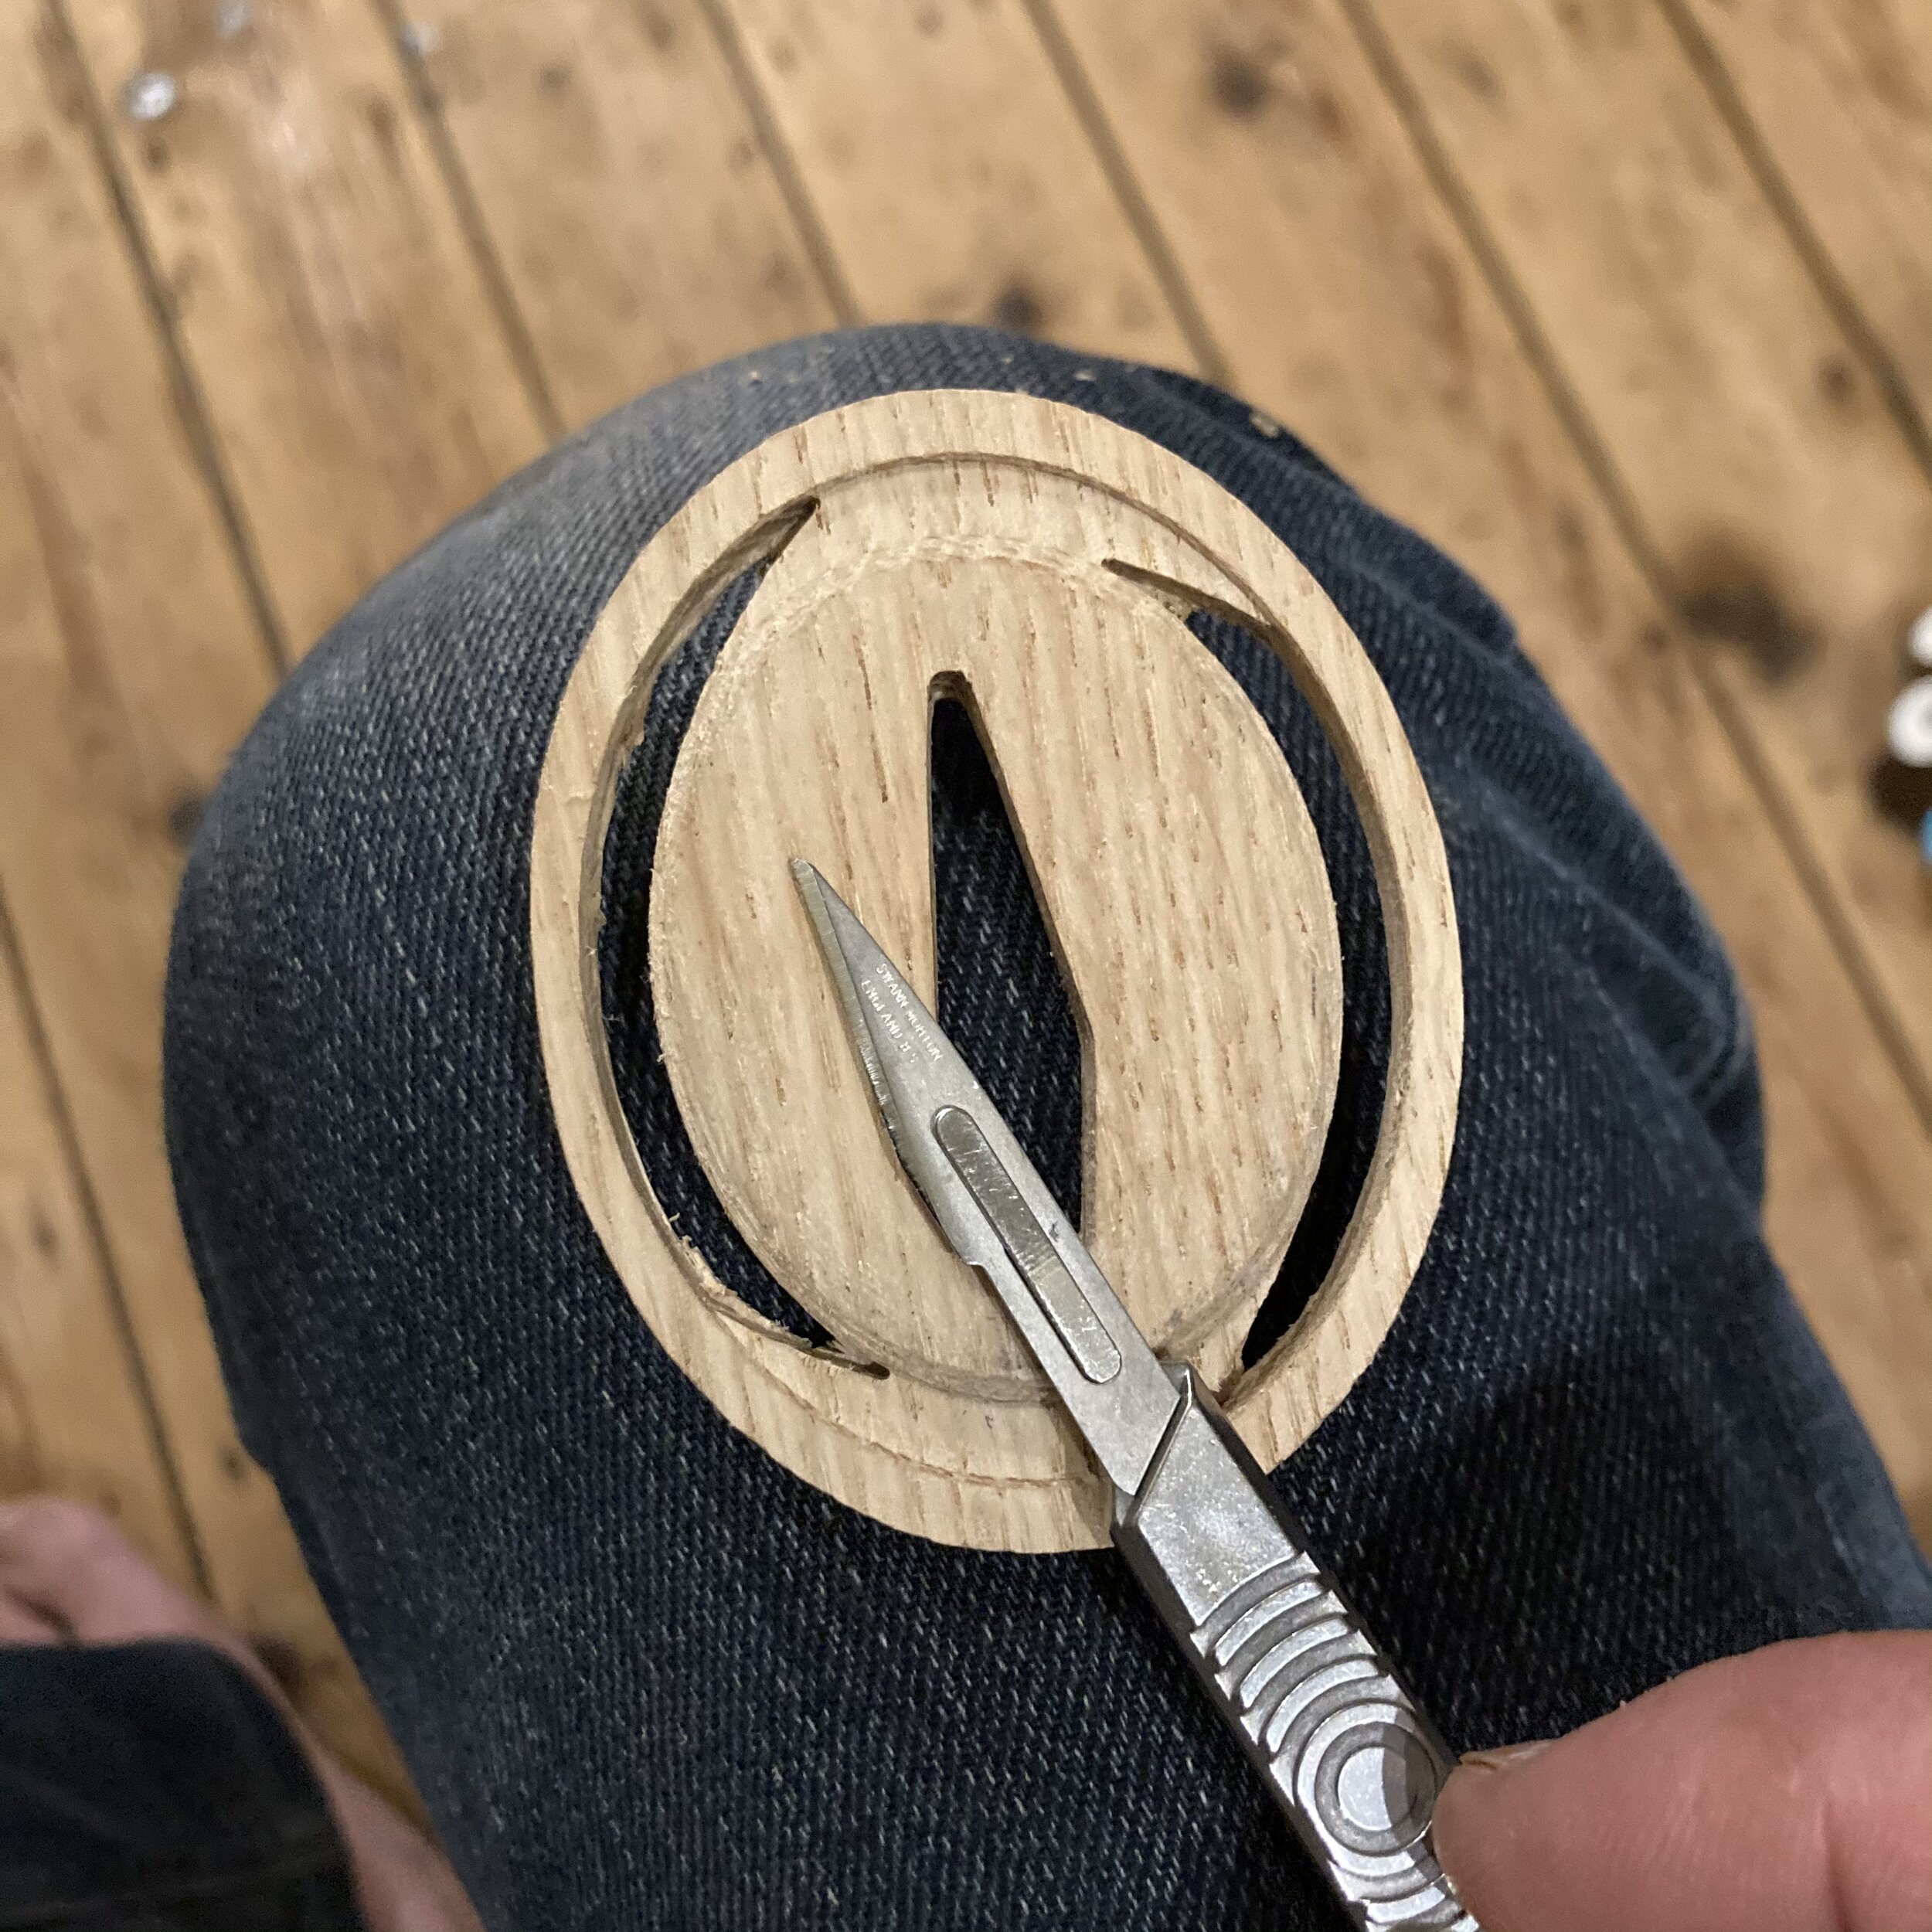
The Miyagi-Do Bonsai. Walnut wood. Very small... I had to use a microscope and a scalpel to clean out any rough edges and stuck dust.
See? SEE? Tiny. TI-NIE!
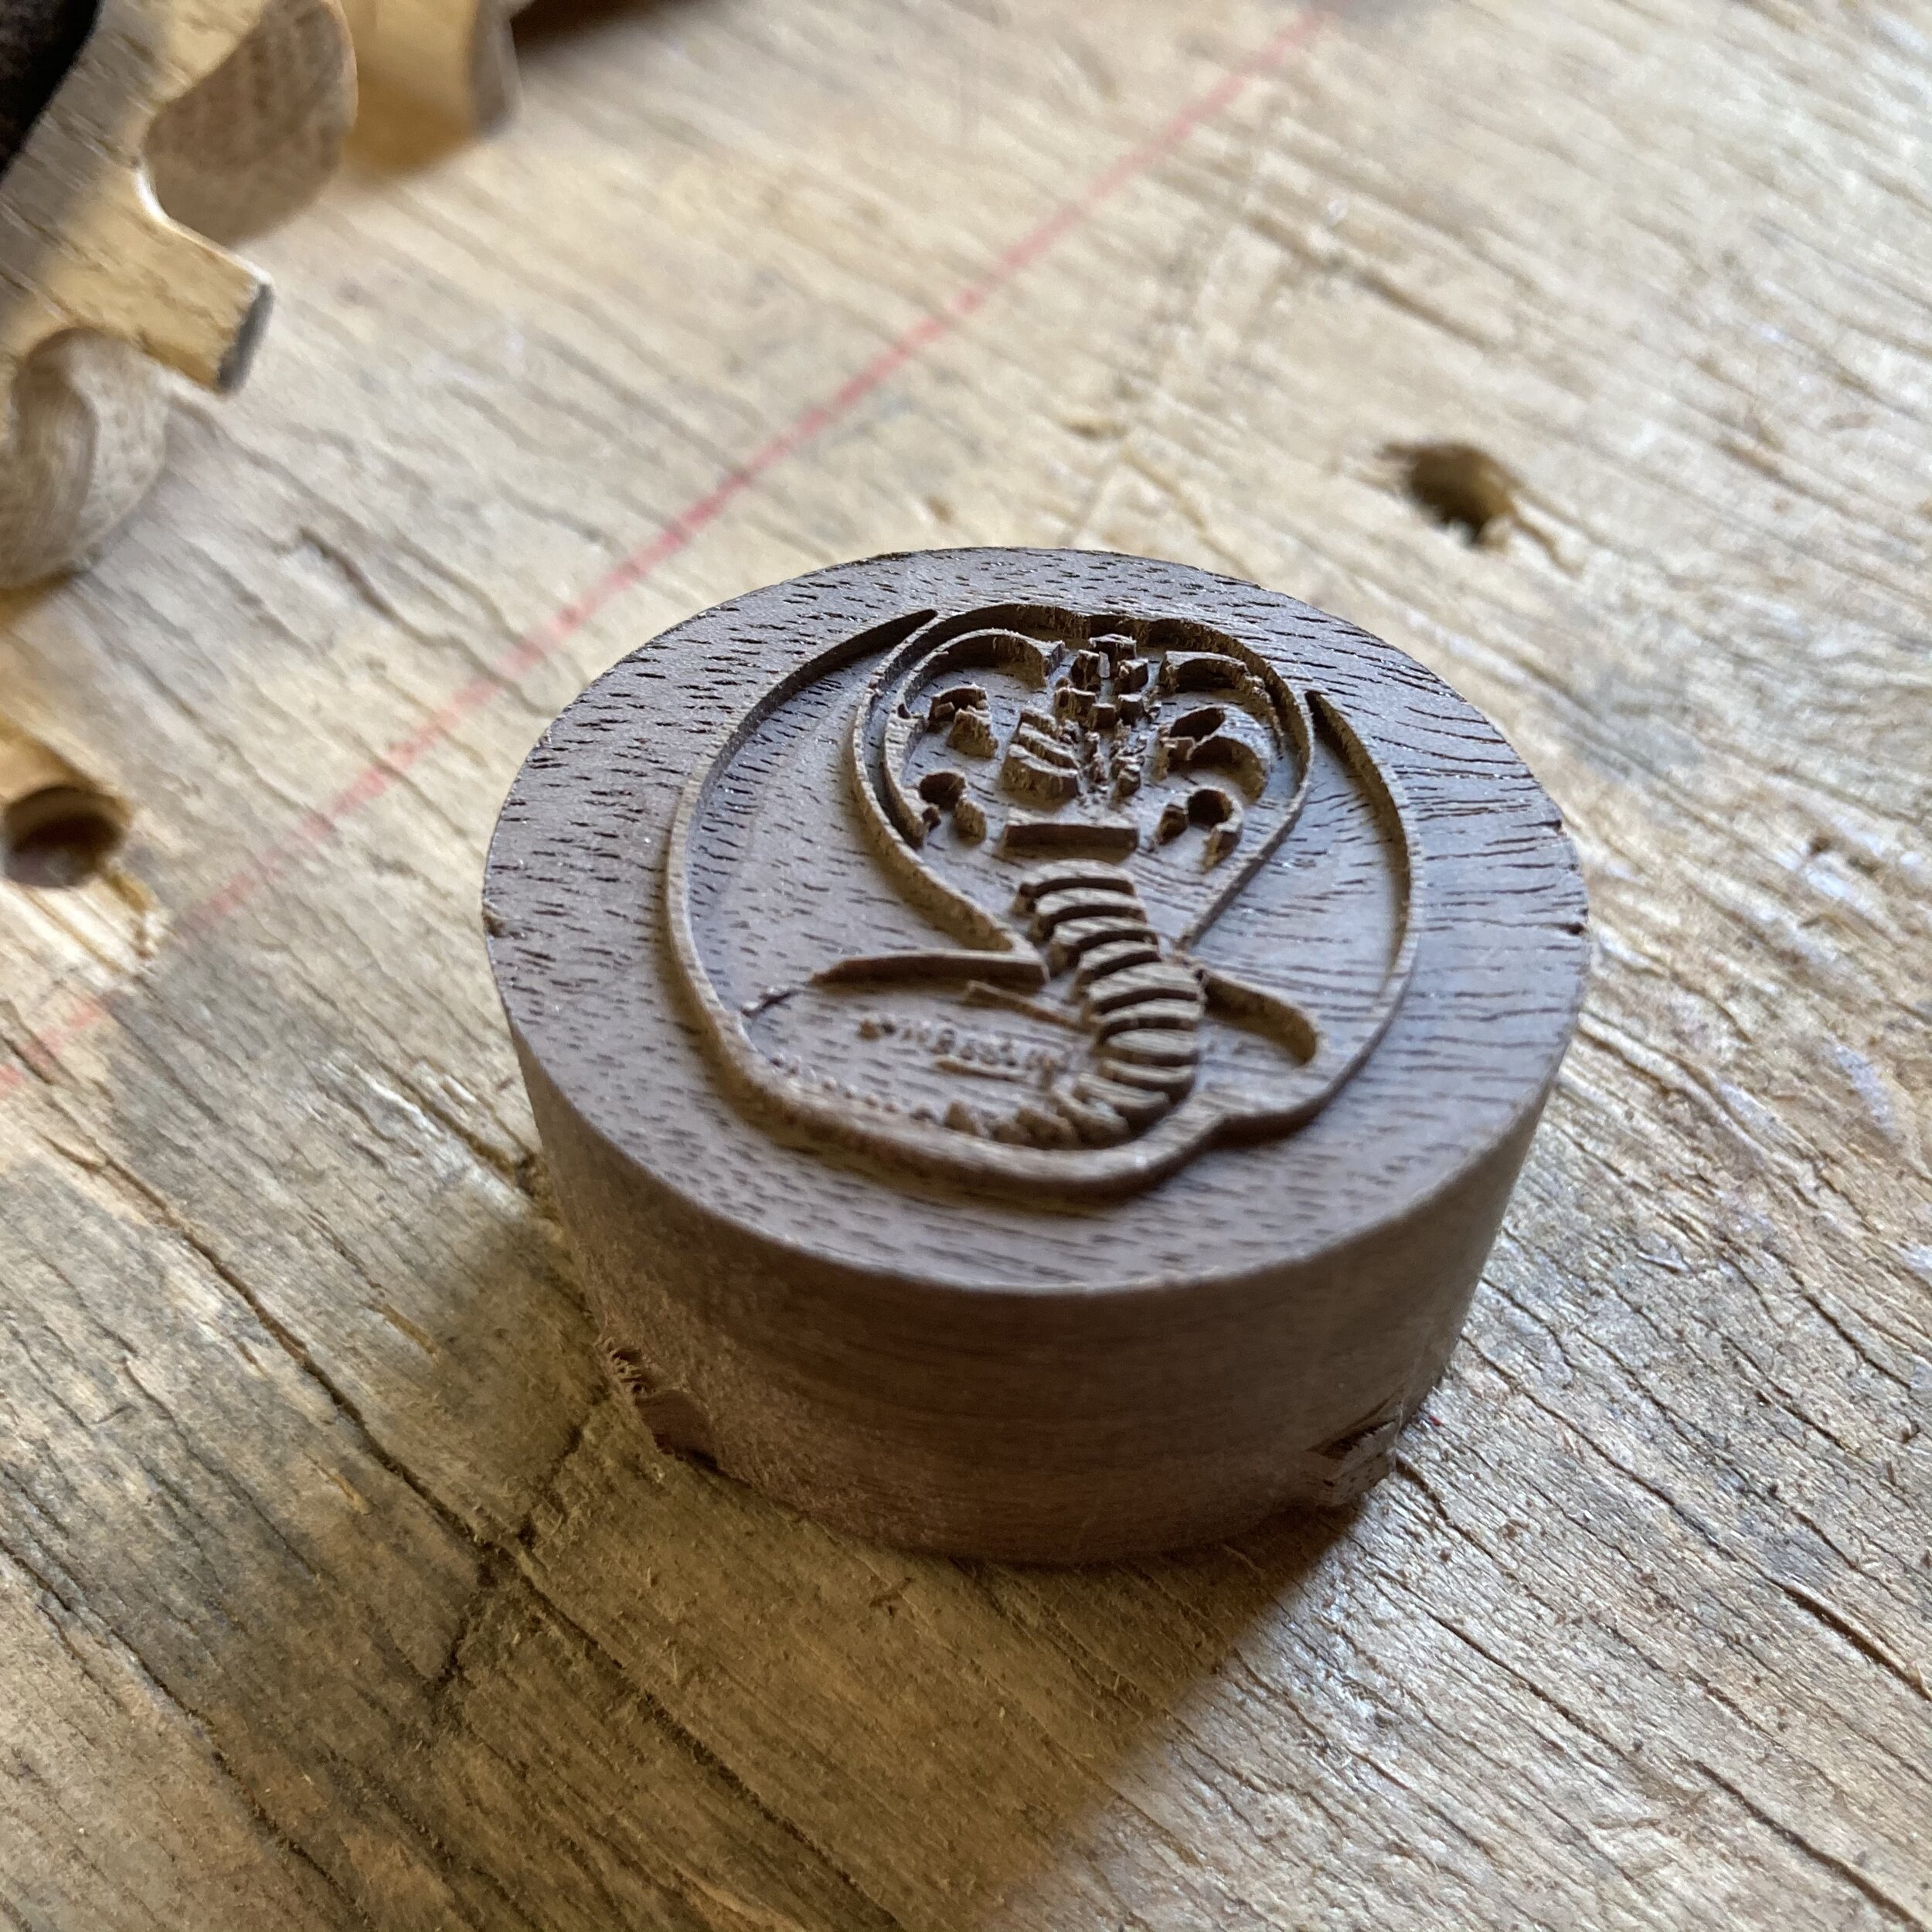
The Cobra-Kai logo, engraved in the kashira. Also walnut.

Fitting the handle and all the little inlays. I really need to find an easier way to build this :D
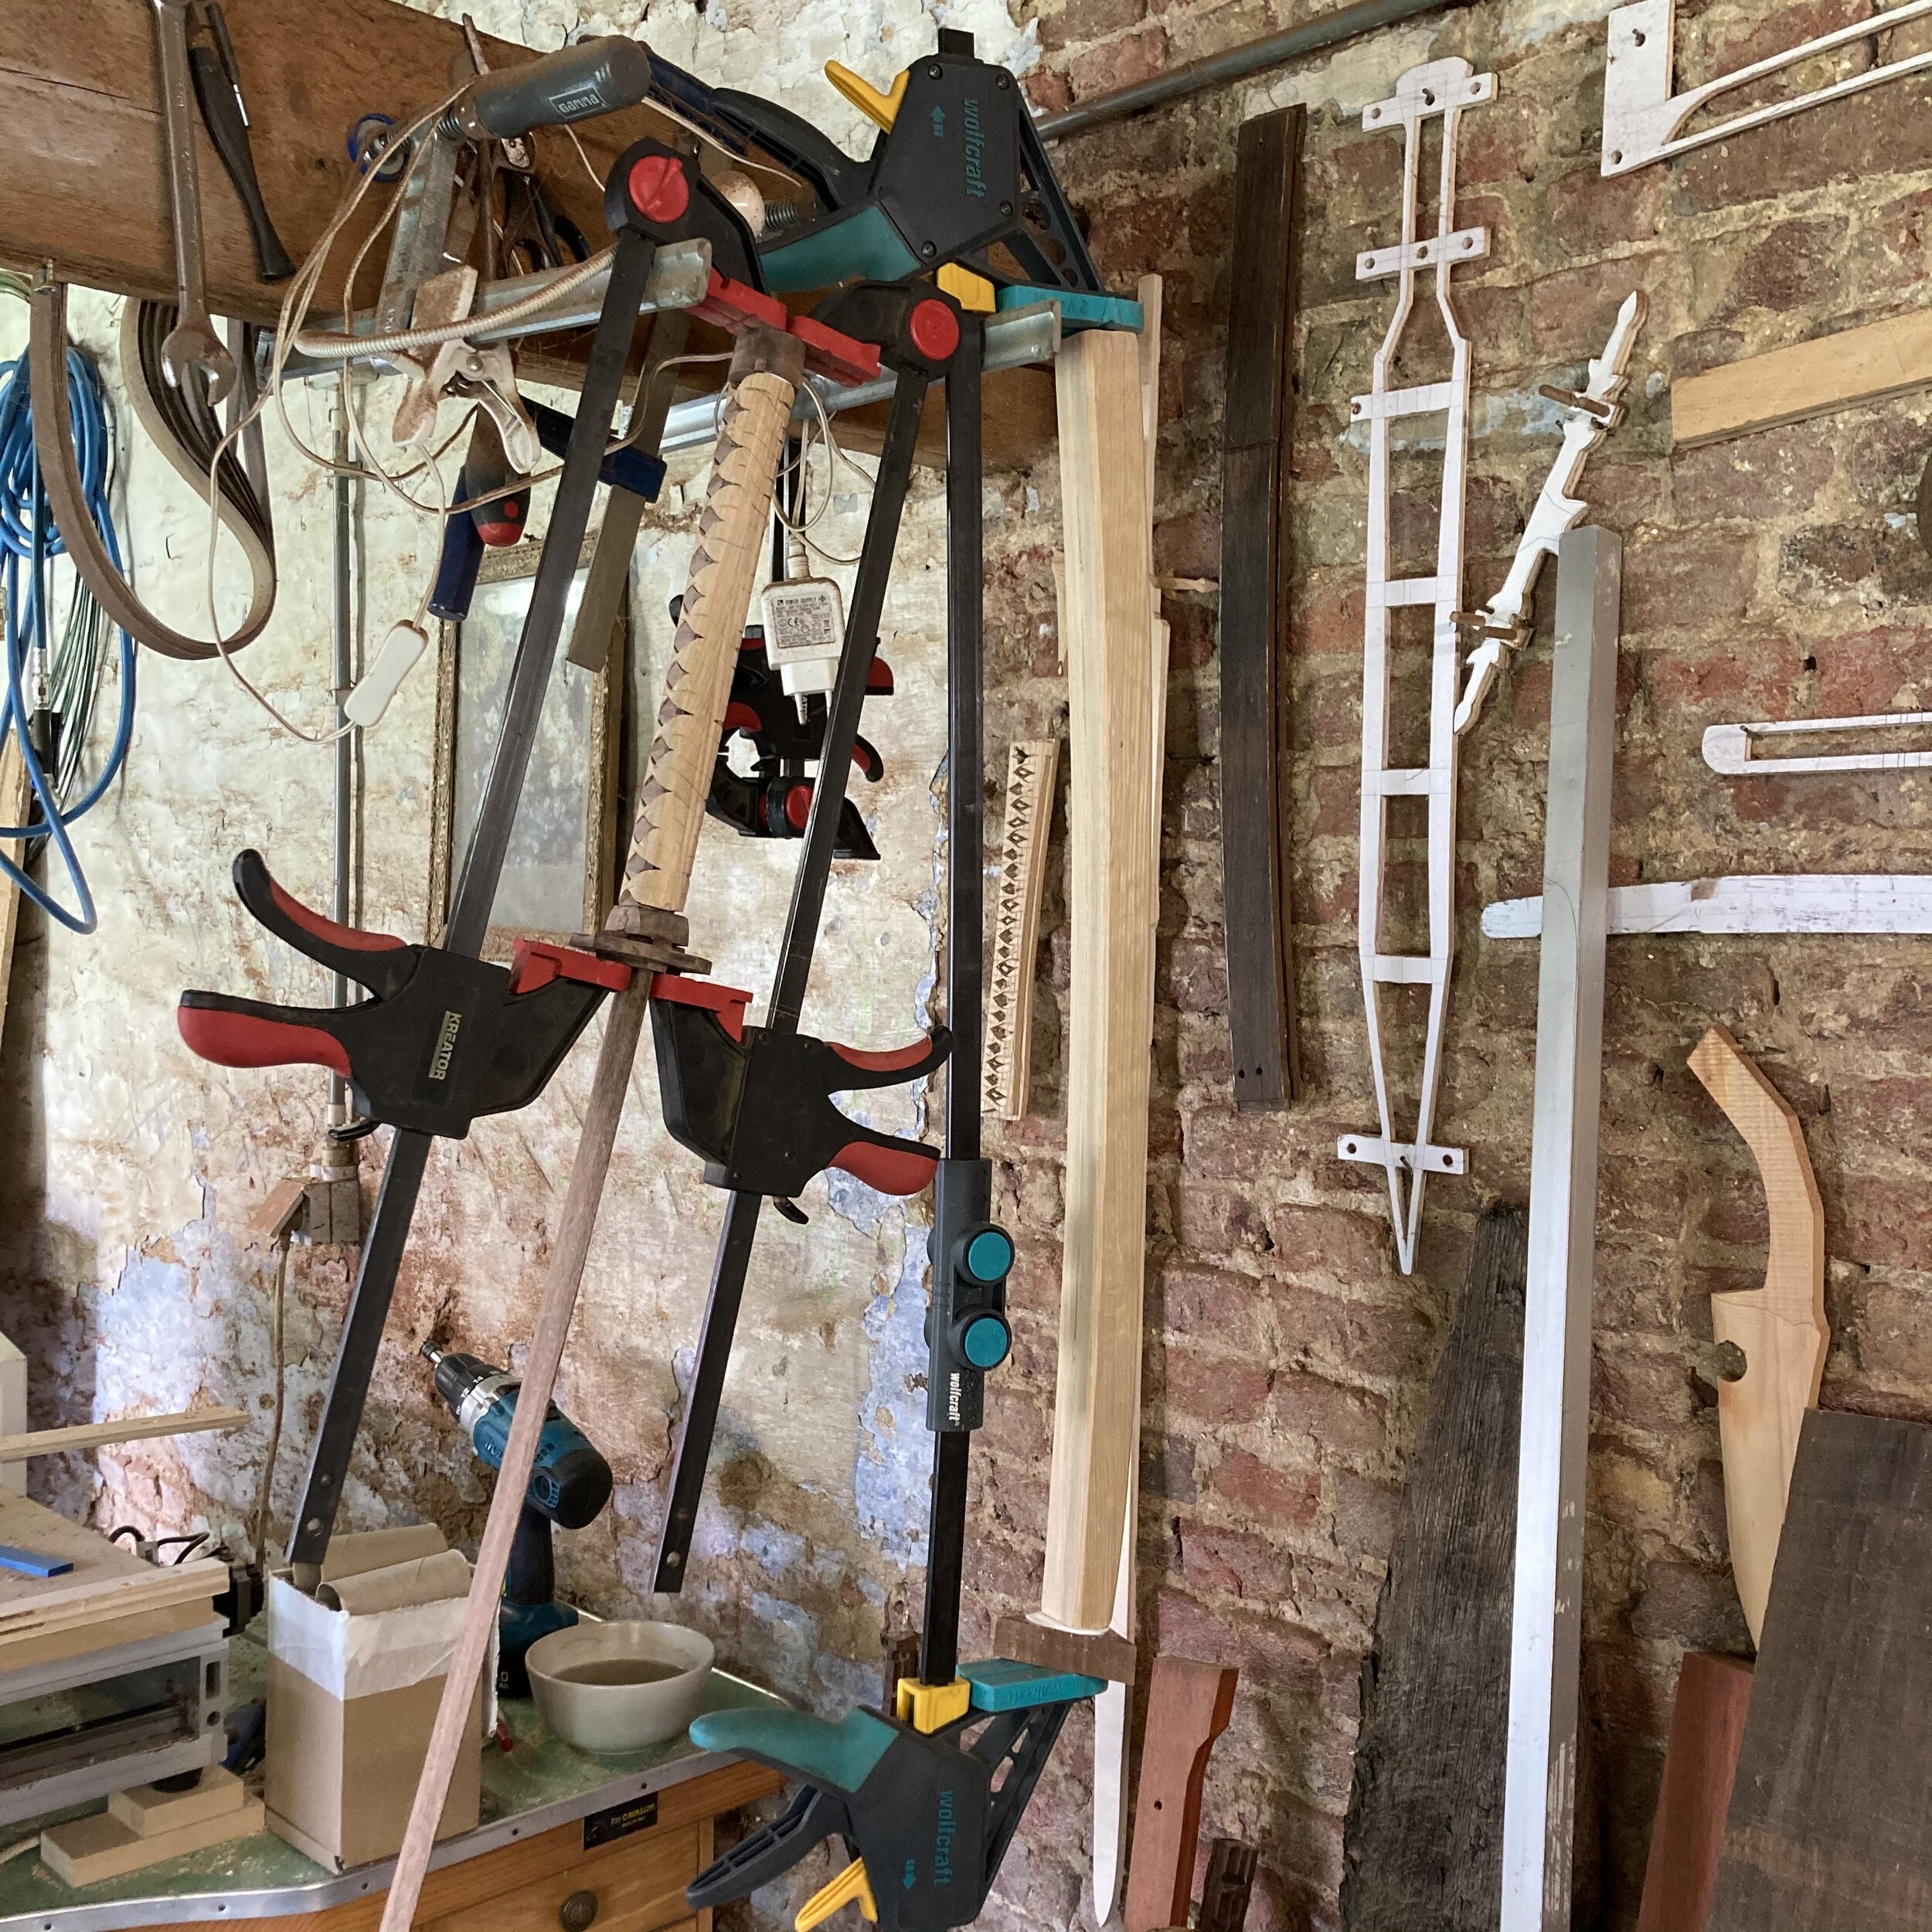
Almost done. Fitting the Tsuba and the rough shape of the Saya. And some lovely testpieces and designs from previous creations on the wall.
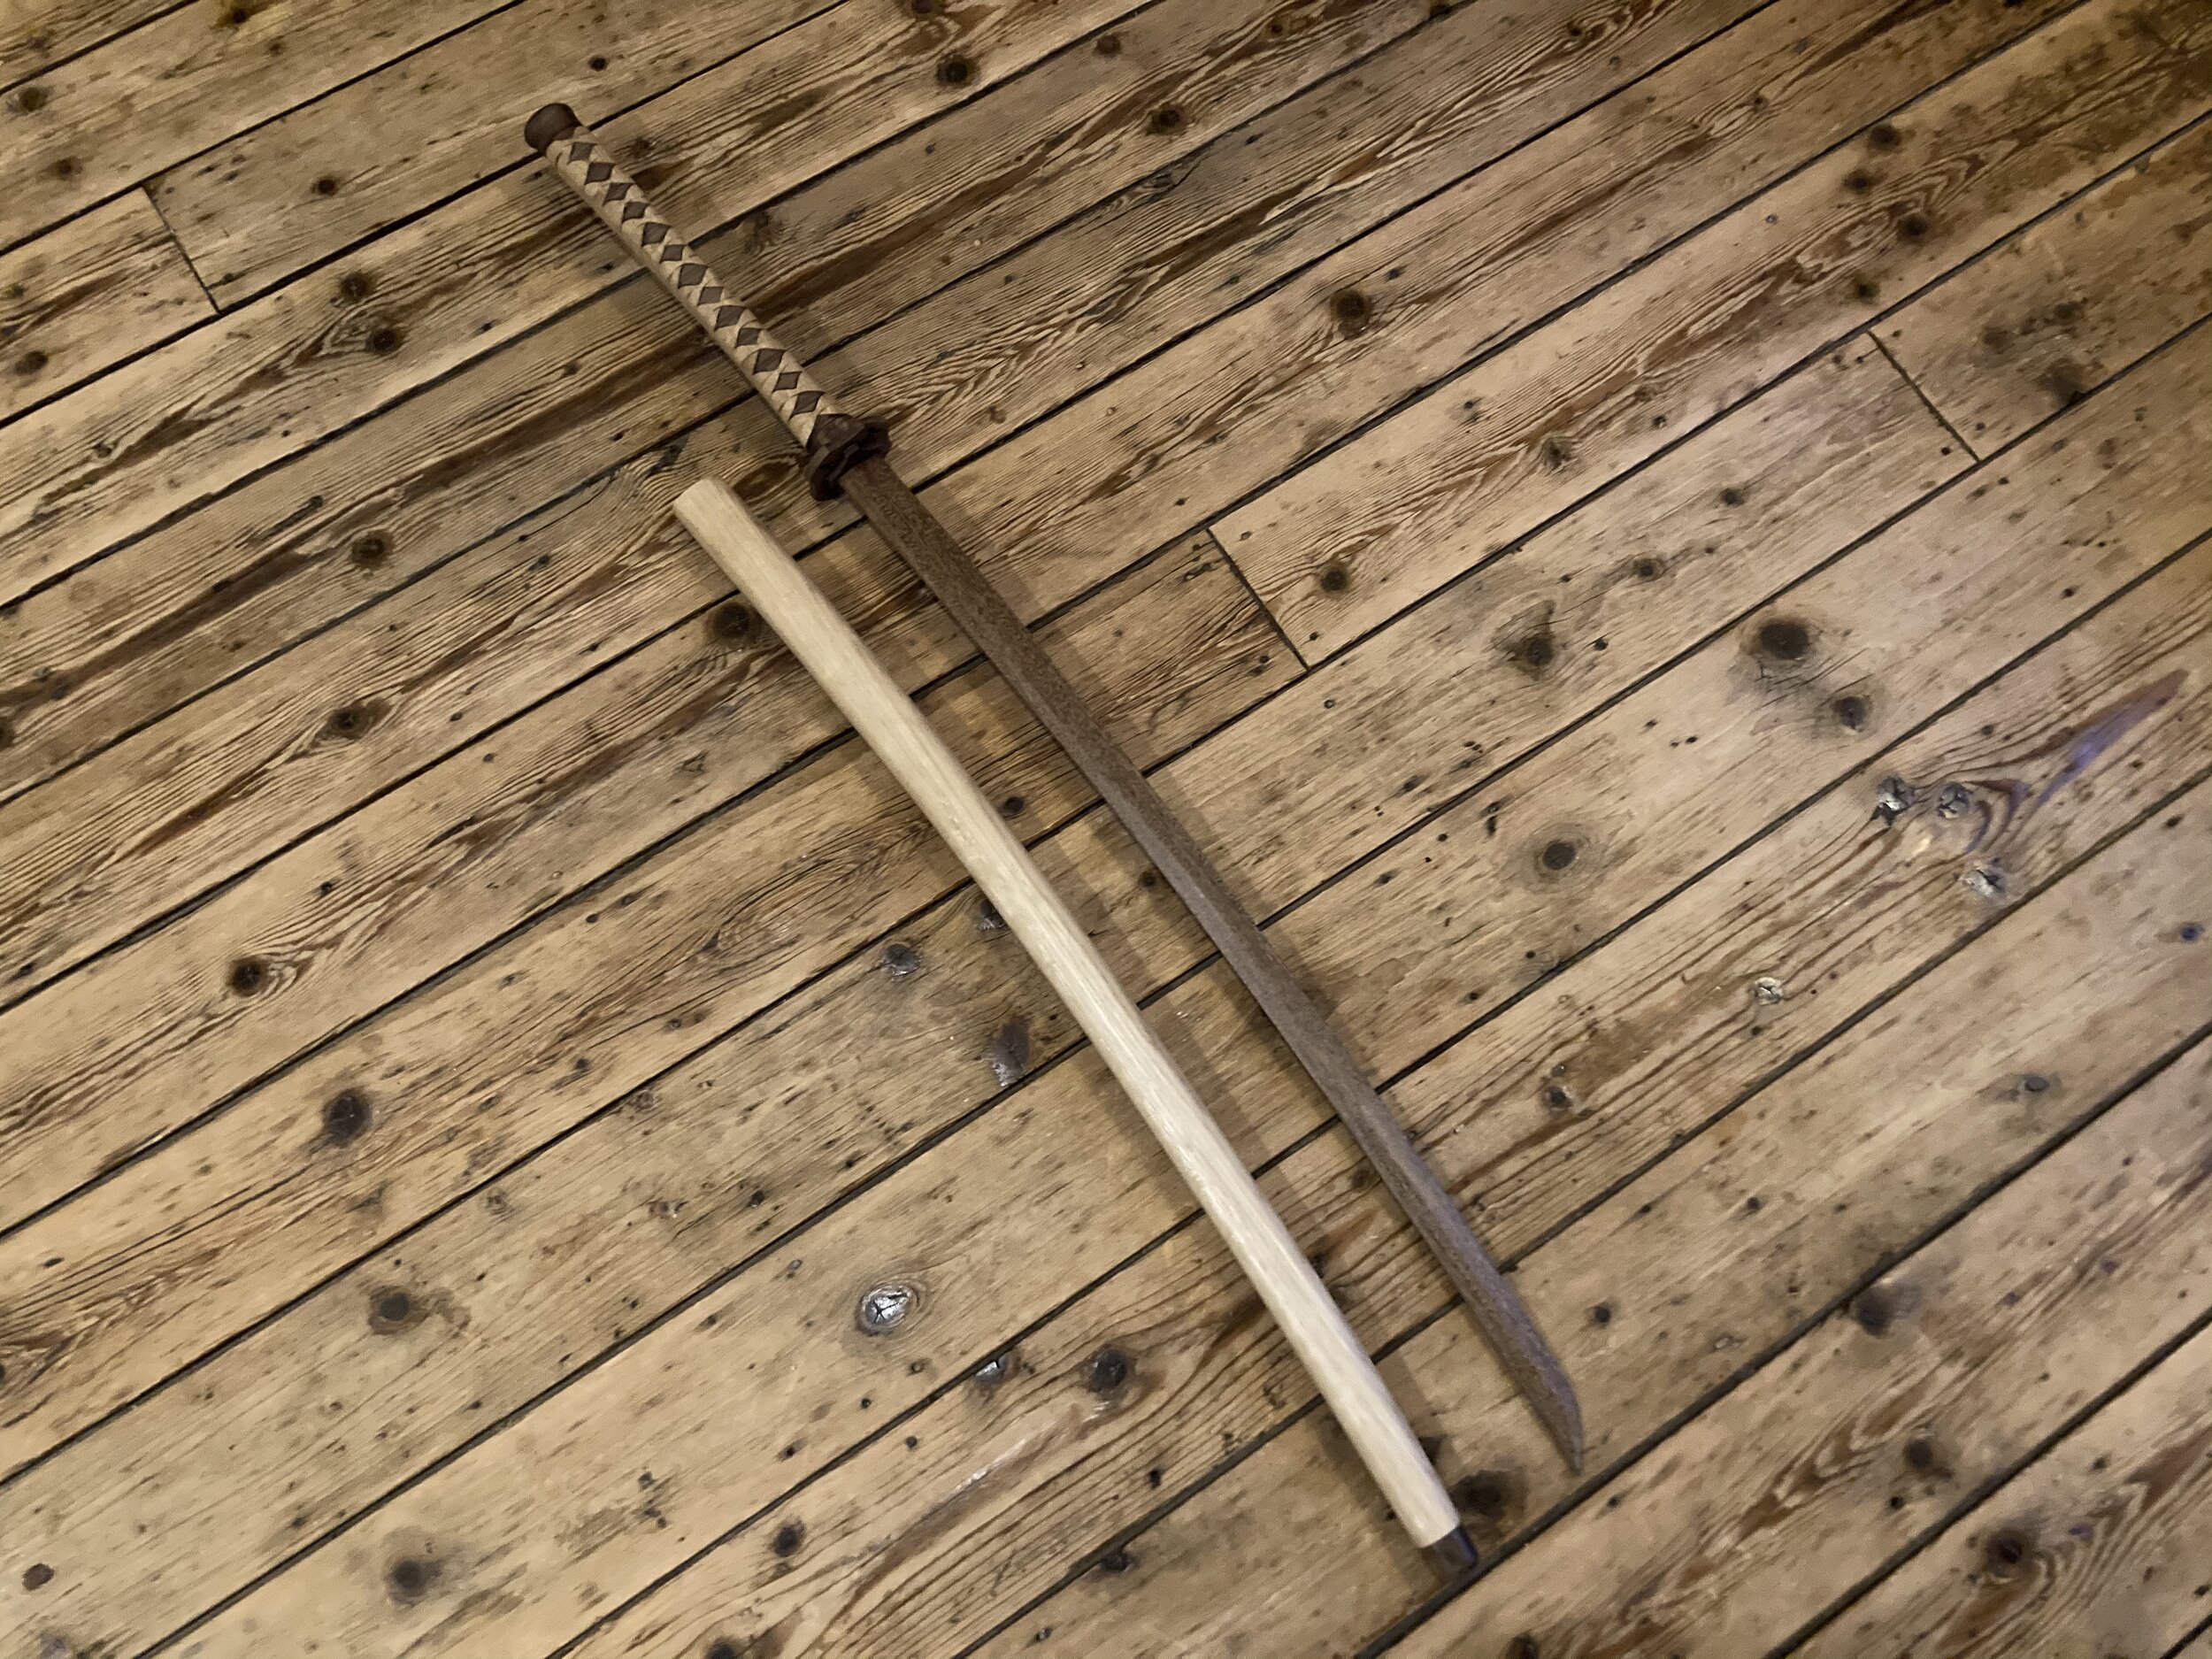
Side by side, sword and sheath. The blade is Meranti. It's a lot harder then the Walnut, but doesn't have too much of a color difference. The sheath is in Oak.
Closeup on the handle from the Kashira up. You can see the weaving-attempt from this angle.

Sheathed. Oak and Walnut.
The Nicolae Florea

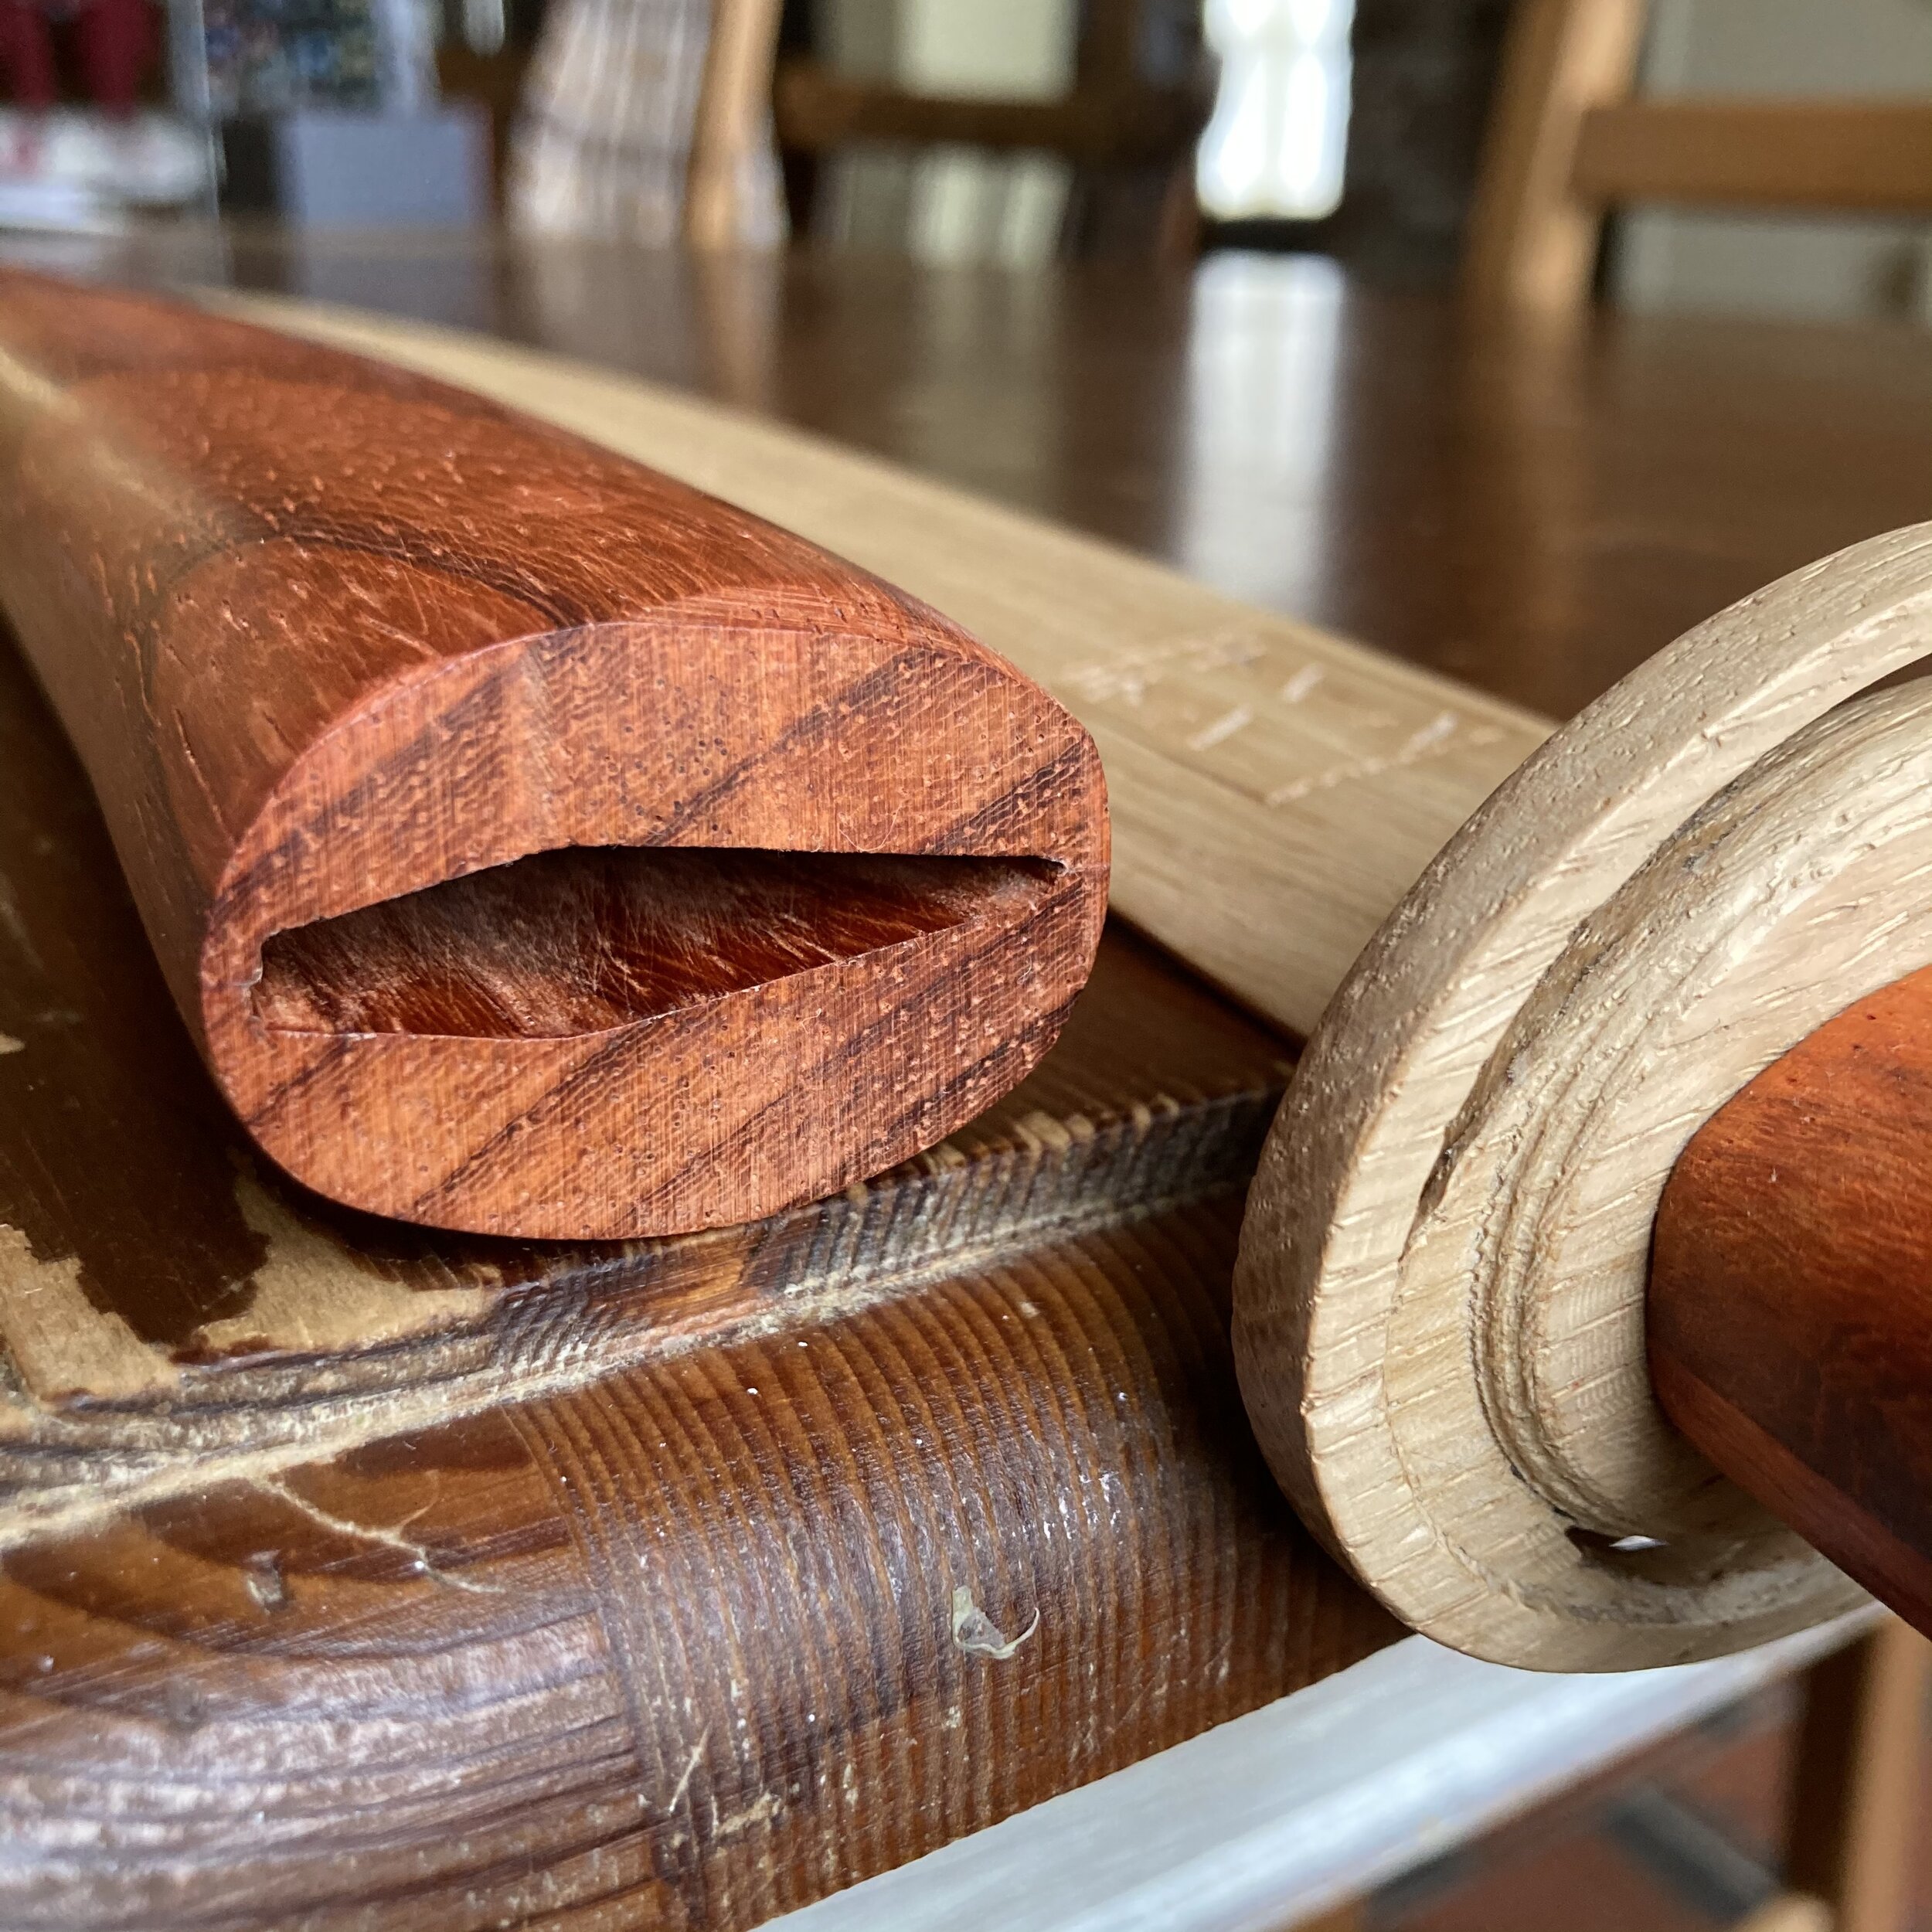
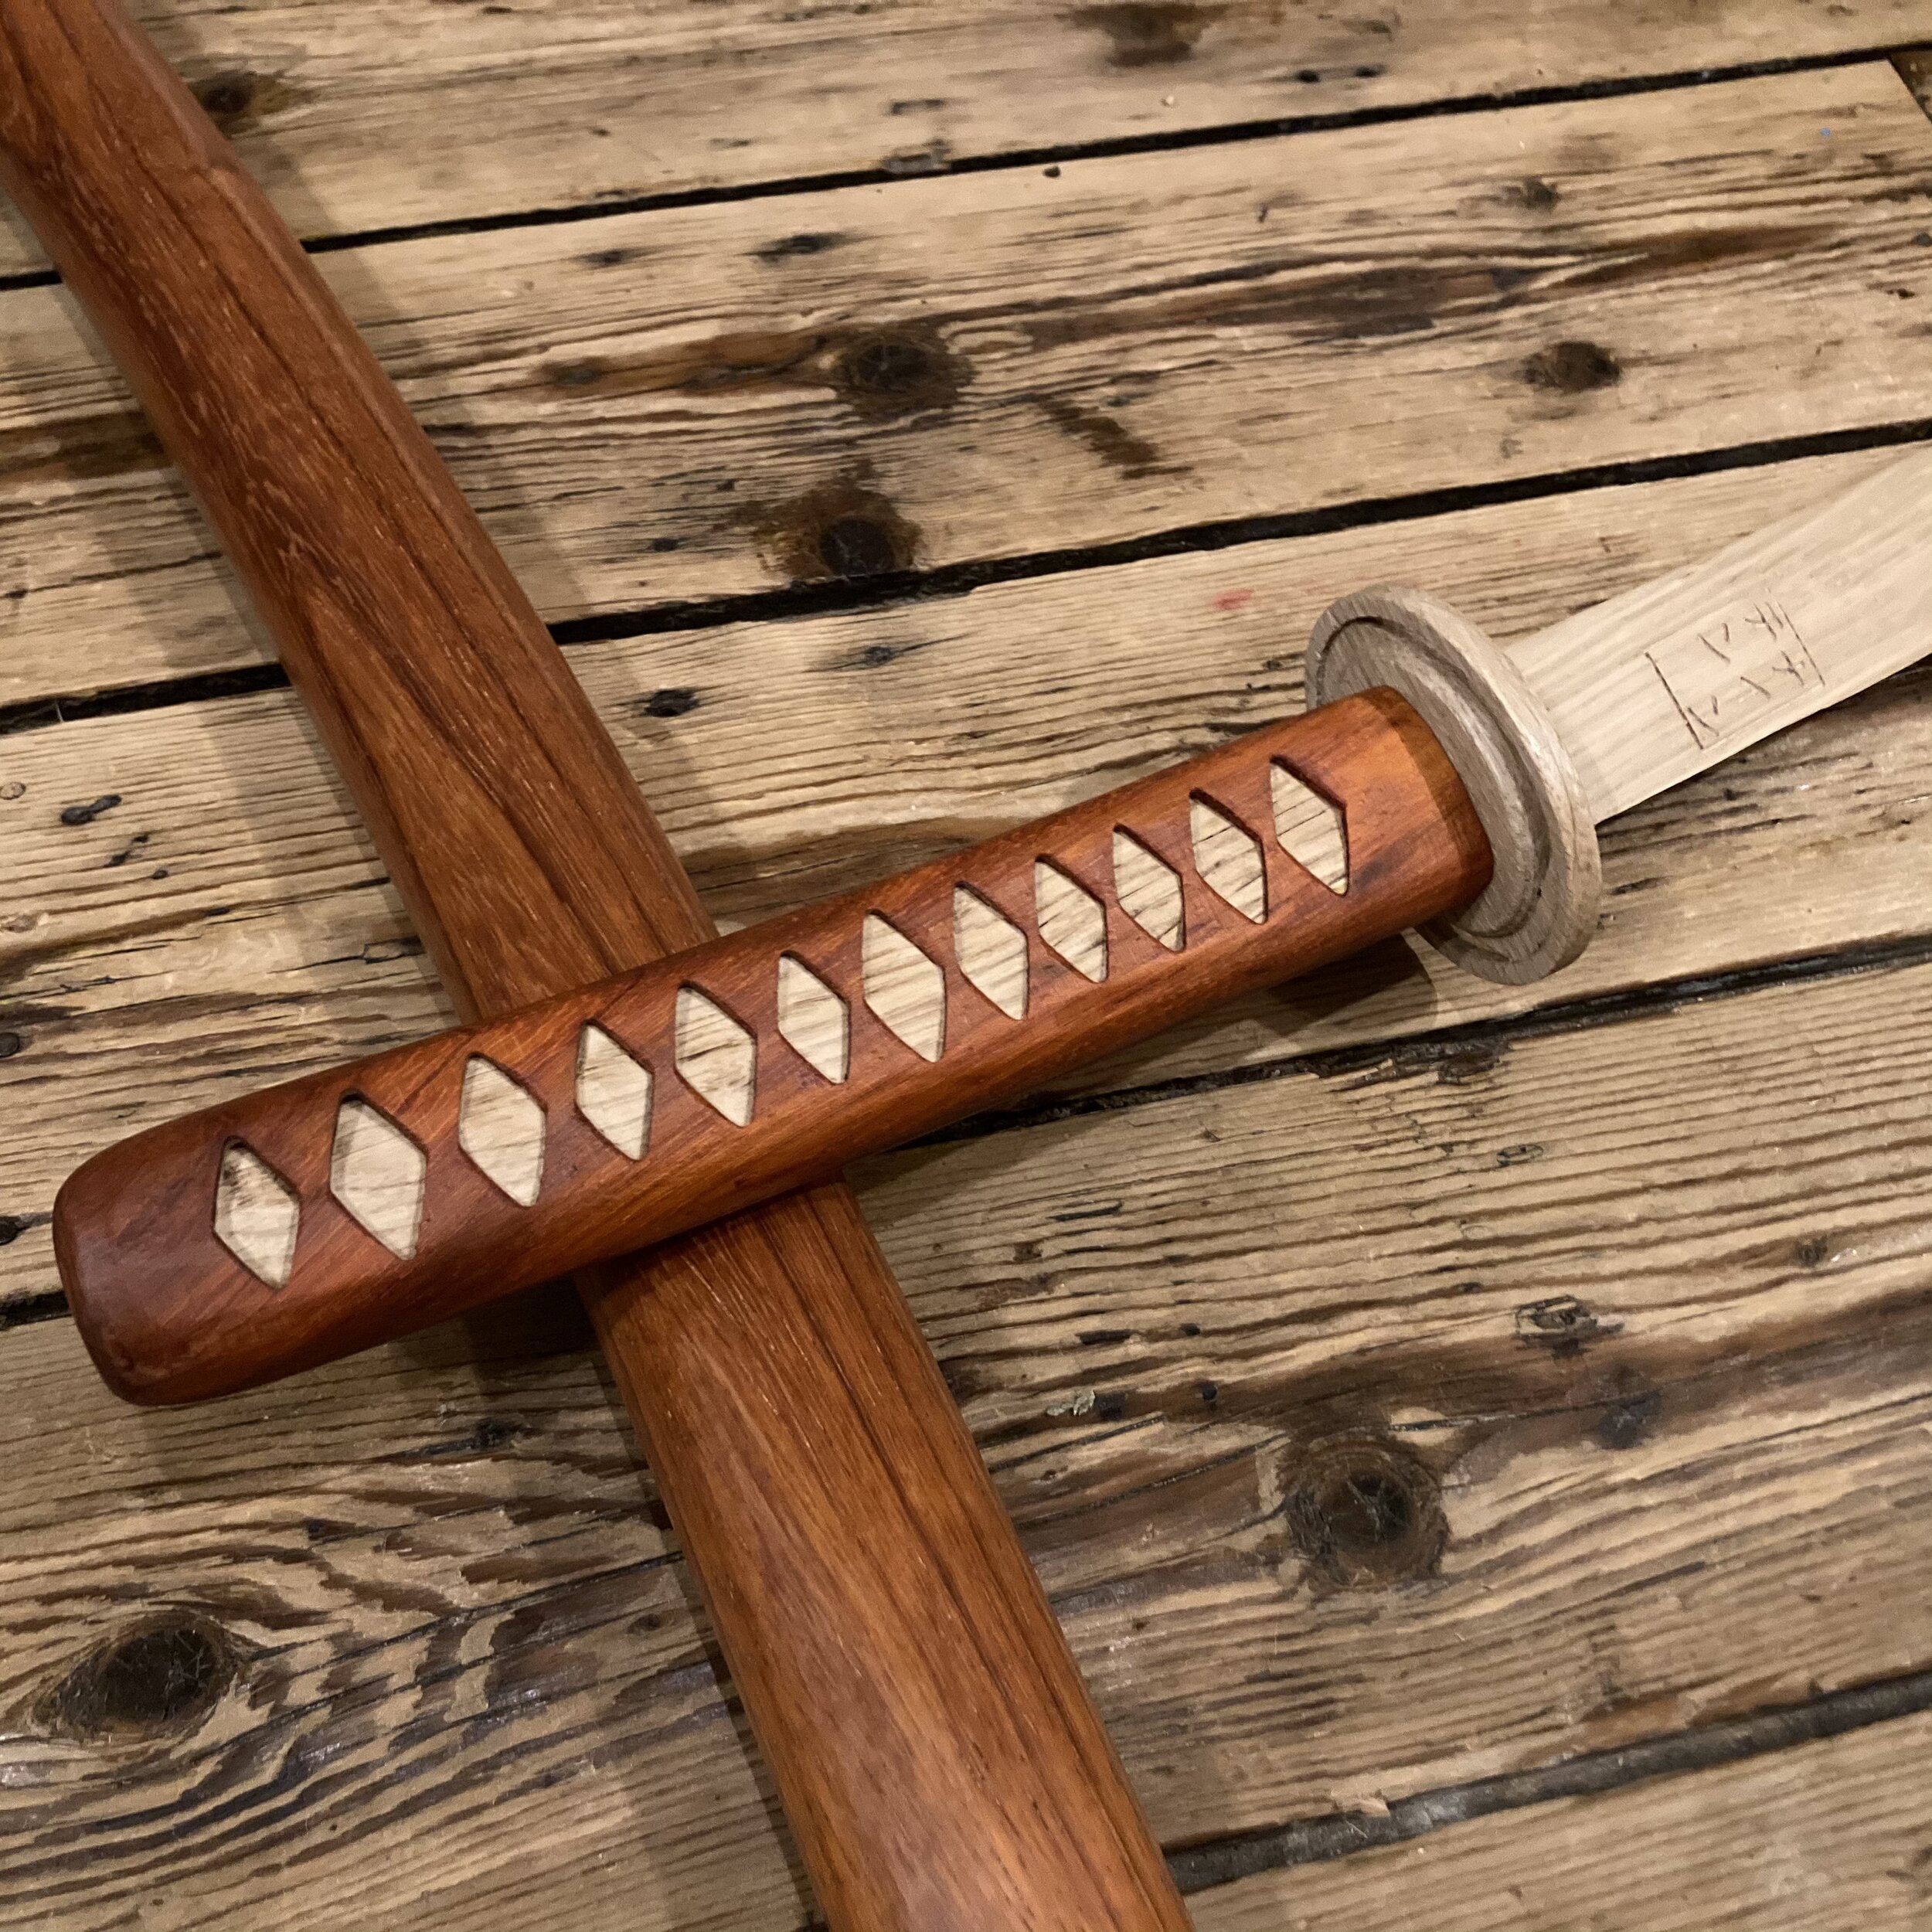
The Nicola Florea. Padauk and Oak. I was asked to put a katakana on the blade, so I did! By all means, go and figure out what it says :P
The Tsuba. Nice swirlyswirl in the edge. It sort of becomes quite fragile in certain direction. I guess I should've oriented it differently on the grain.

See? See? I shouldve.... (I fixed it... or... my wife did. She's pretty good at that :D)
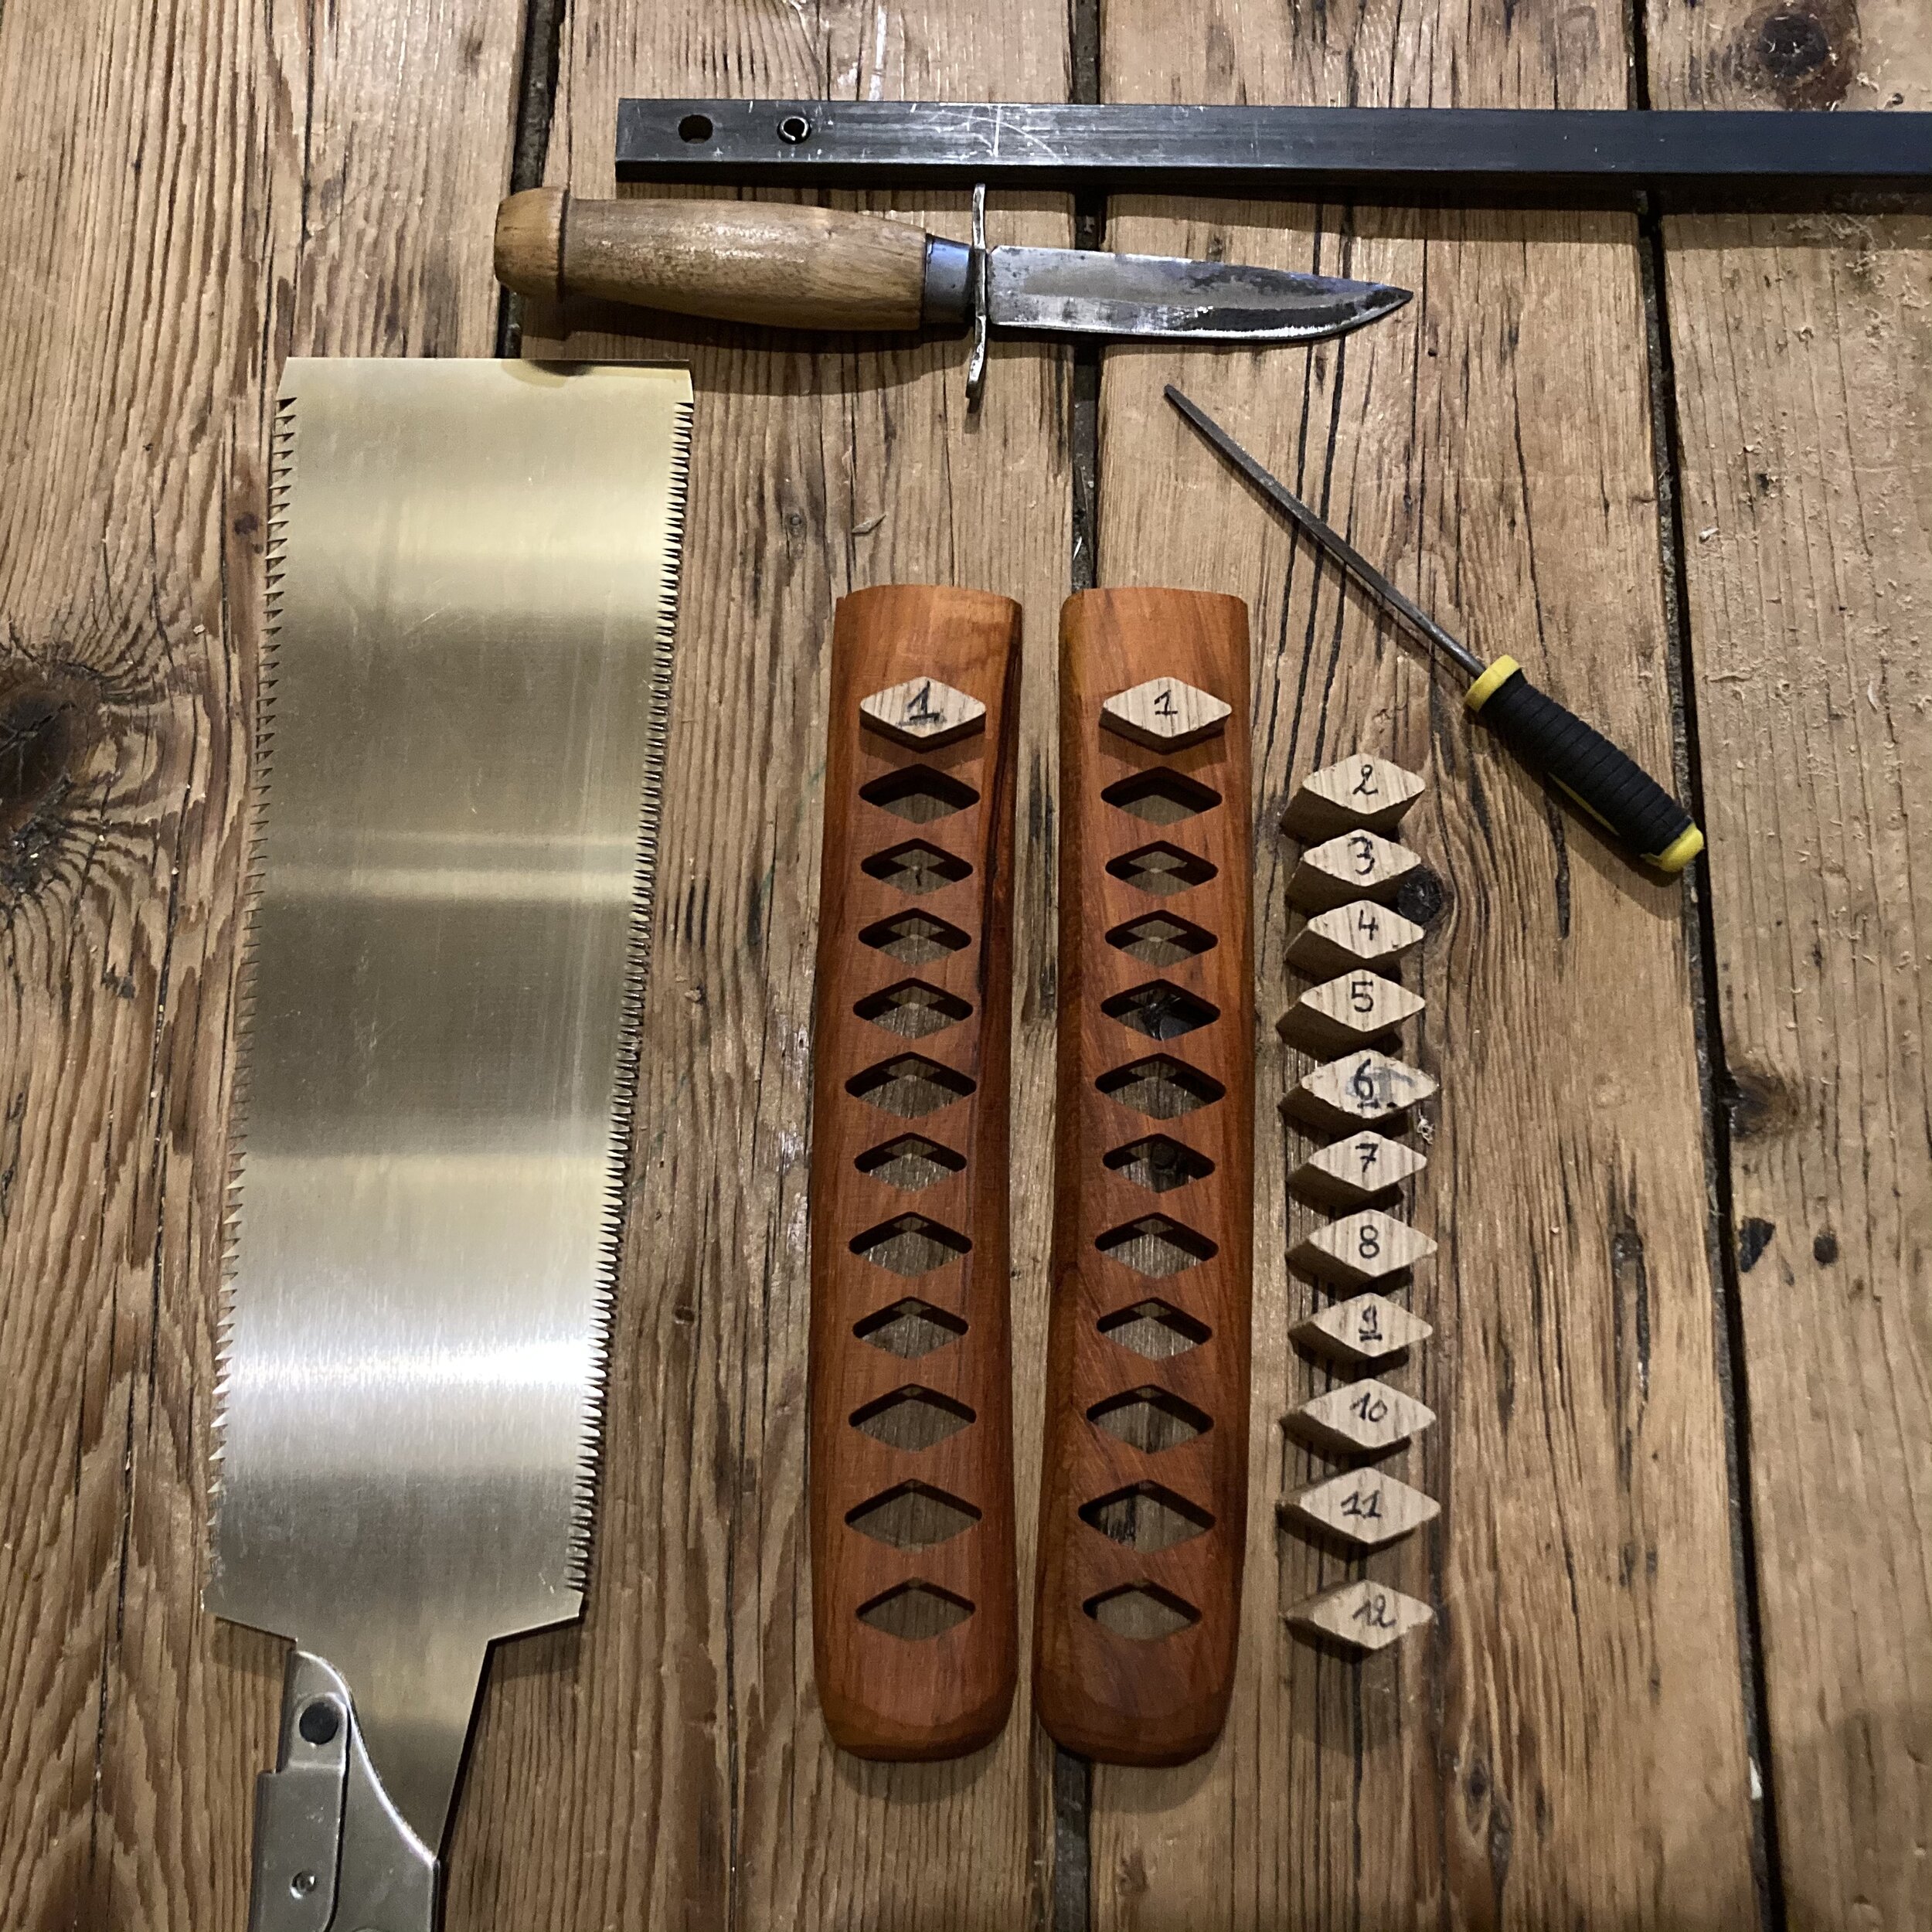
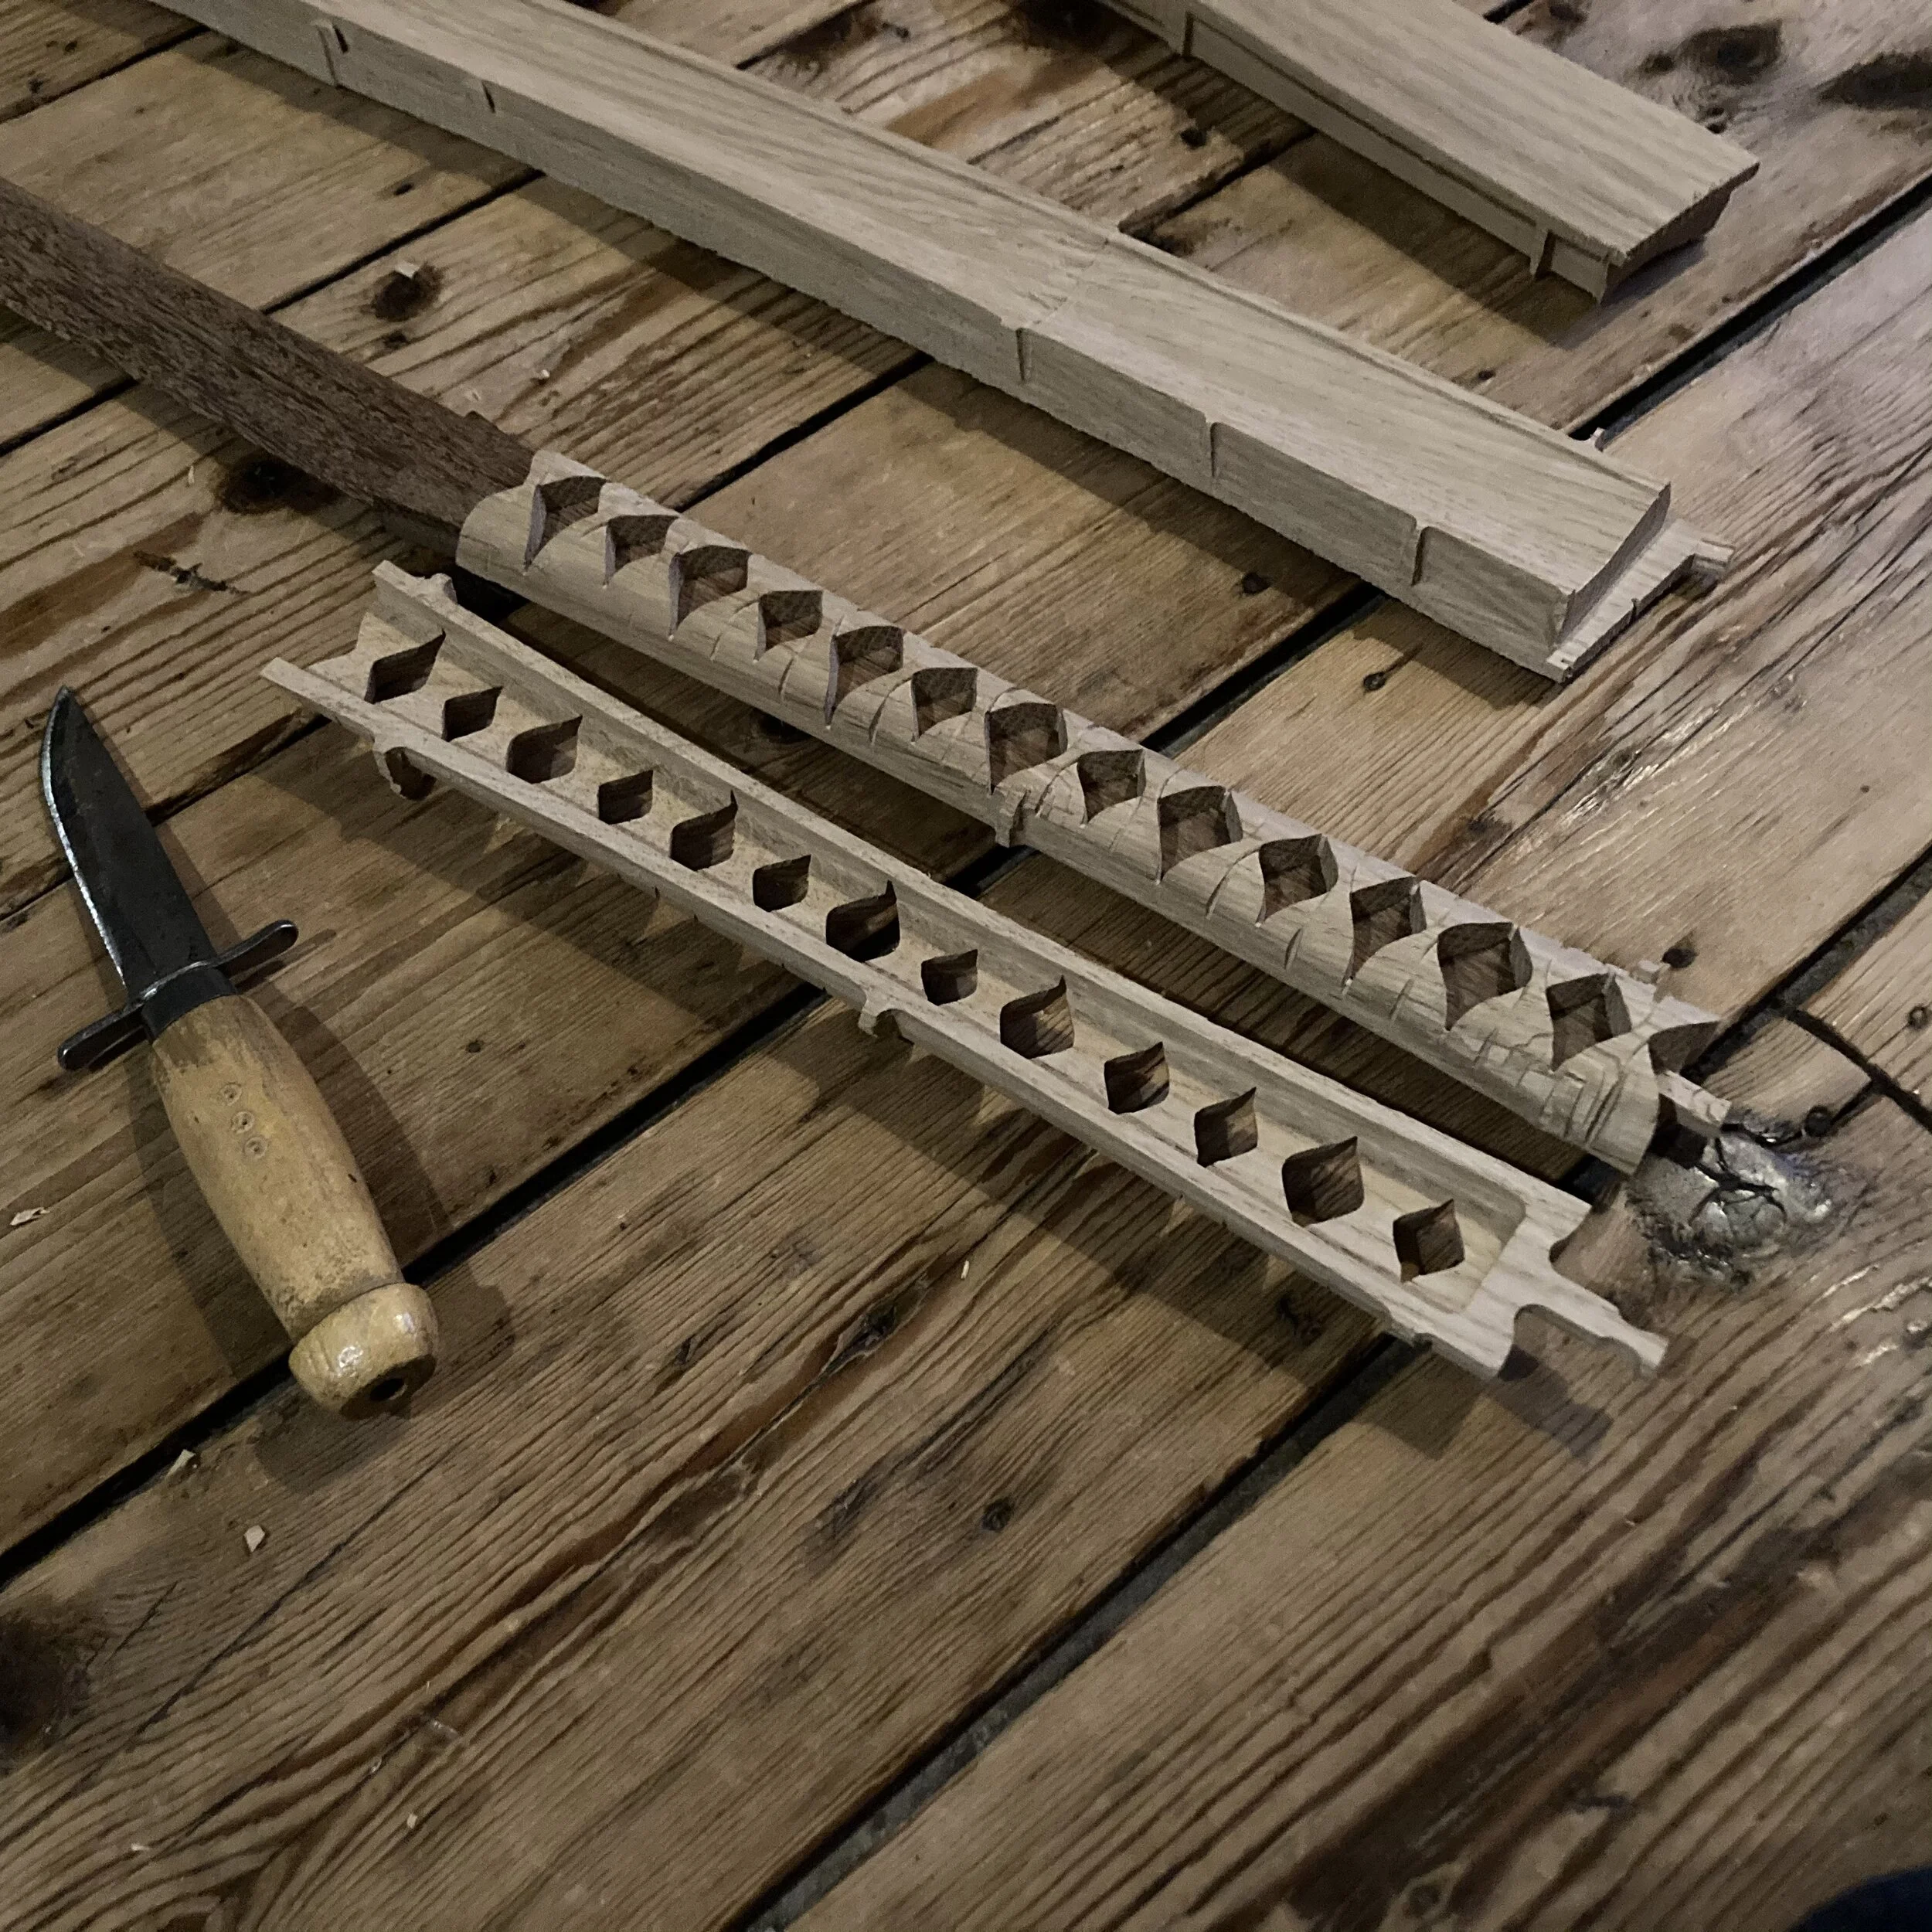
In a first attempt to mimic the weave on these swordshandles, I made fillings for the holes and made them all slightly different. That... eh... took a bit of work.

Basic blade and handle and guard, ready for a first try at assembly.
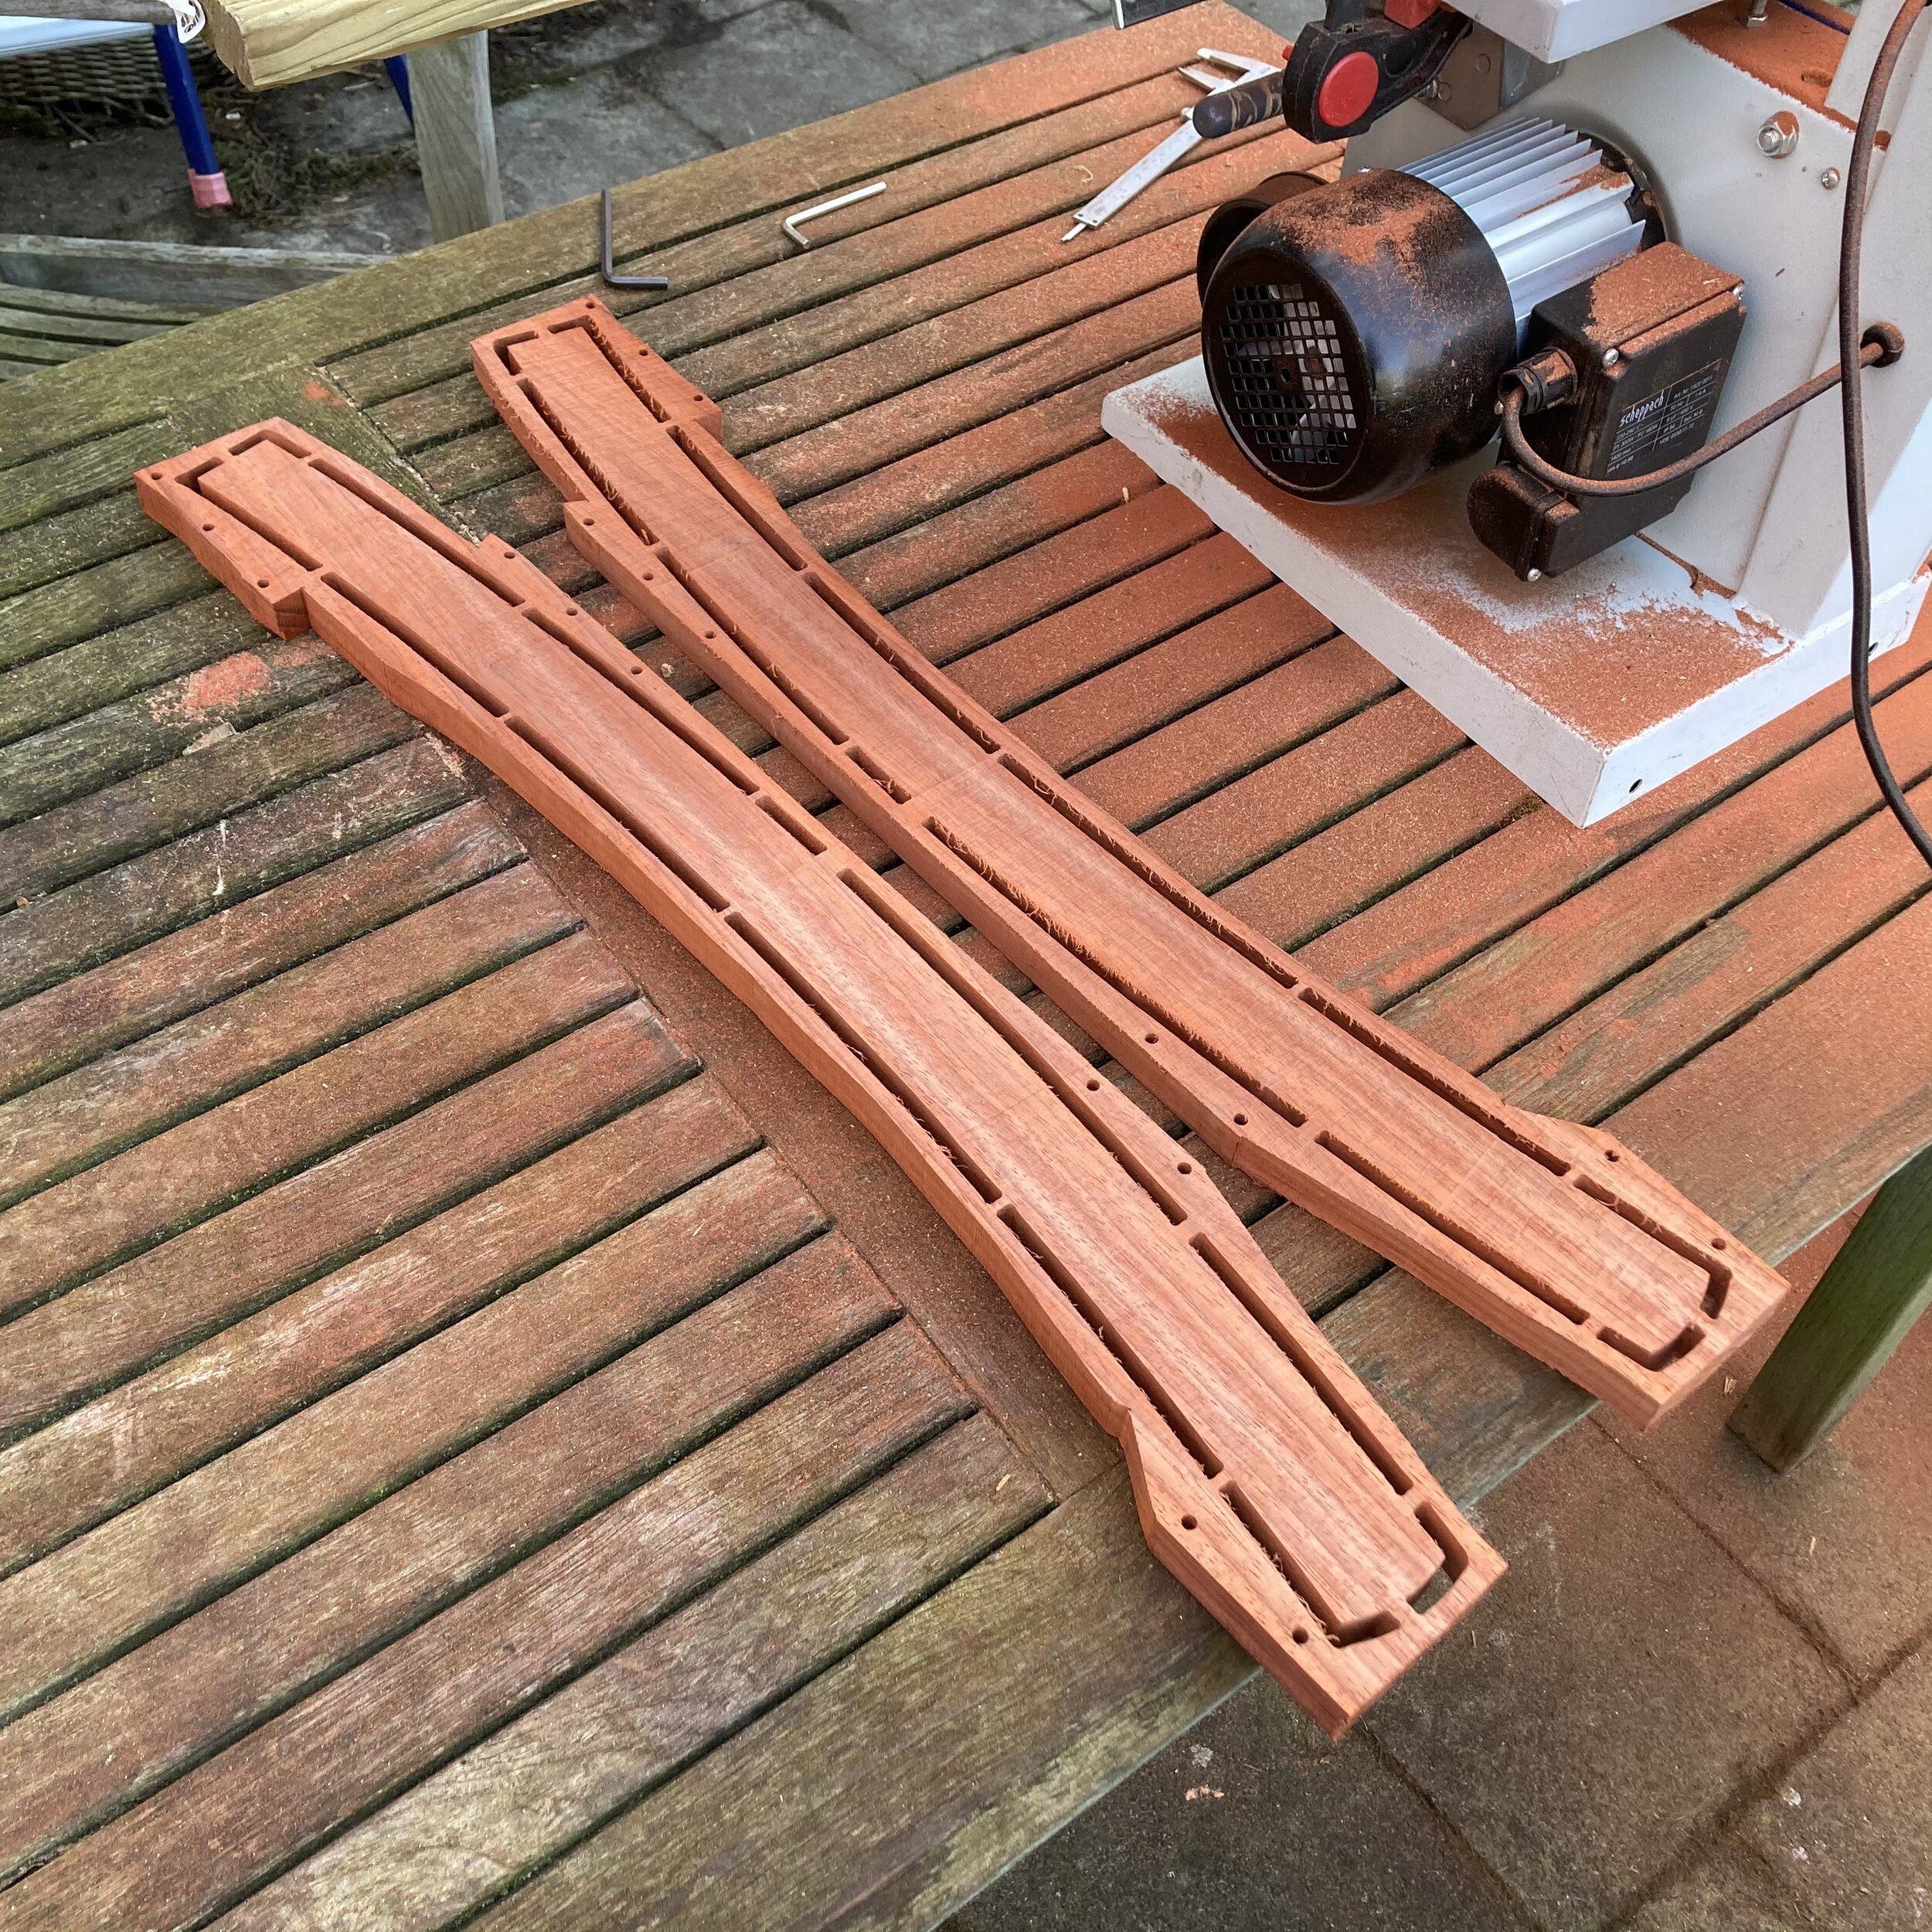
The Saya. I used a single block where I put in some reference holes and routed through the basic shape of the sheath. Then cut it in half.
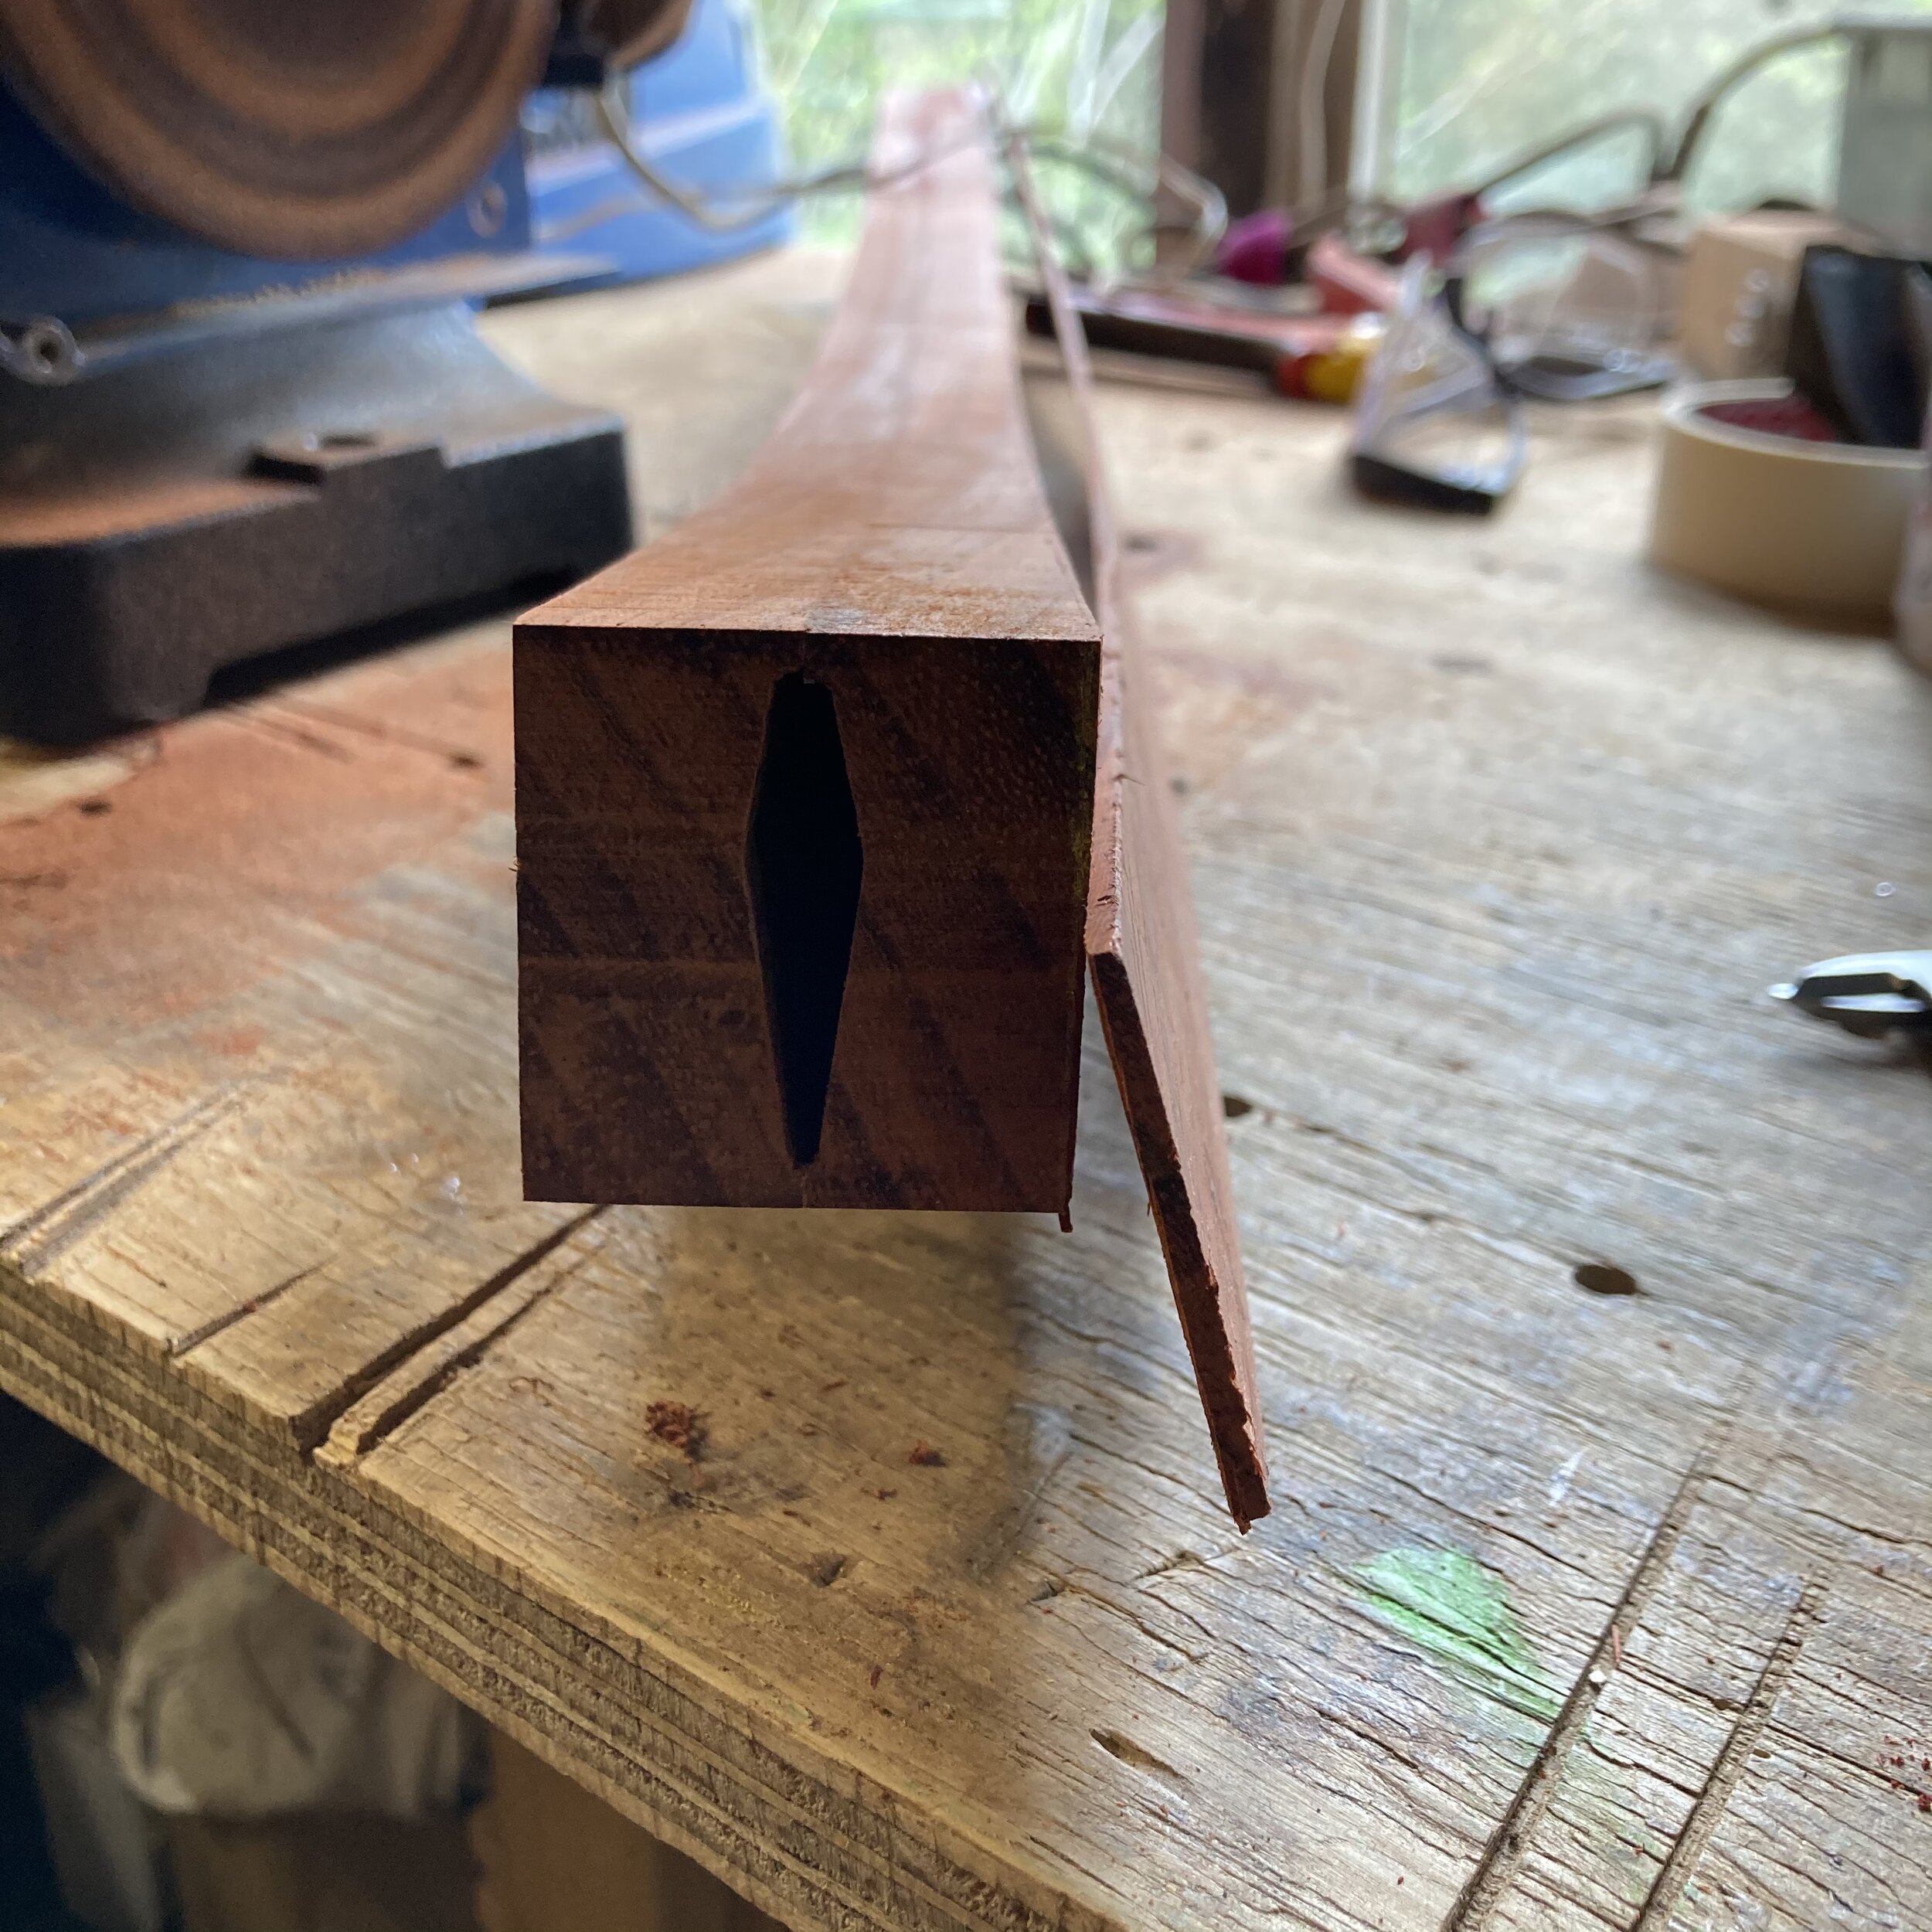
So that's what you get when using a single block and a nice fine bandsaw. Very little shift when putting it back together.
I call it Ovaliffication. Even though I've been told that's not really a word. (It should be.)

Sword and sheath, cosy on an ex-sheep.
Sword, unsheathed. Still cosy on some furs.
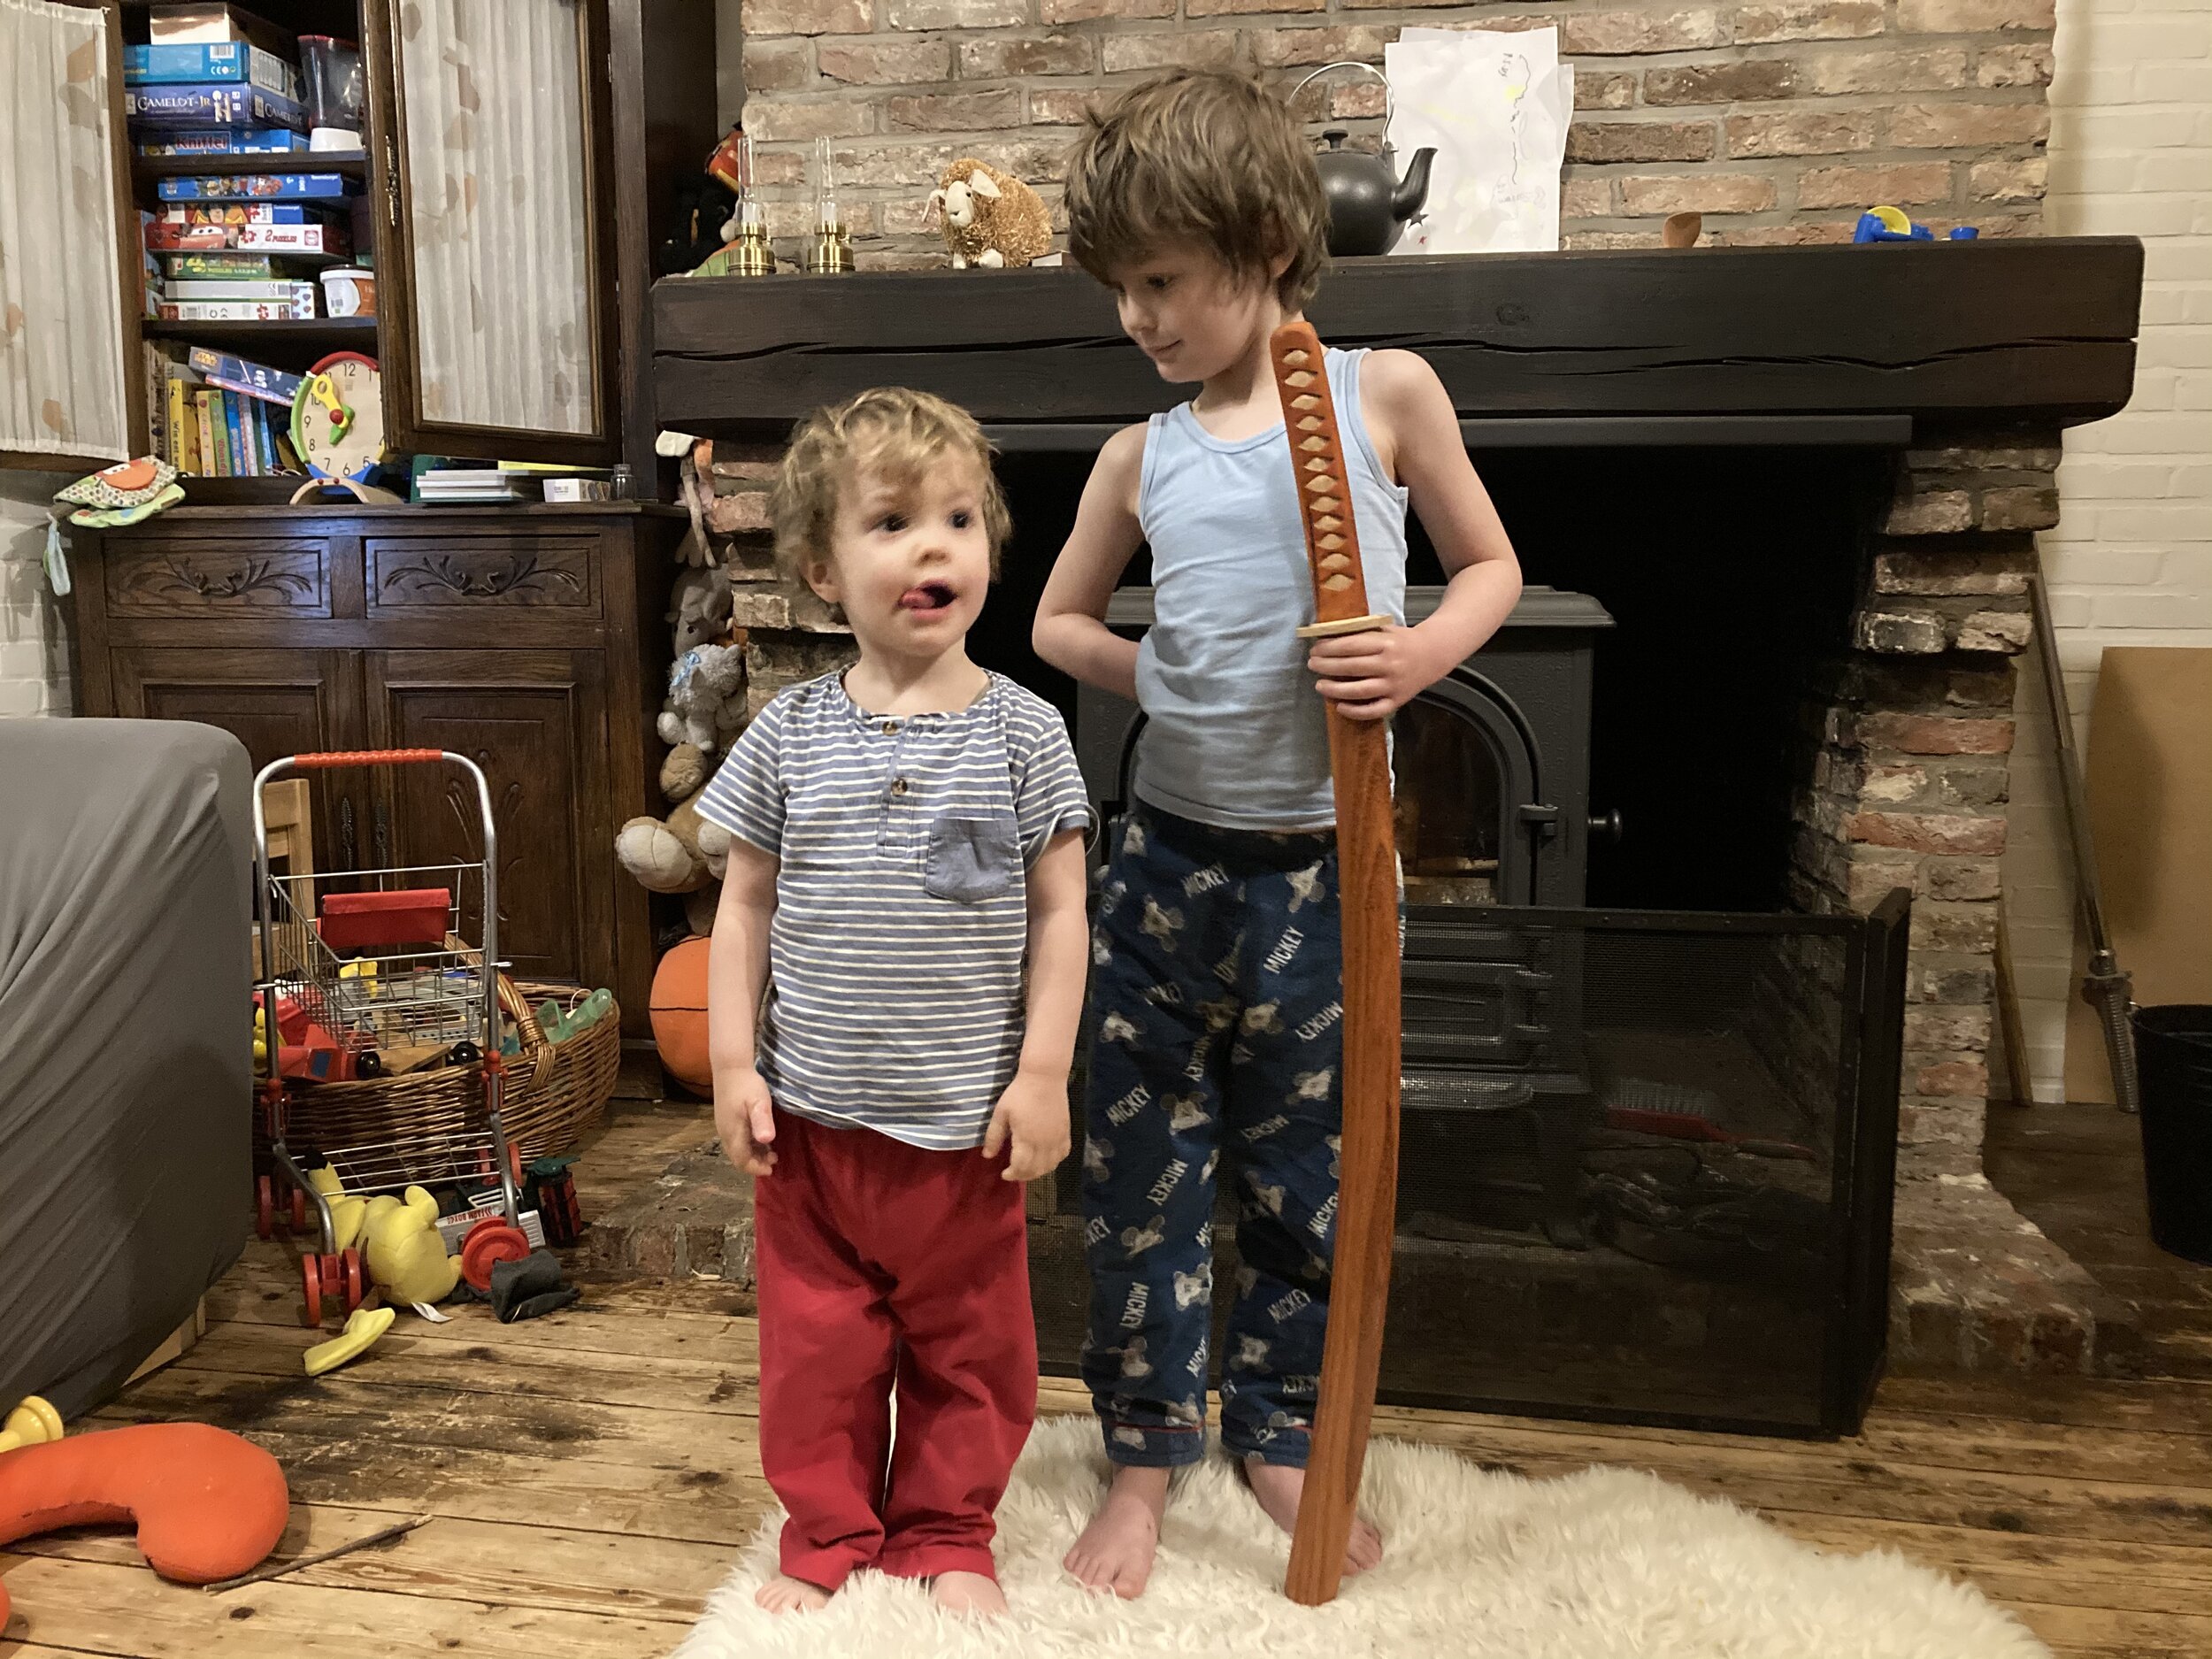
Kids for scale. Even though you have no idea how tall they actually are.

another look nice look illustrating the handle, the tsuba and an idea of the curve of the blade.
Ooooh, so tight. And I'm very happy with the way the sheath worked out after putting it back together.
Strike a pose. Handle placed on the sheath with a lovely backrgound of my living room splintery floor.
The Bouke Cools

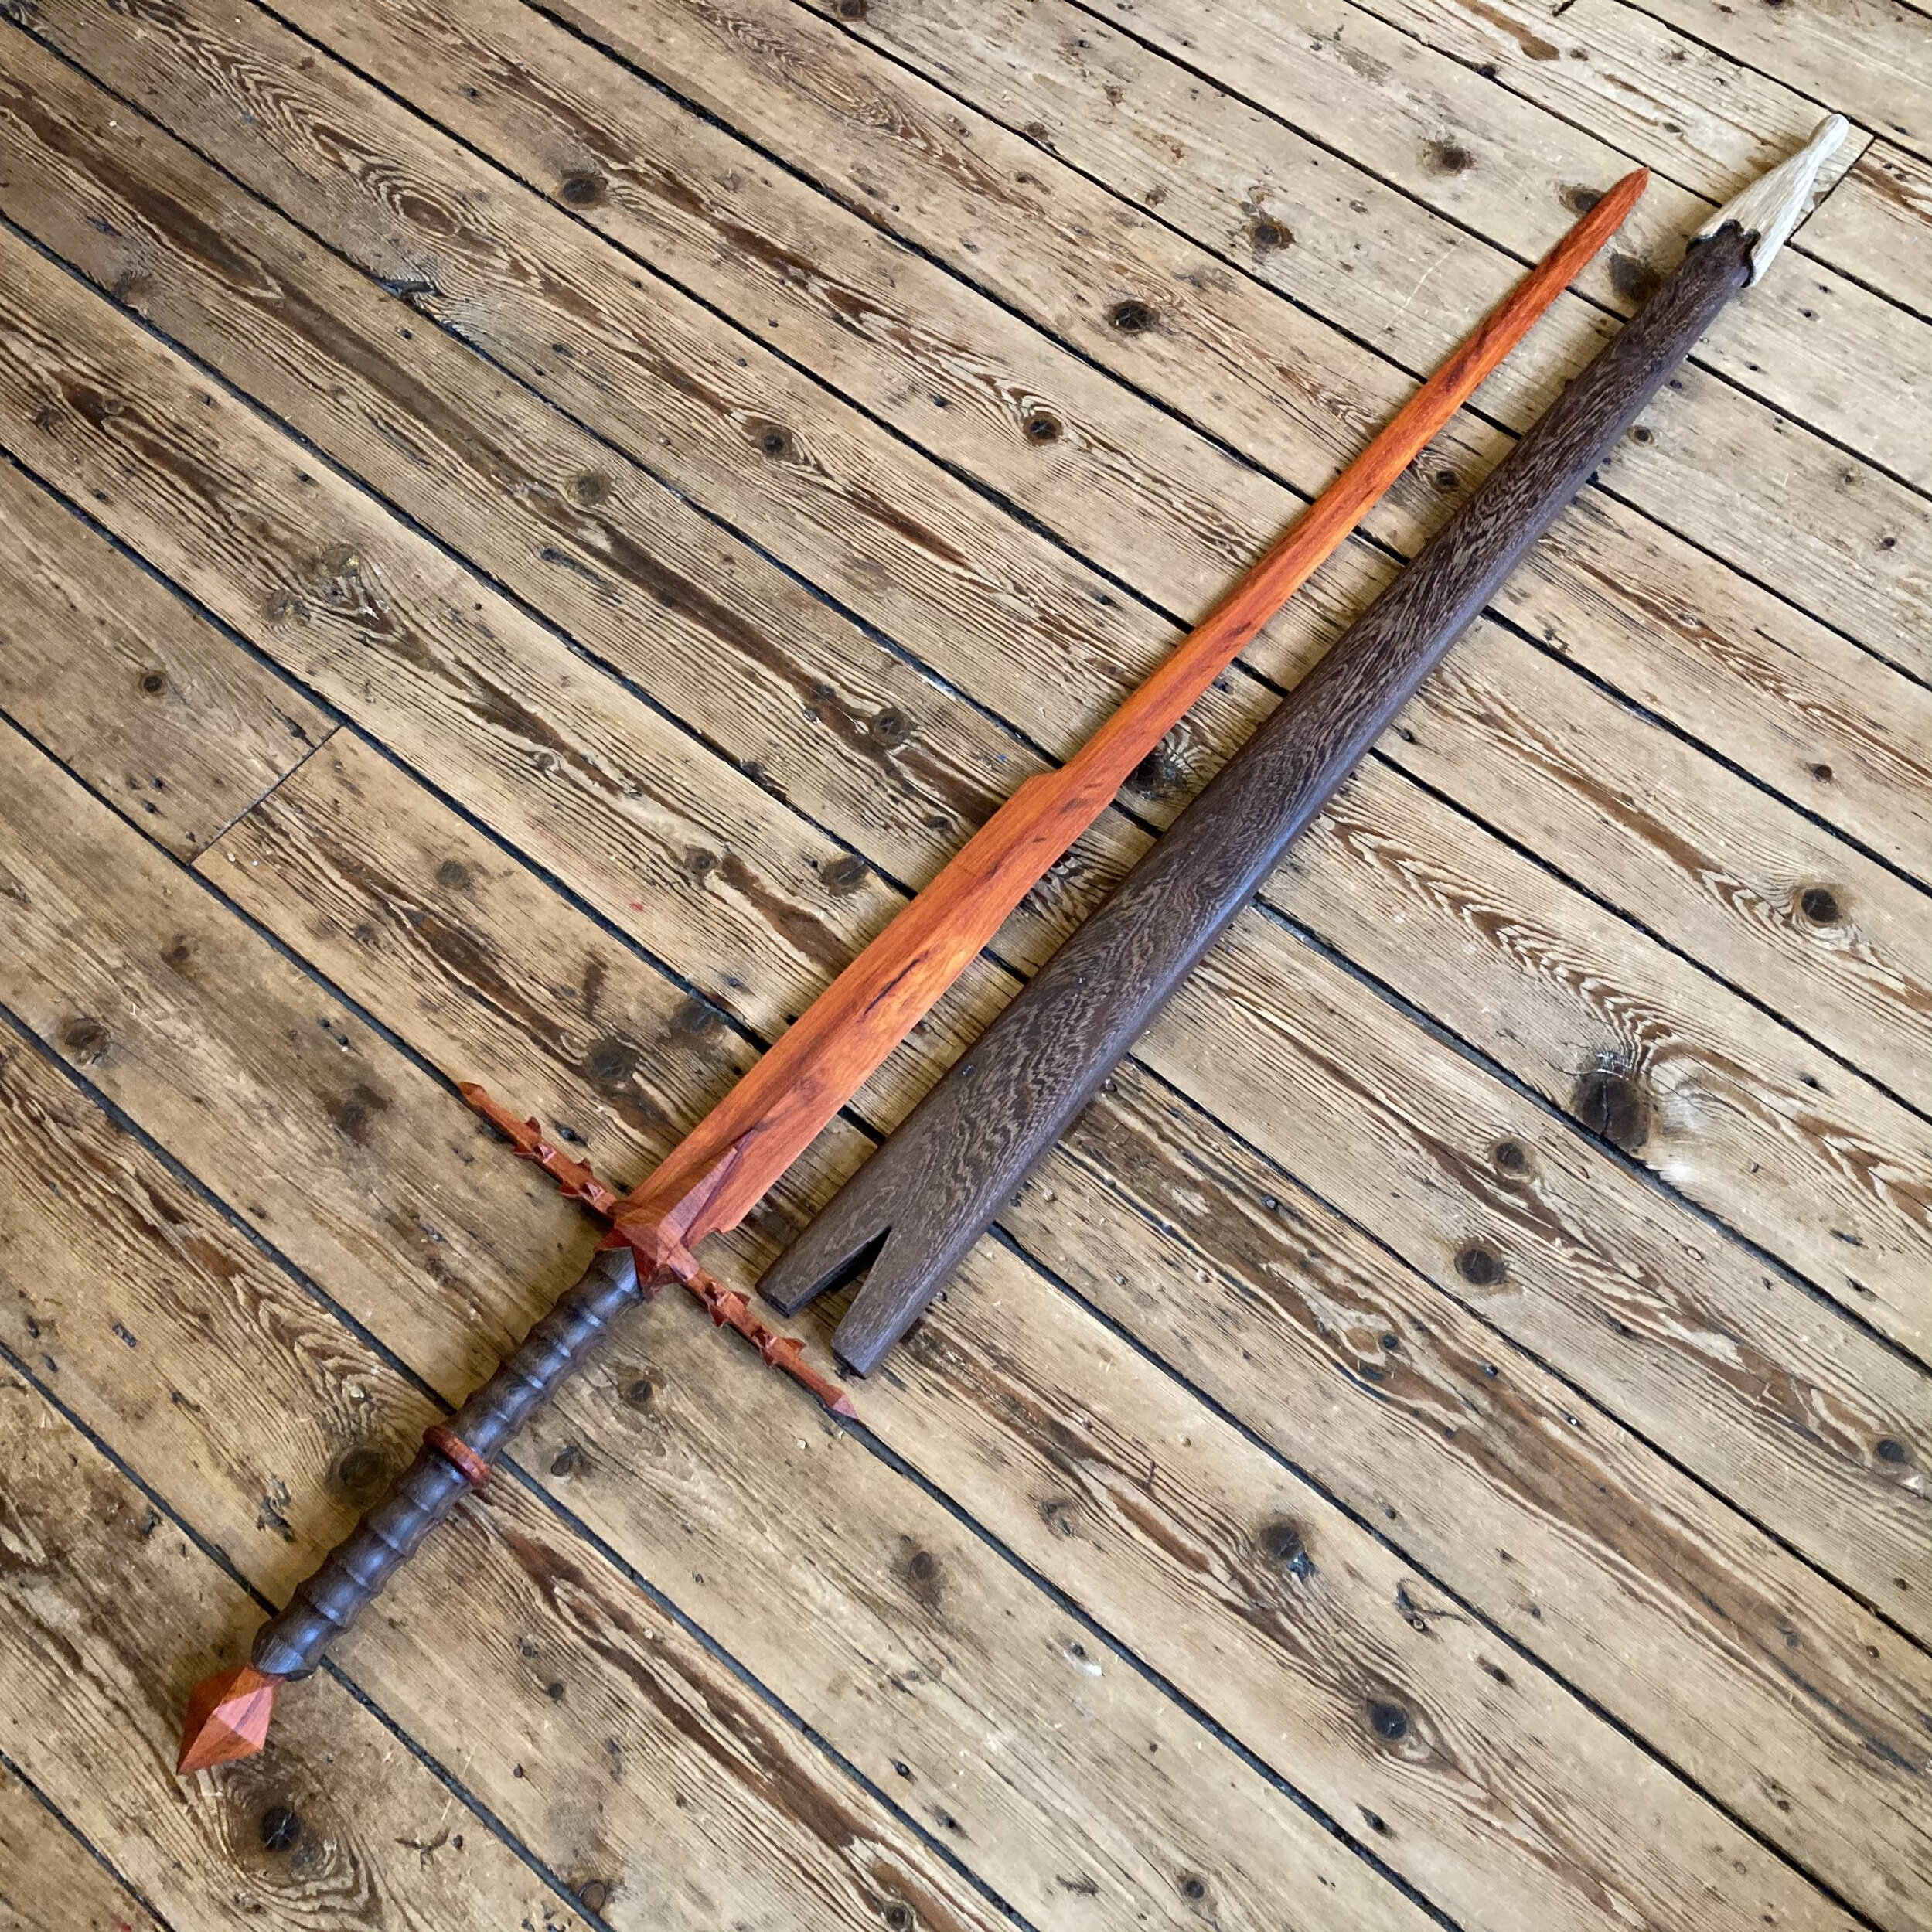
The Bouke Cools Inspired by the worn sword of the Lord of the Rings Witch King of Angmar. The blade and parry are made of Paddouk and should turn grey over time. The blade is 95cm. Handle to sheathtip is 1m28cm.
"The mould" and the first itiration of this blade. Well... I shouldn't say first... but this one has another story for another time

The blade in Paddouk, edge finished.

Umpteenth attempt at the hand guard. Still not what I wanted them to be, but I ran out of wood :D

The handle in pieces after I put the fingercurves in there.

Handle, fitted on a mock handle so I could work on it.

First fitting of the pieces.

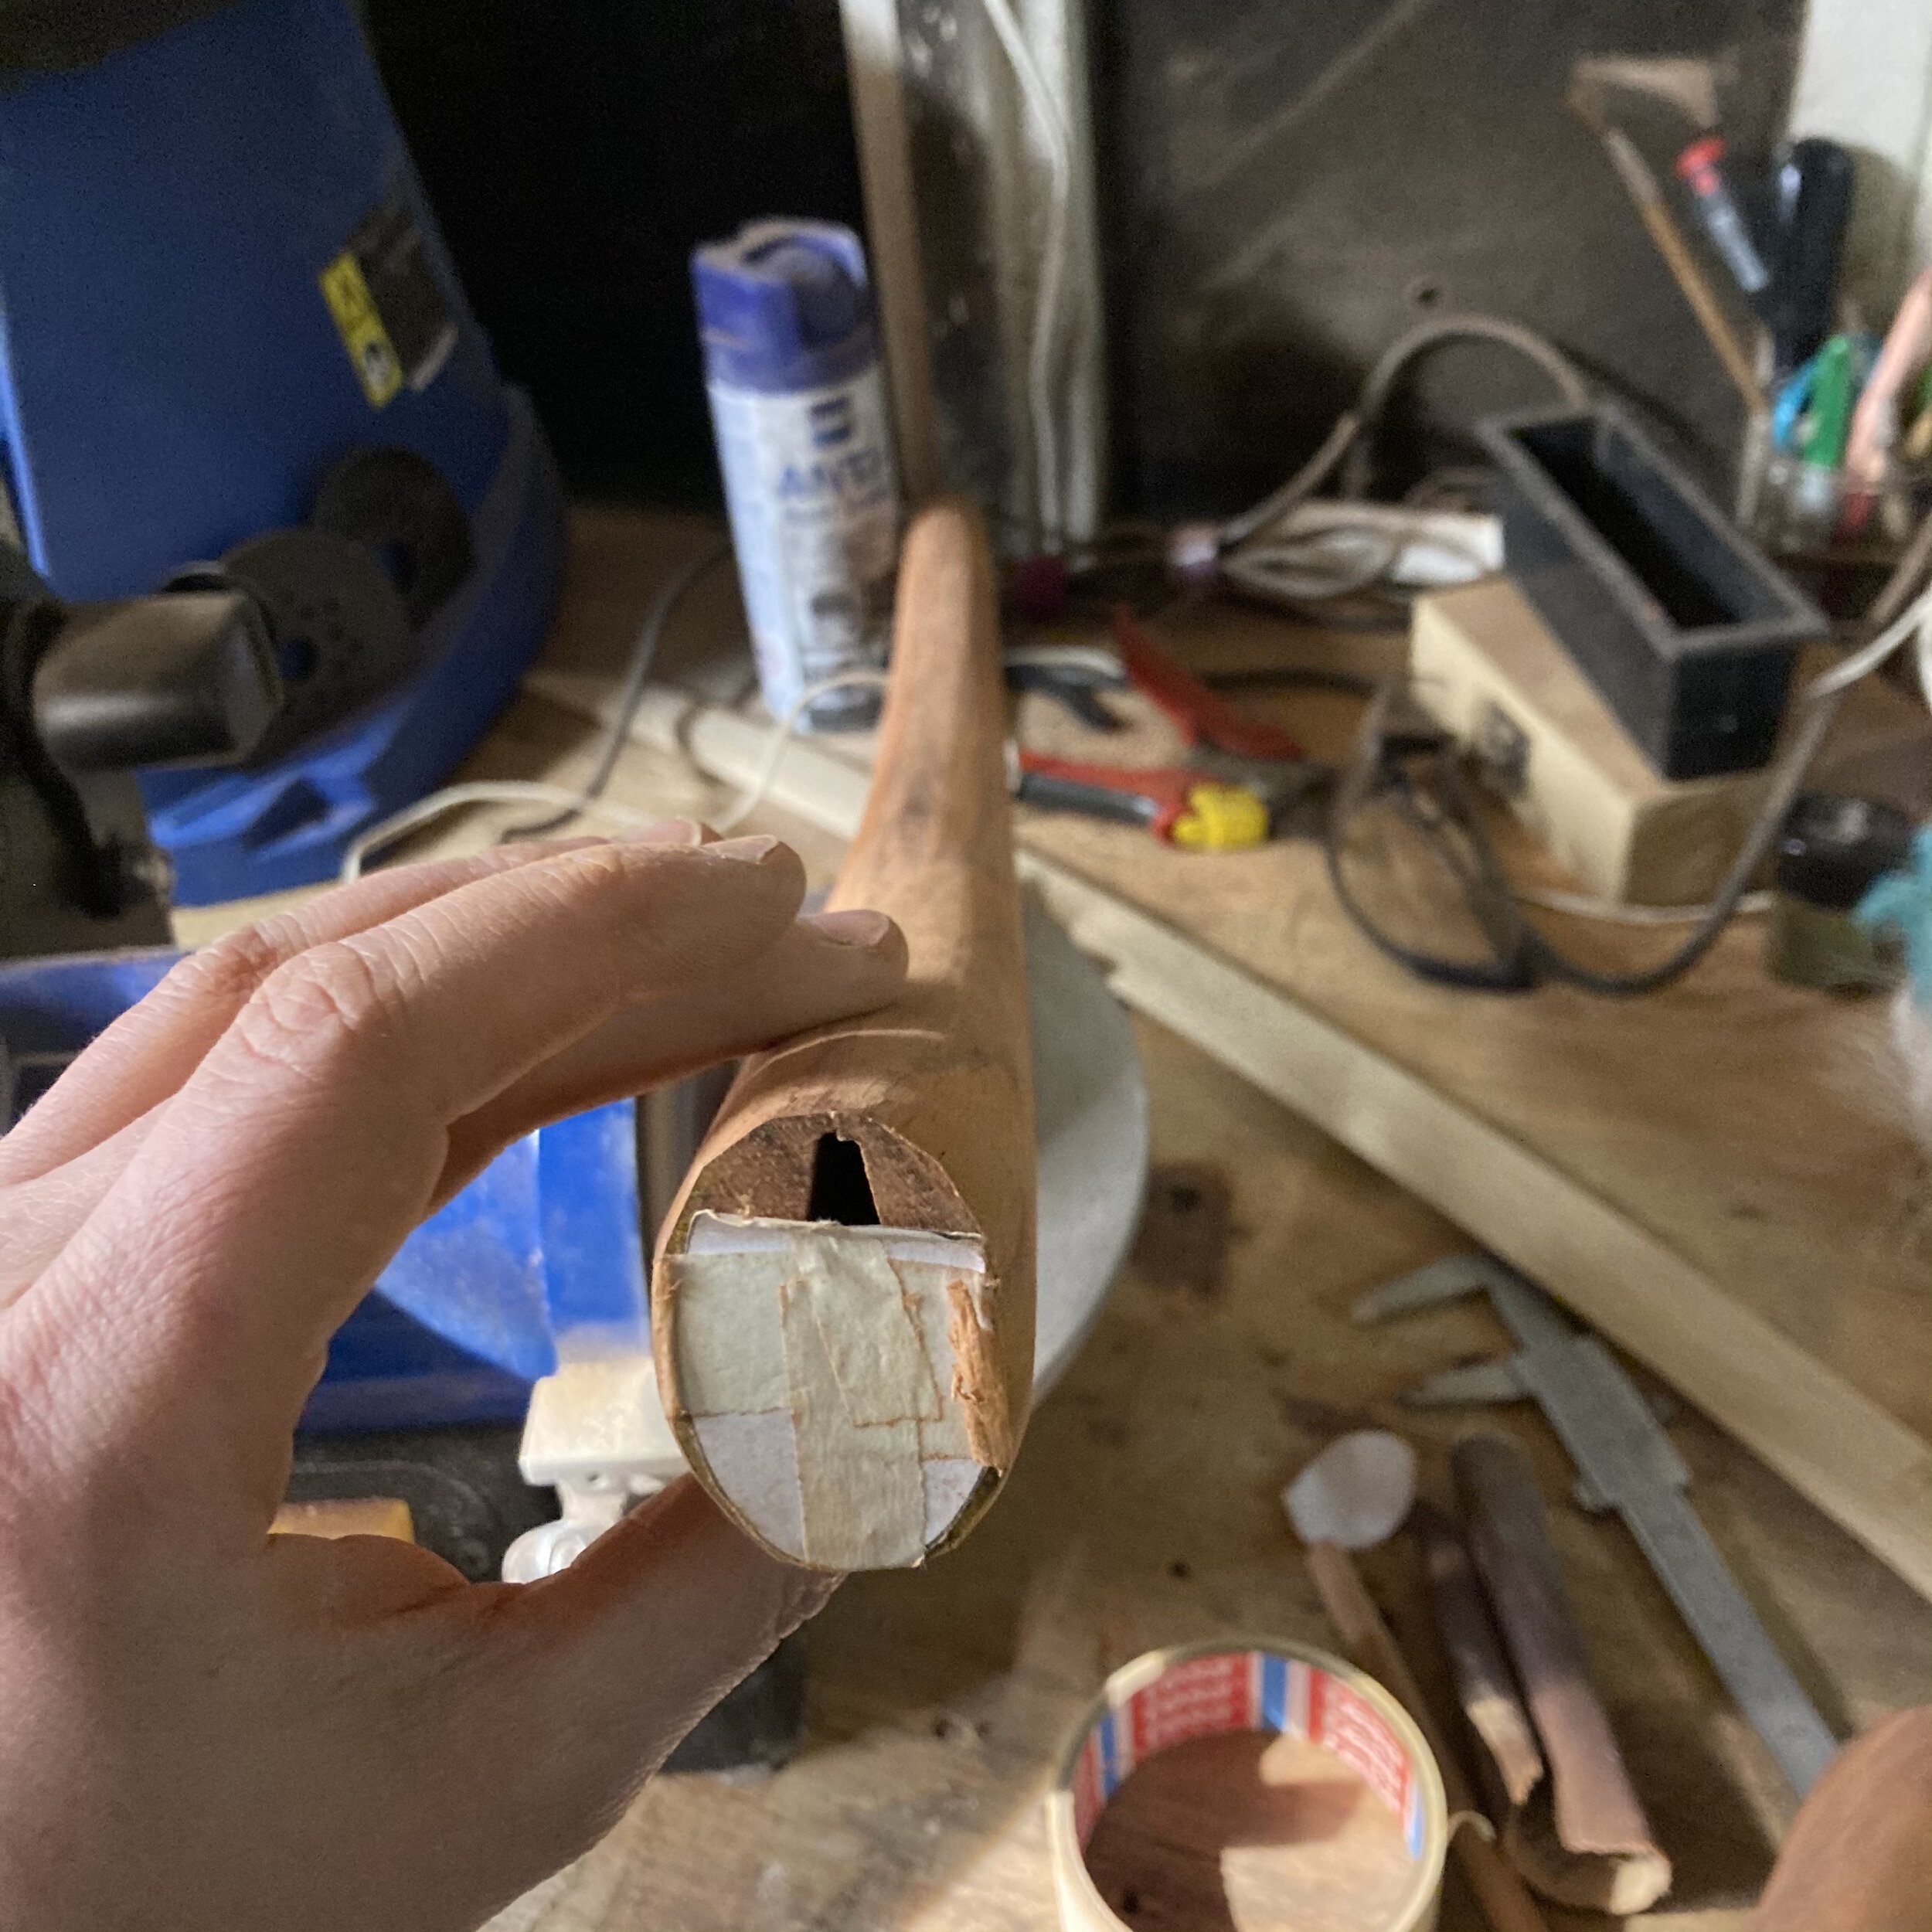
The sheath. Basic shape is done, interior checked and adjusted. Time to put it together.

Fitting the handle to the guard.

The Bouke Cools ingraving in handle.

The assembled sheath, pre finish.

The almost finished sword, before final checks and before final finish. Nr.2 for scale.

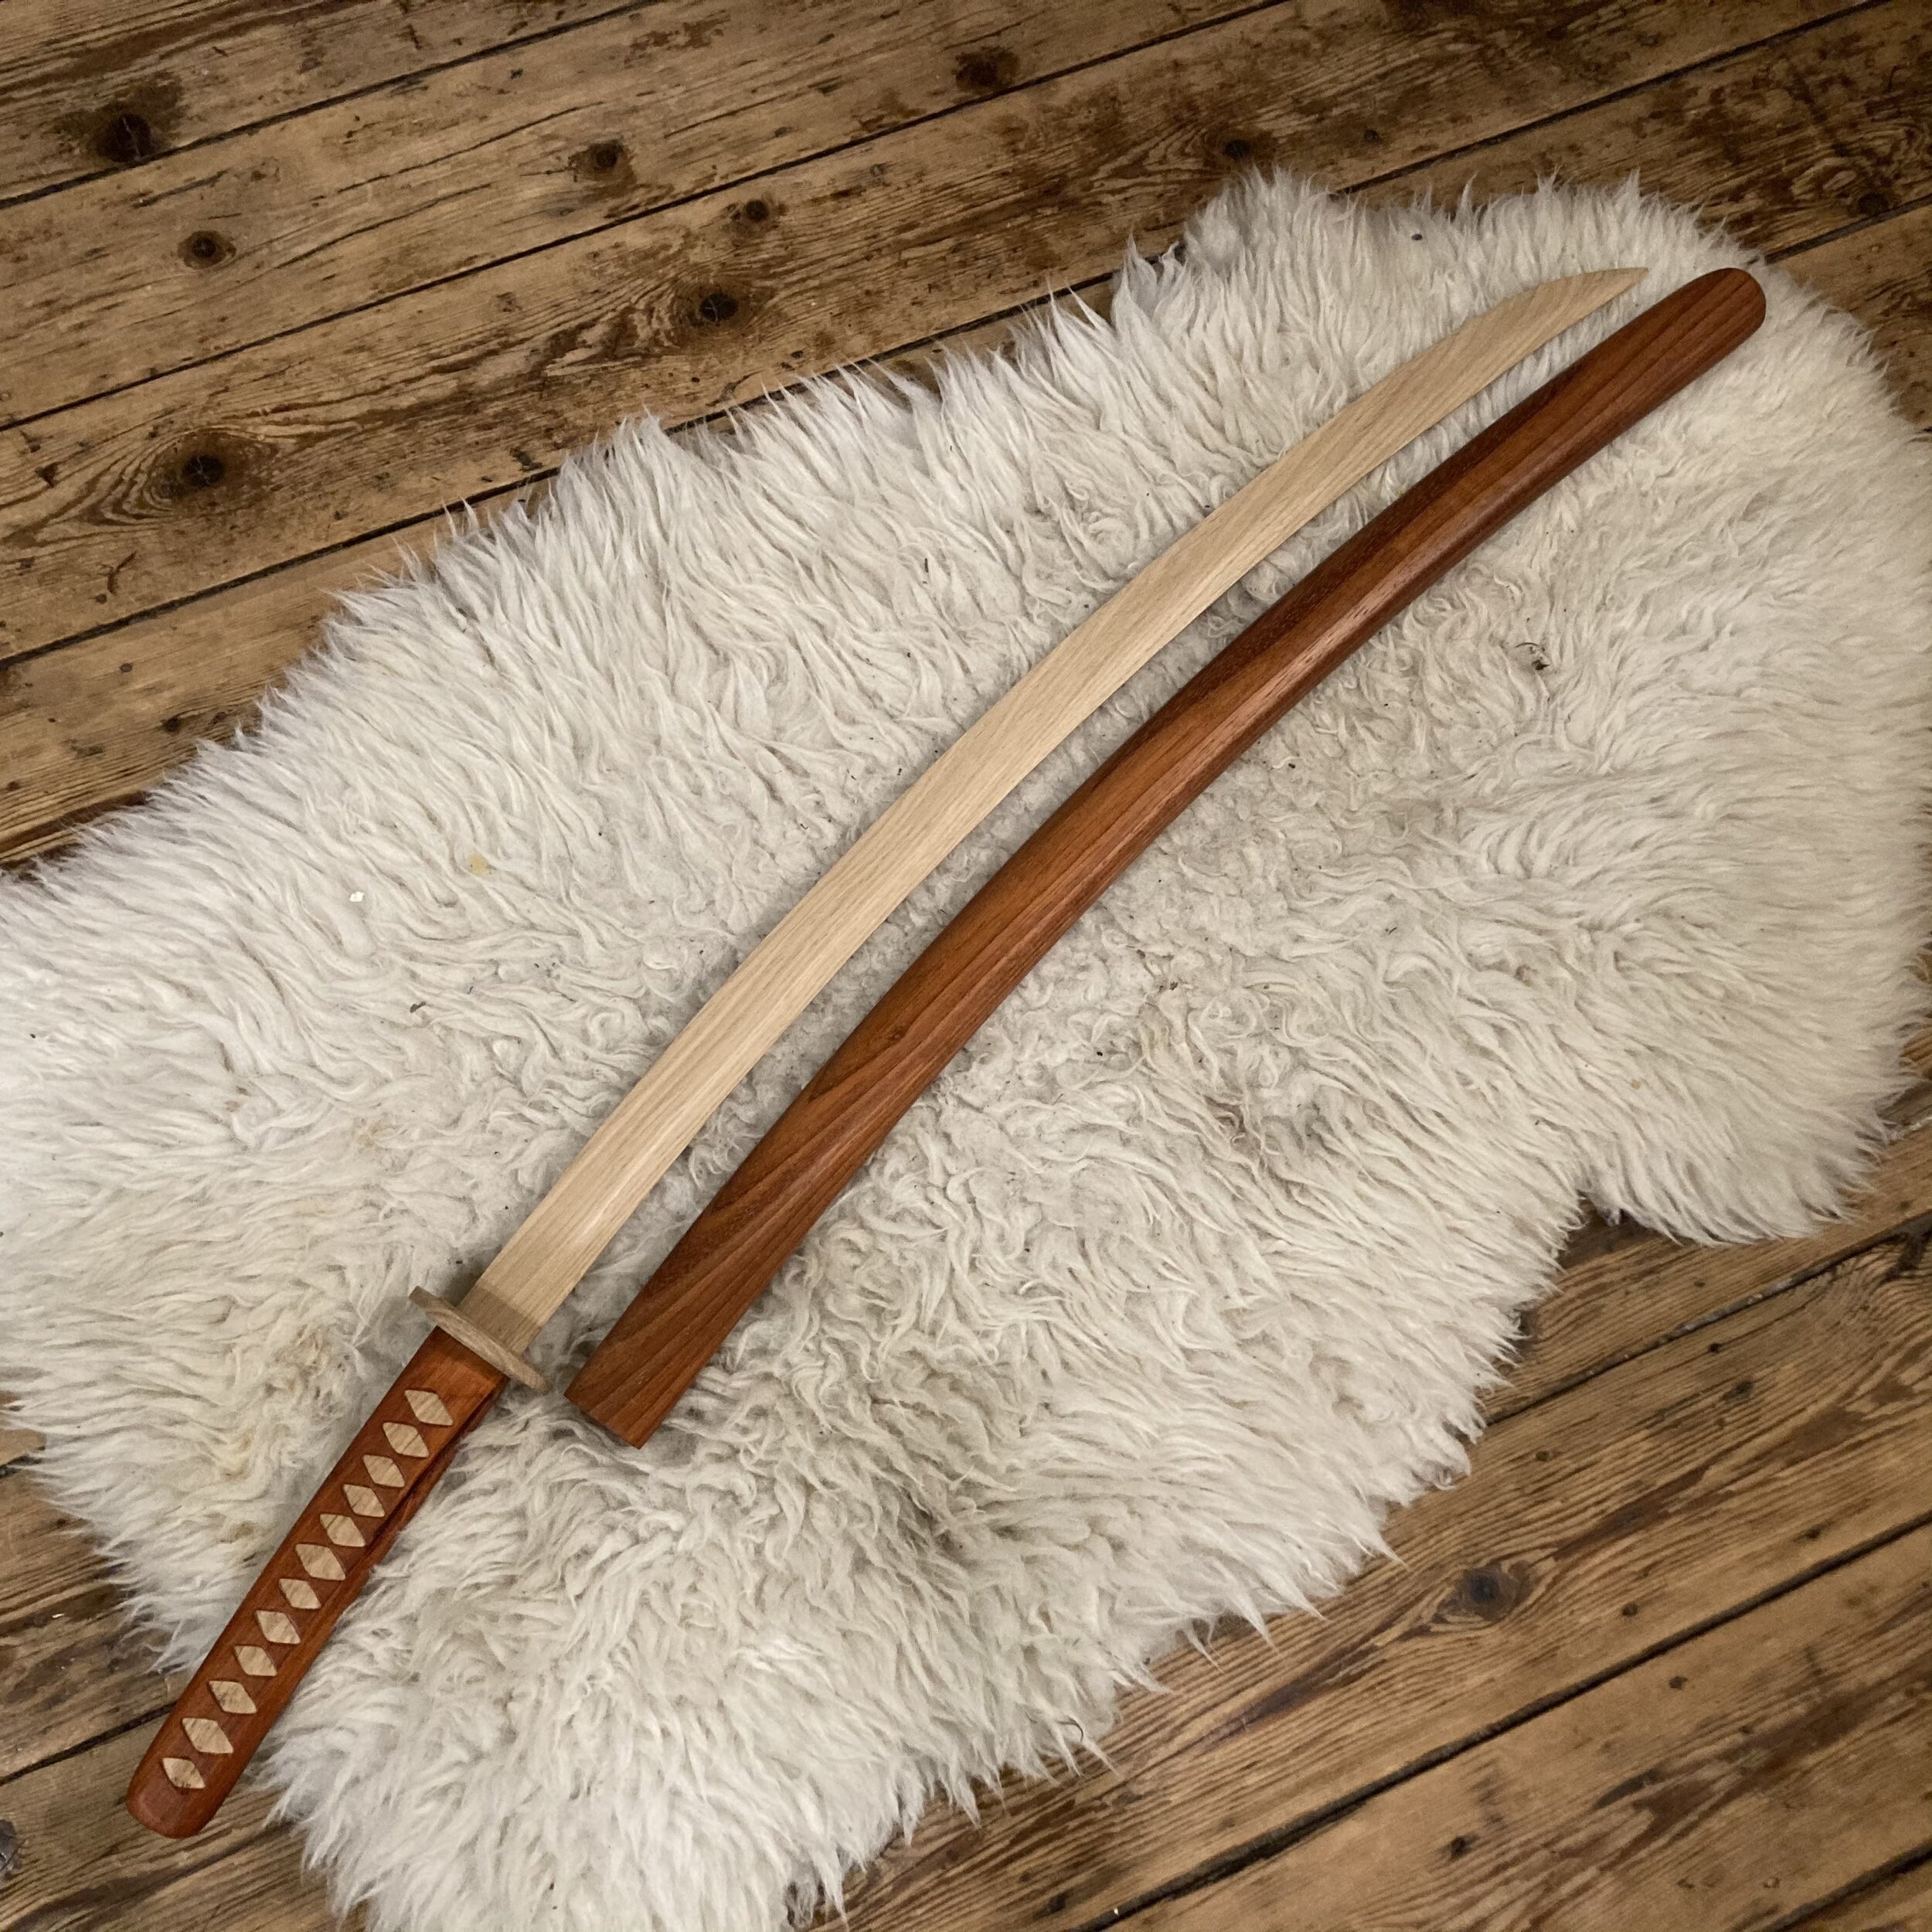
Finished sword. Had to pose out in the snow. Because you never know... winter might actually be coming. (hah, right...)

The handle, the guard and the top of the sheath.
Sword and sheath, side by side.

Giftwrappings for a guitarist :D
The Vincent Verstraeten

The Vincent Verstraeten. Laid out nice and comfy on it's wrappings. Wenge handle and sheath and Oaken blade. VV-inlaid in Oak.

The blade after it's initial sharpening. I like to leave it slightly blunt untill the very end.

Inside the sheath, I made a bit of a step at the last 5cm so afterwards I could make a perfect fit.

So that goes there and that fit there and... Still need to separate the handle from the sheath in this one.

Blade and sheath laid out.

Yep! Looks like it'll fit :D

V's. Nice Oaken V's.

The Initials for the handle and the sheath, here still in pieces so they'd separate when the sword is taken out.

Almost done. Just more (a LOT more) sanding to be done.

The VV and my personal reward at the end of all that sanding :P

All wrapped up and ready to be delivered!
The Lies Dierckx

The Lies Dierckx in its coffer. With two flasks of clear gin on the left and (homemade ofcourse) sloe gin on the right.

Fitting the Blade.

It's a lightsaber :P

Fitting the first version of the handle.

Cleared the inside of the sheath.

It fits!

Blade and handle, right before the glue-up.

The clampy forest

Shaping the sheath. (Say that fast a couple times in a row :P)

Sheath polishing time.

Almost done here. The Handle still needs to be rounded out after I added an engraved end-cap.

Homemade Sloe Gin in the lid.
The Jonna Kokko

The Jonna Kokko. Second sword I built, for a friend's birthday. Lightly curved Katana-like sword. Sheath and handle made from wengé with an oaken blade. Small paddouk separator between the handle and the sheath.

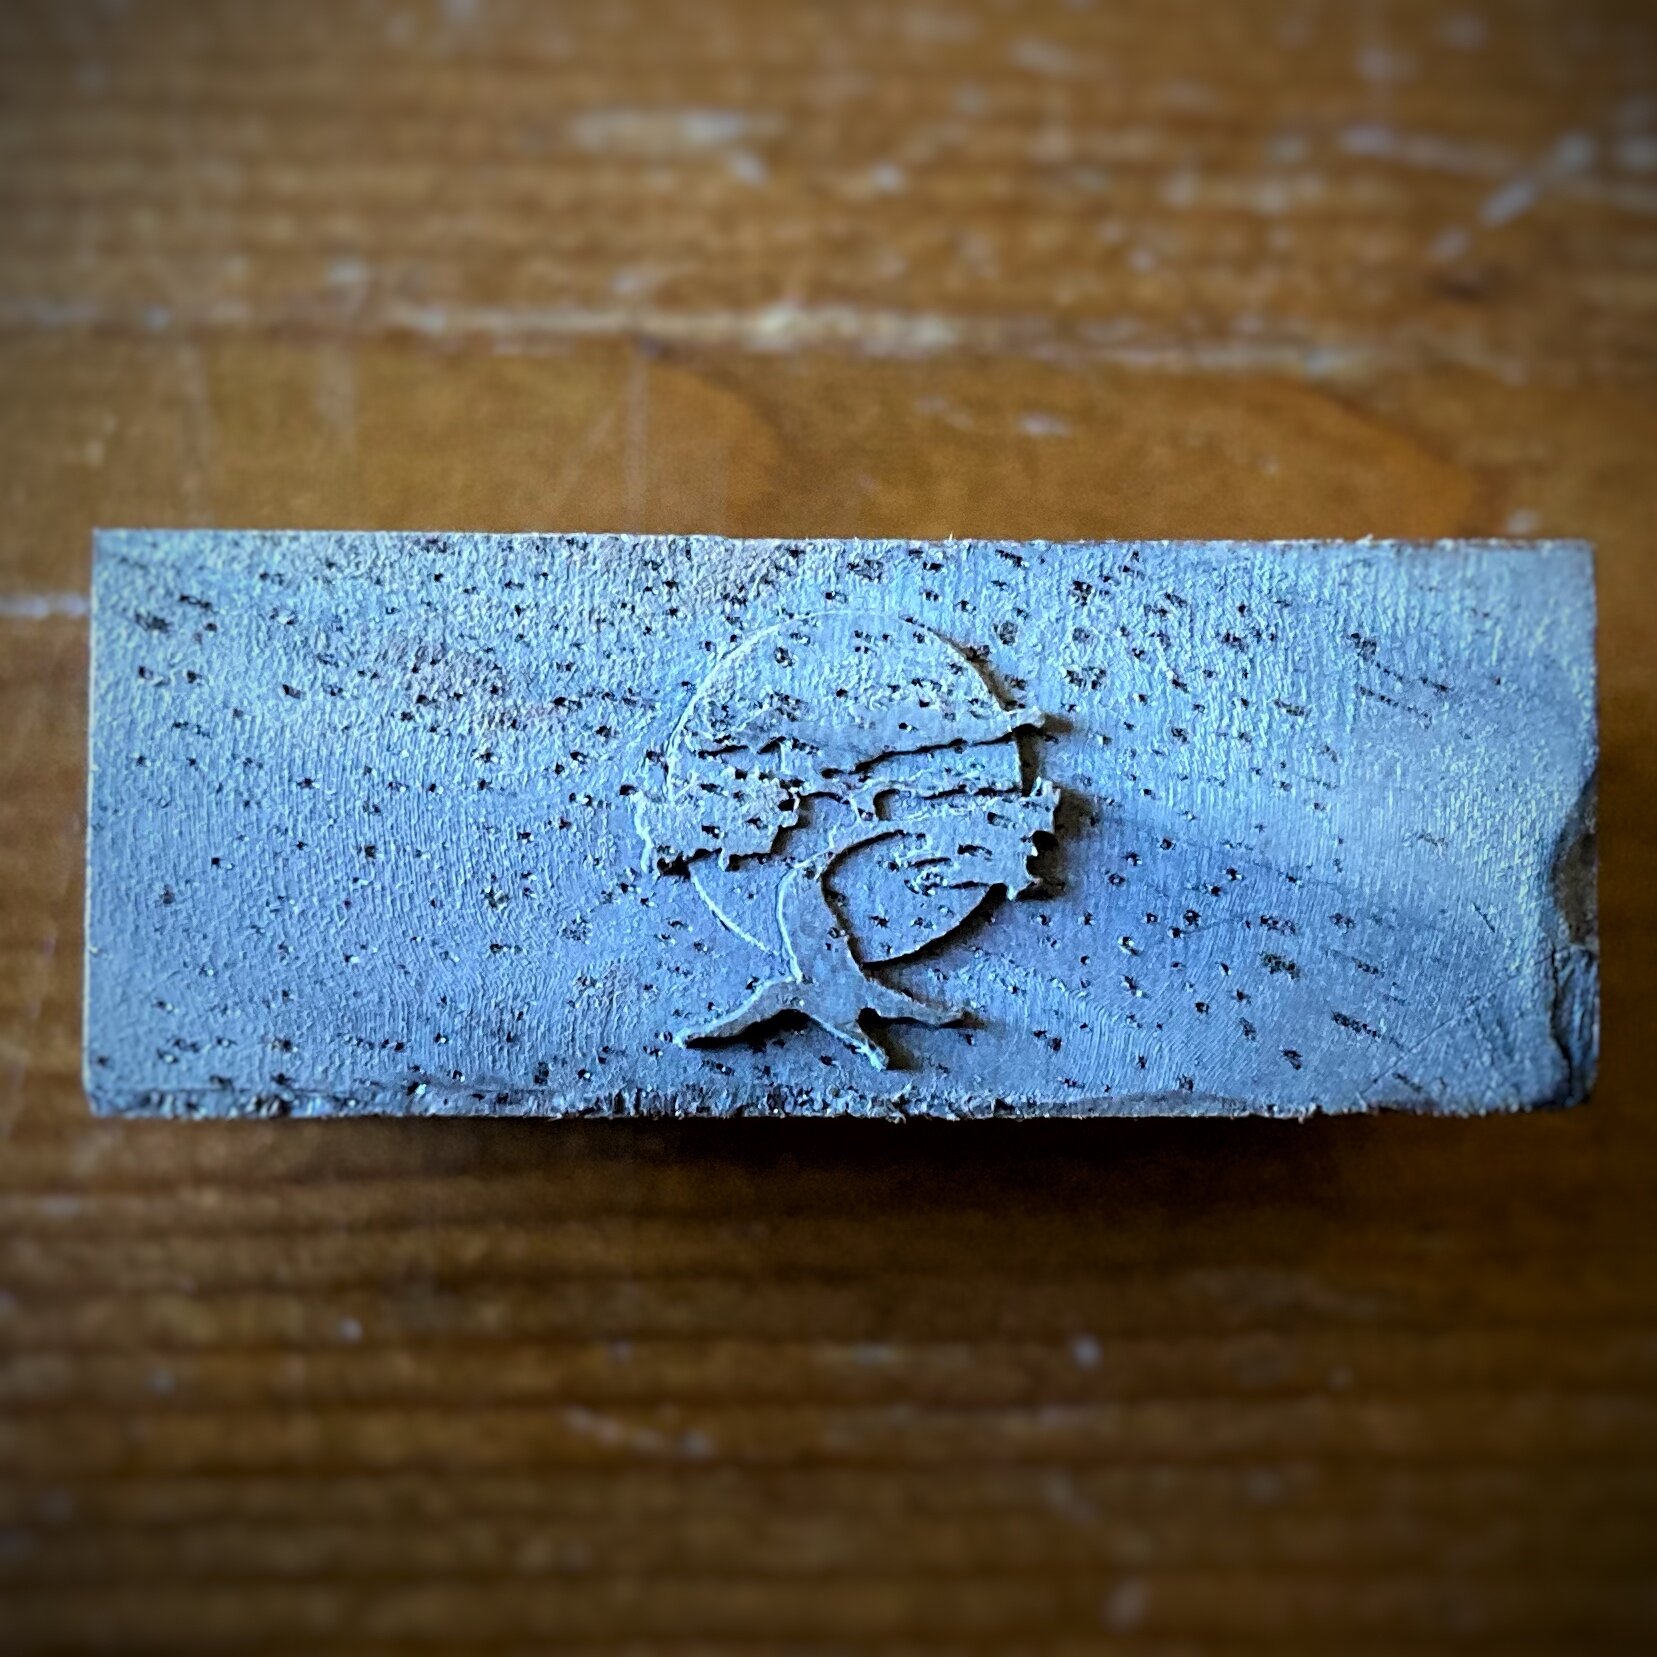
Engraving of a cherry tree and blossom, based on the tattoo on the back of the recipient. Inlaid with a mix of epoxy resin, wood dust from the oaken blade and a tiny bit of white pigment.

Tattoo and engraving side by side. I'm very grateful for the photo!

From top to bottom: "the mold, The Blade, The sheath-halves and the paddouk separator.

Assembled sword, in its first basic rough shape.

First look after the first of many sessions of sanding.

I do love that fit :D

The drawing before I carved it out of the handle

JK holding The JK.
The Andries Schynkel

The Andries Schynkel. First sword I ever made for someone that wasn't me. Sheath and handle made from the floorboards of the recipient's house. (They were spare, I didn't rip them out.)

The floorboards were part oak, part multiplex to be able to withstand the growing and shrinking that comes with floor heating. Ended up as a nice bit of lines in the sheath and a solid look on the sides.

Blade made from wengé. The wengé I have used to be part of the front of a butchersshop from Gentbrugge. It was donated to me by the butcher's son. (For which I am VERY grateful... superb quality wood).

Fitting the blade in the sheath before setting it together.
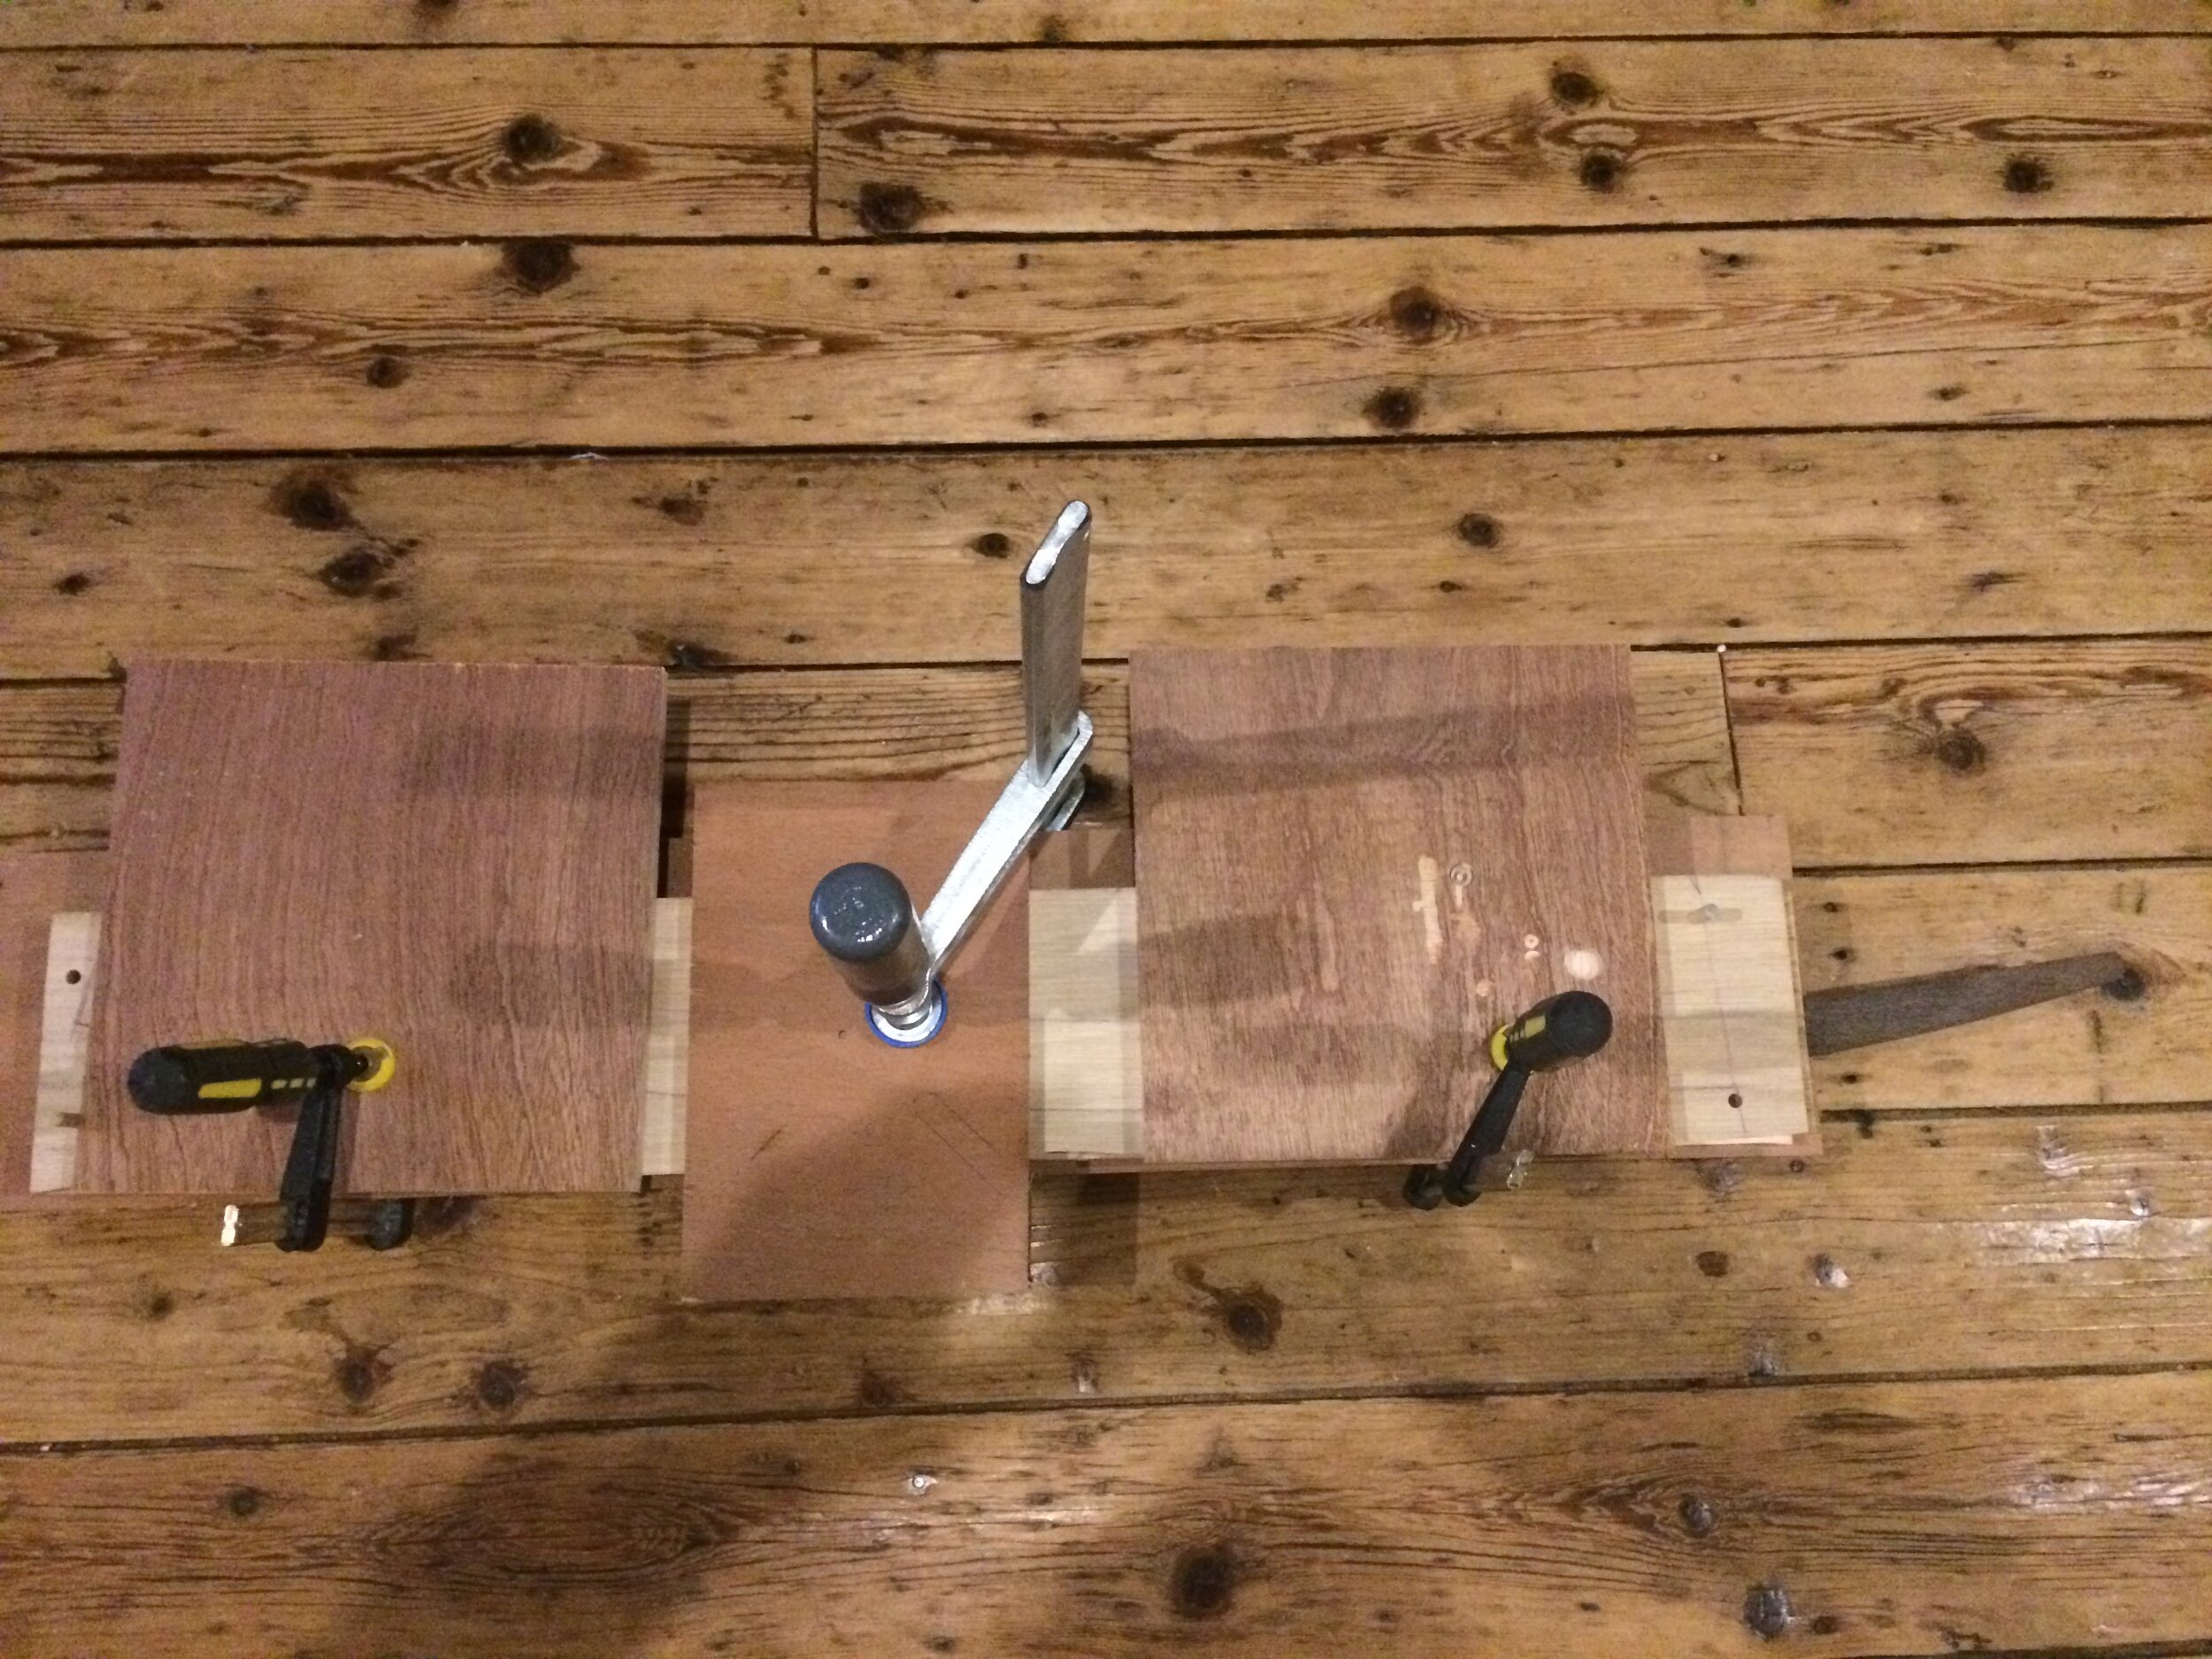
Glue and clamps!

Everything assembled to check if it all fits. (It did.)

Handleweavings. My wife helped... I can't weave that stuff for the life of me.... brrrr...

Flower, picked from the garden of the recipient's home, dried, rearranged (couldn't fit the petals on the hilt in it's normal shape) and then placed in a small pocket. Used some epoxy to seal it in.